

Pool Pump & Motor Rebuild

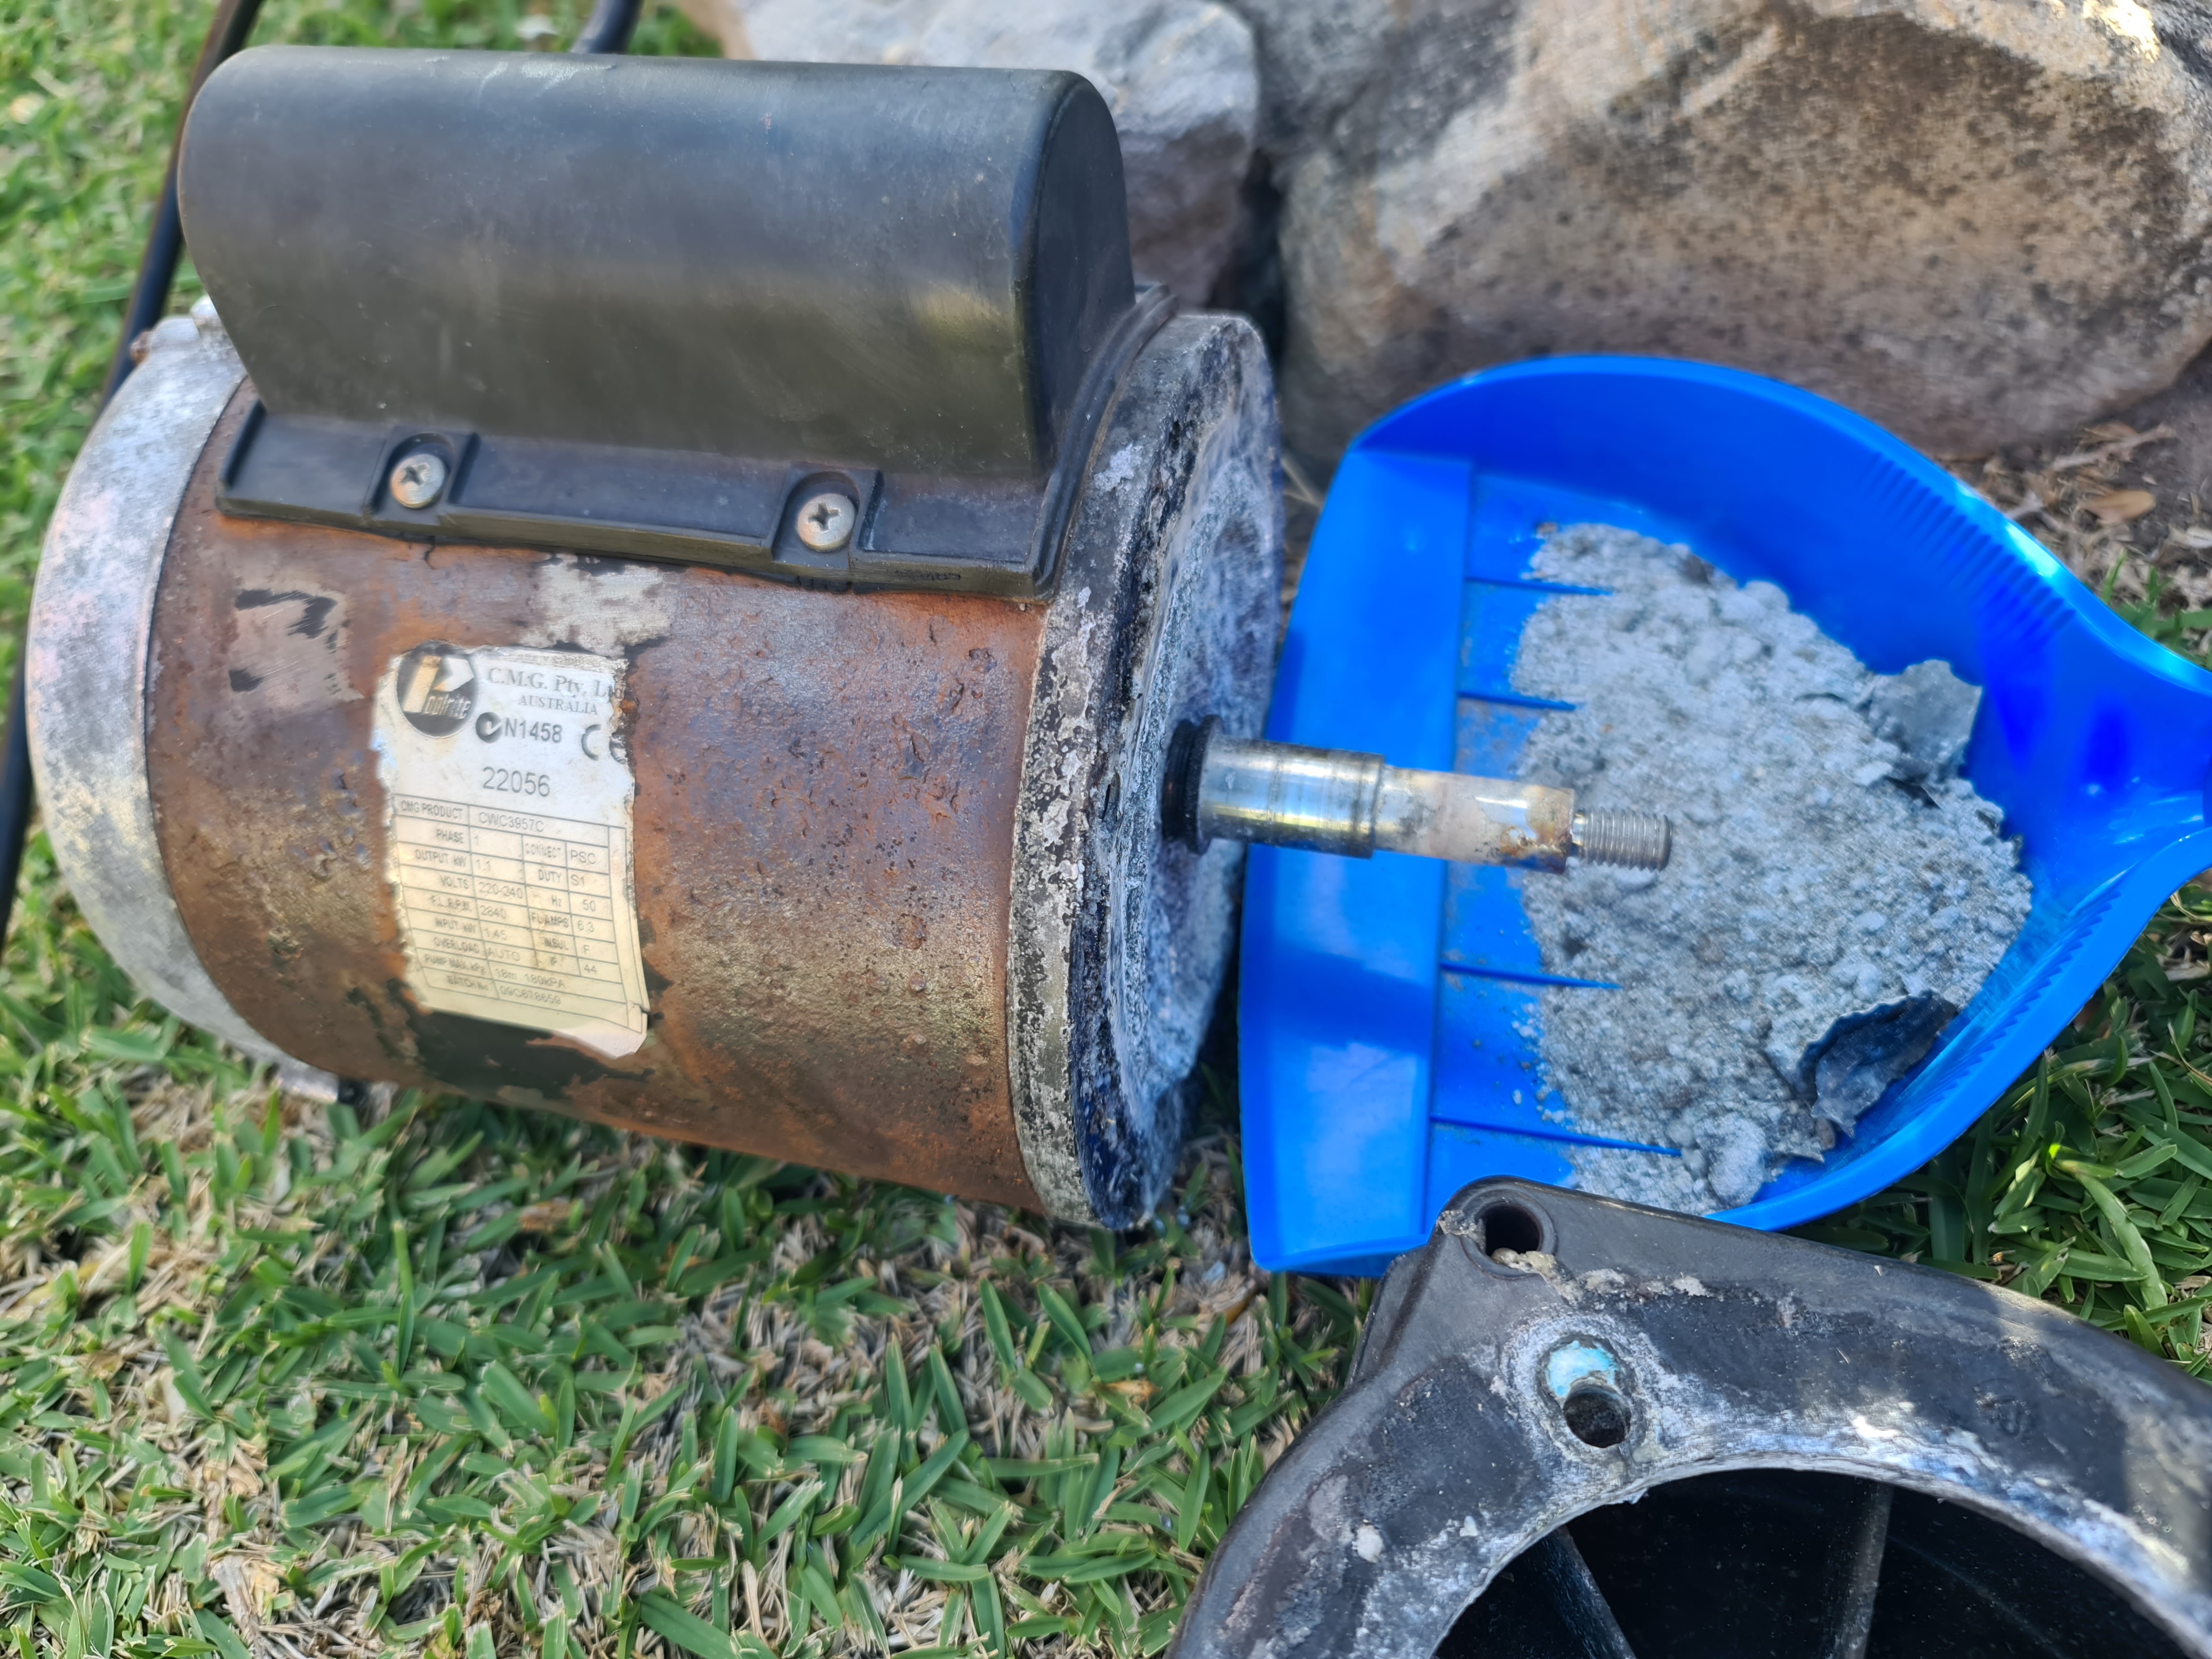
Pool pump was running loudly and also stopped pumping water.
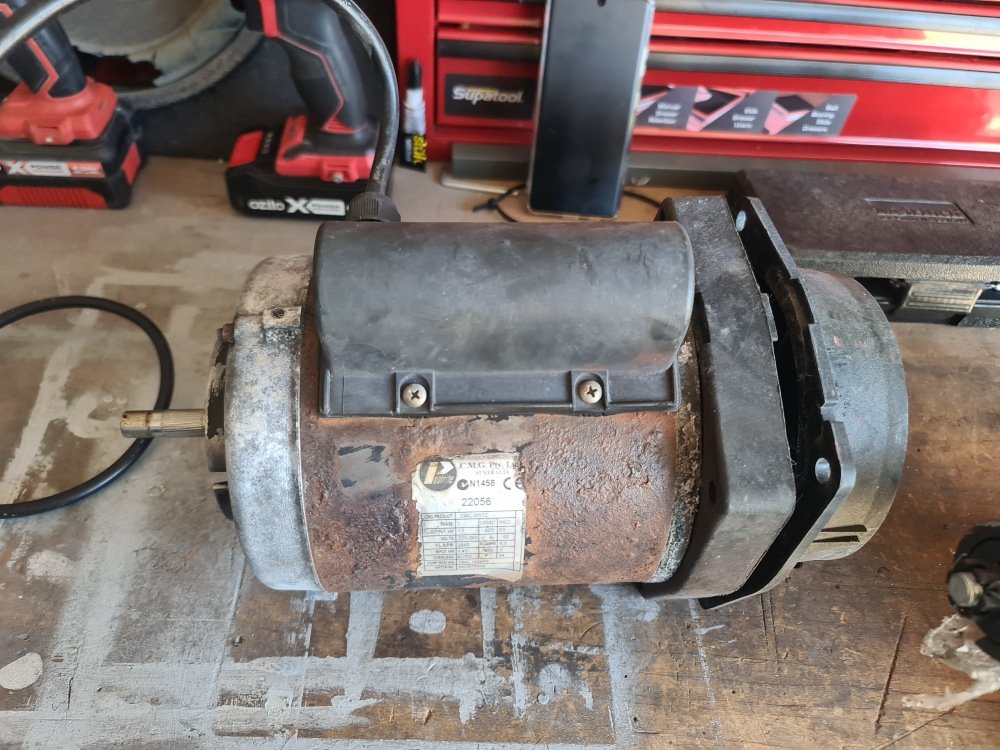
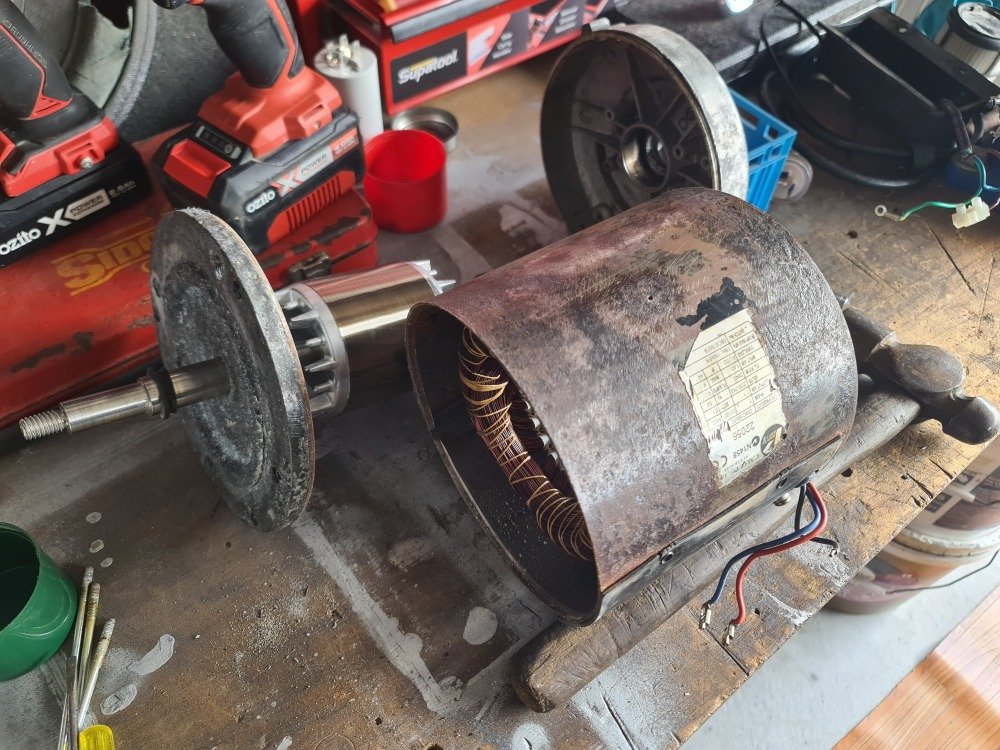
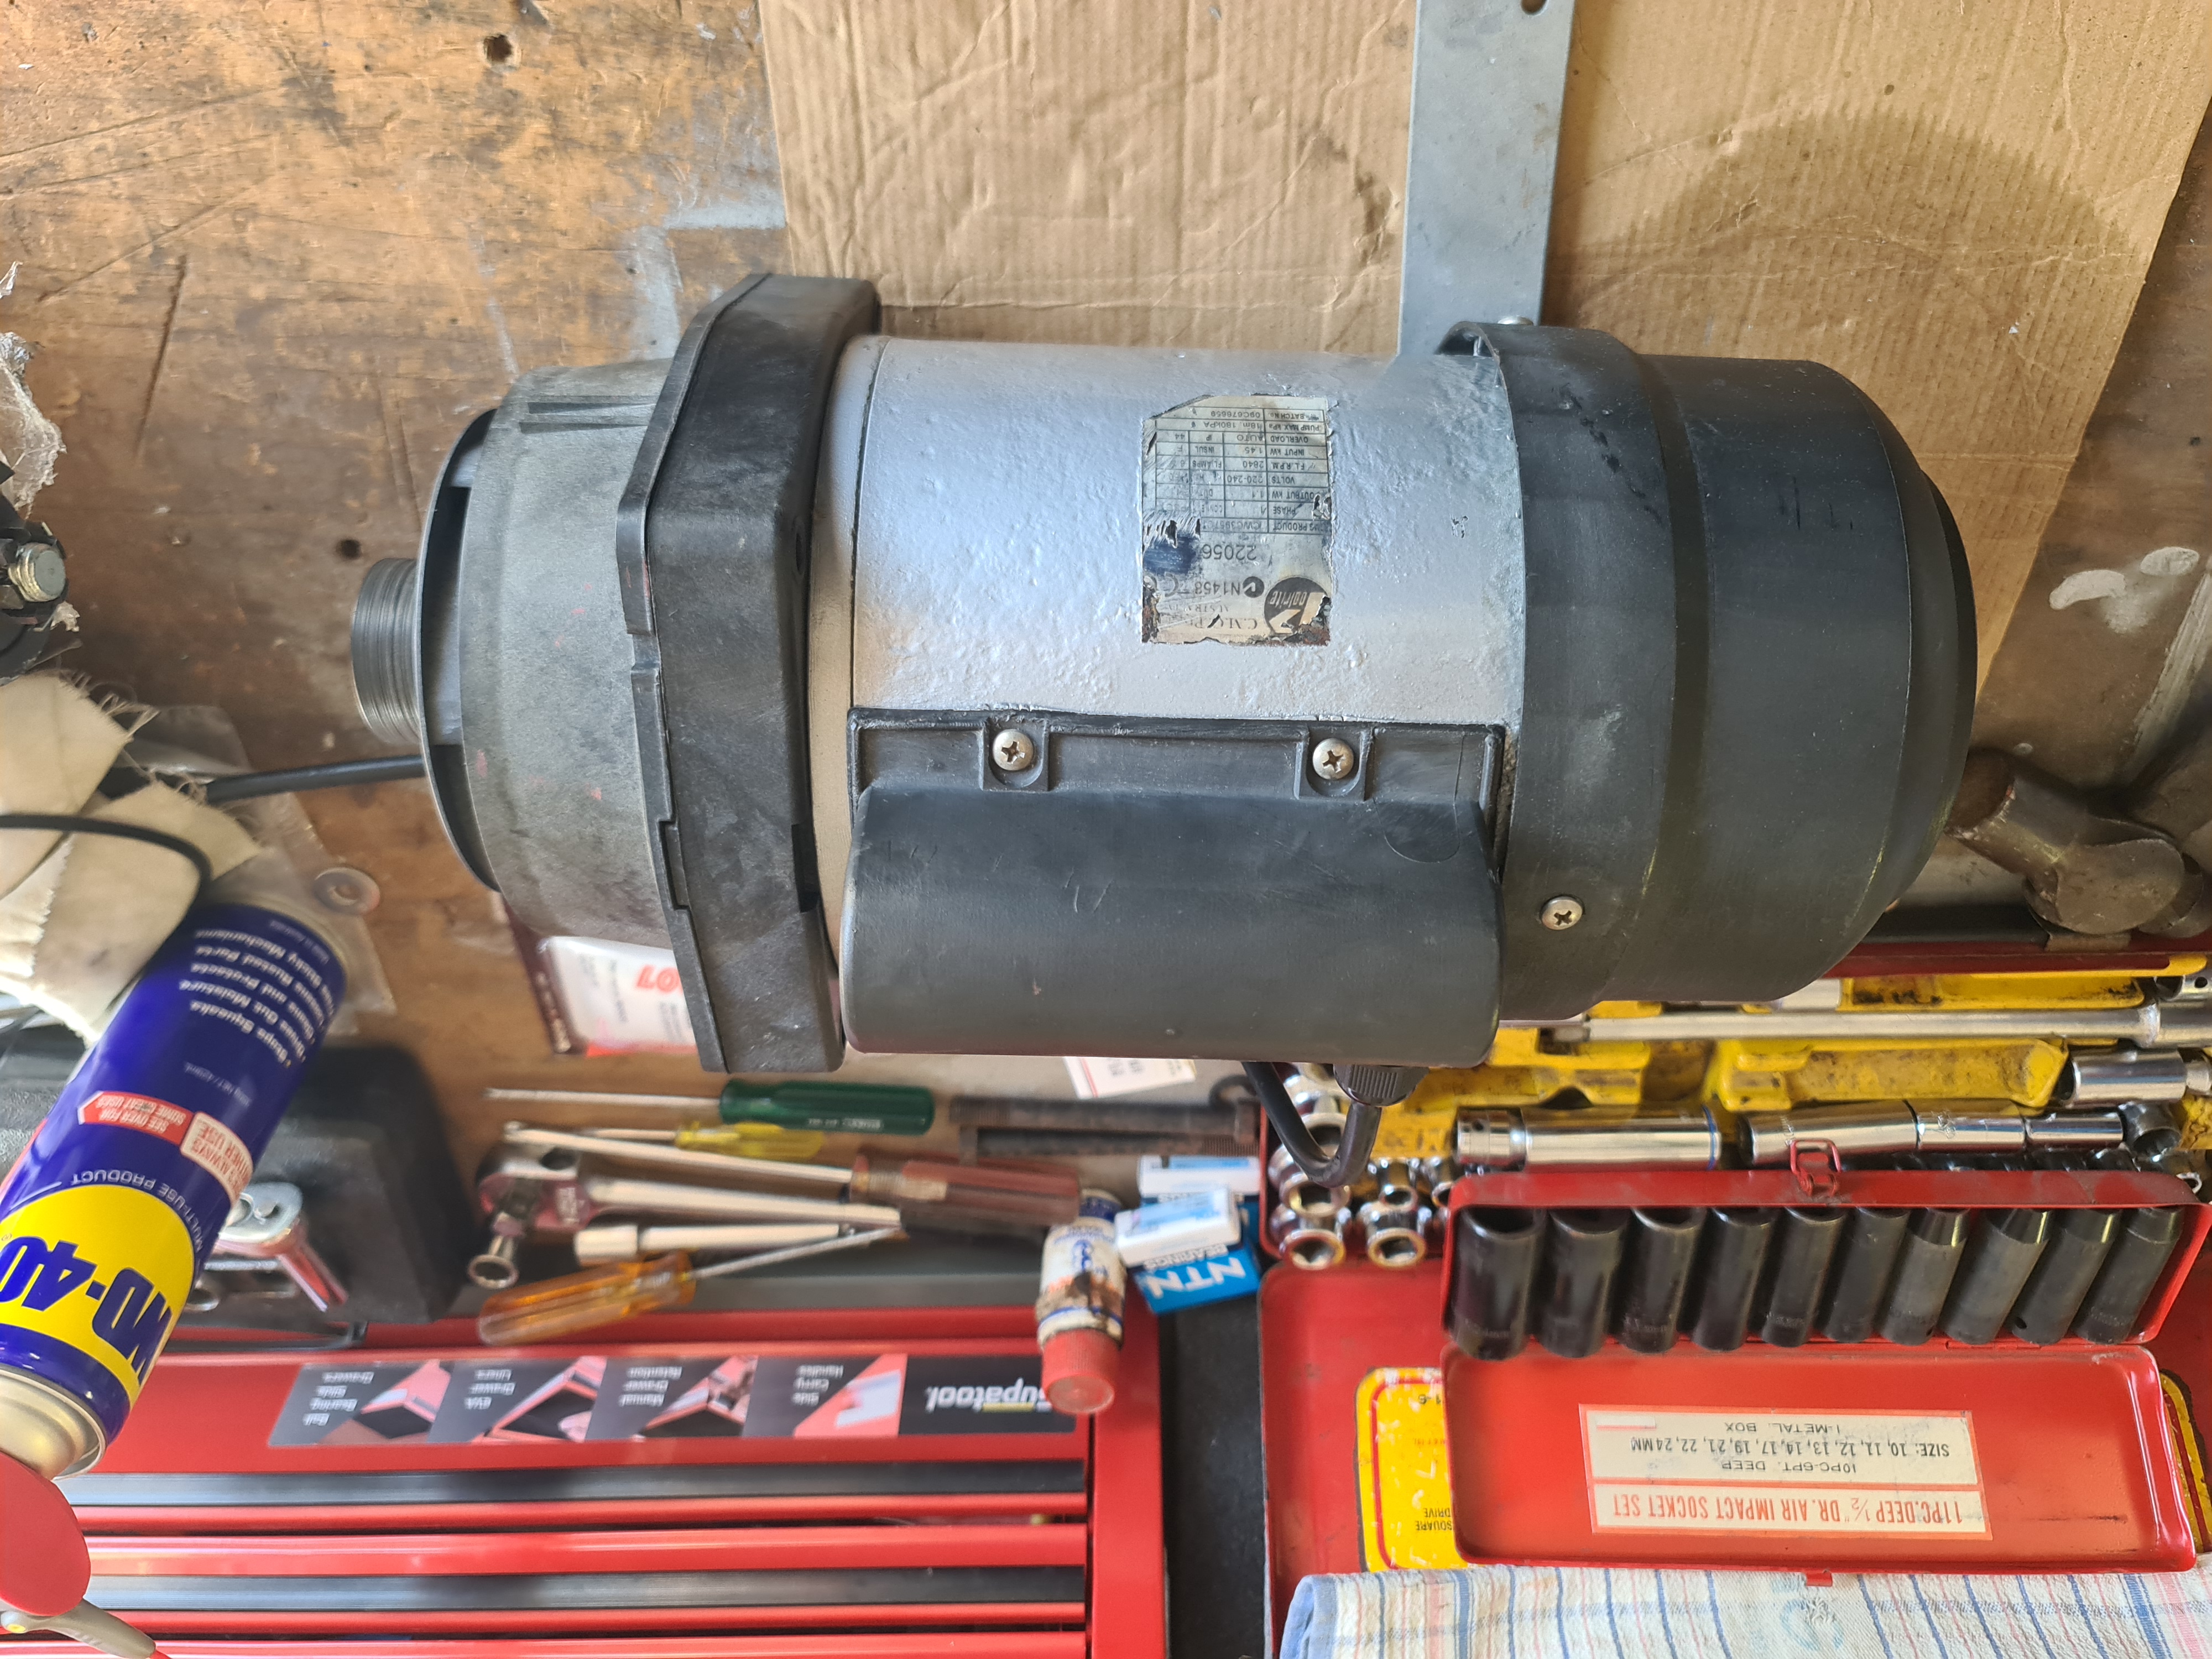
Dismantled pump assembly and found solid debris in pump impeller and when I rotated the motor shaft, I could feel the bearings were noisy and felt rough.
A new pump assembly costs over $1,100.00 and second hand units on Marketplace cost around $500 and may need repairing as well.
I estimate this repair will cost me less that $100.00 to rebuild as I also used existing things at home like like spray paint, WD-40 and stainless steel bolts & washers etc.
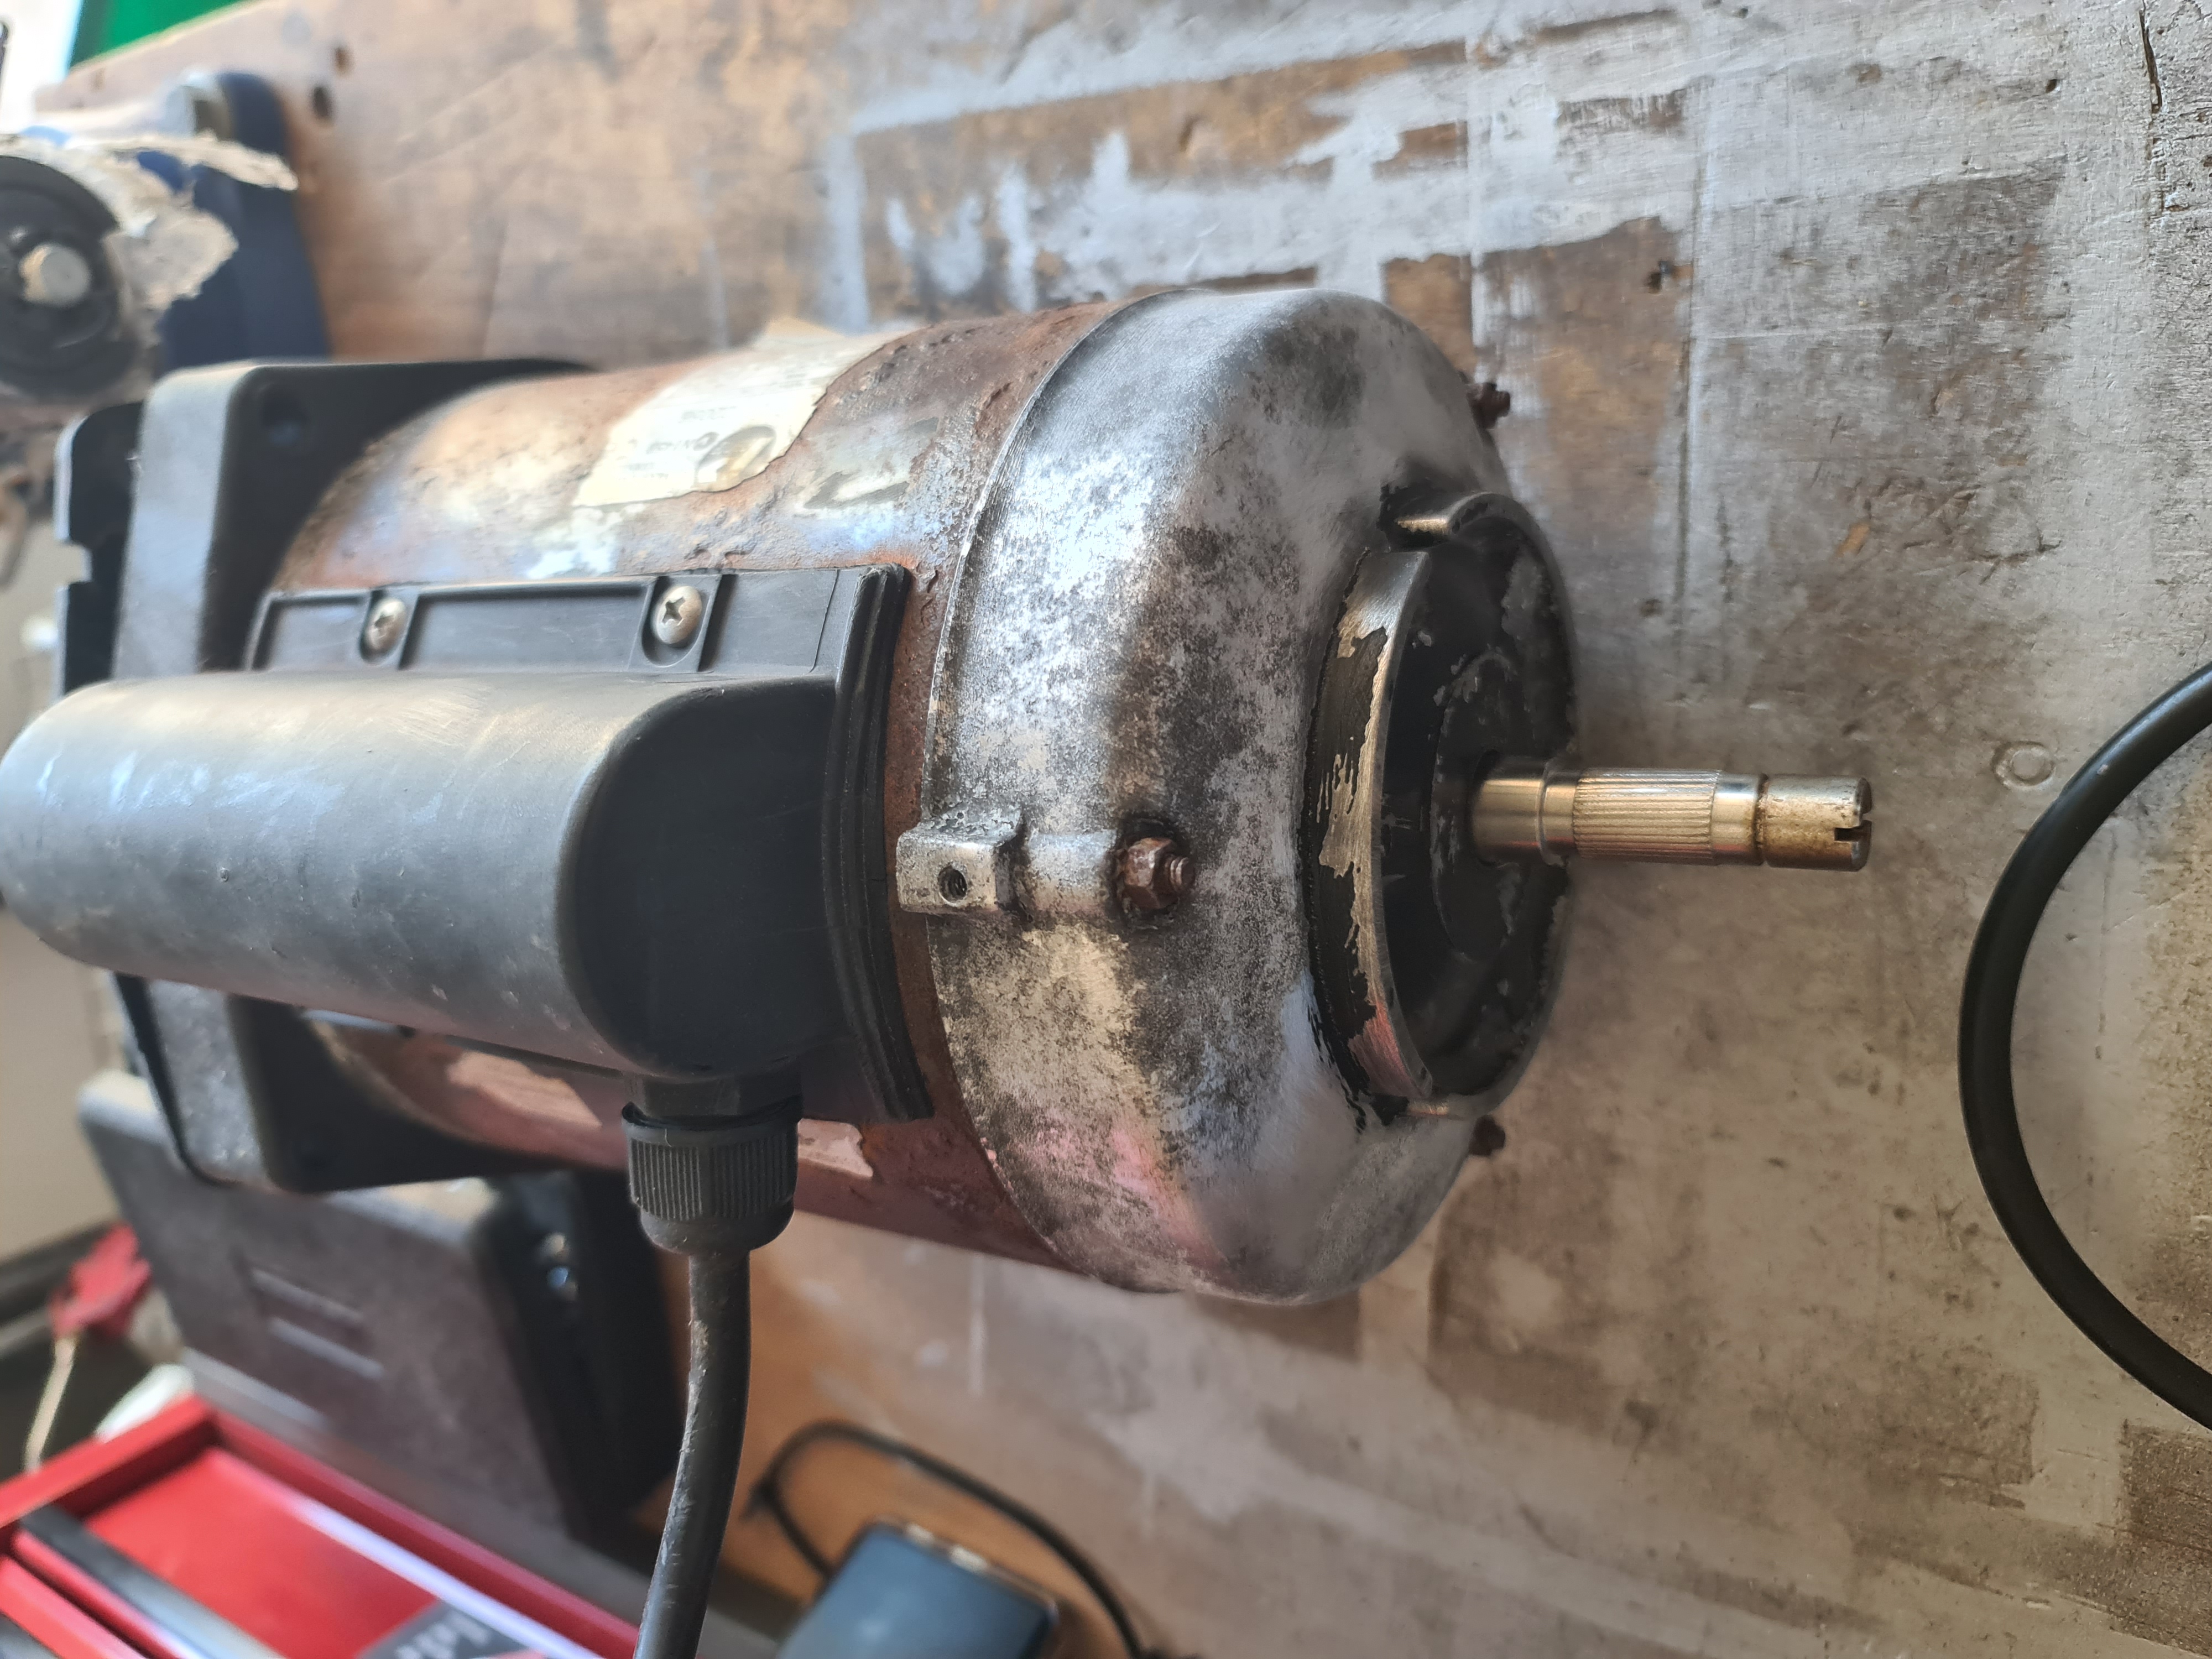
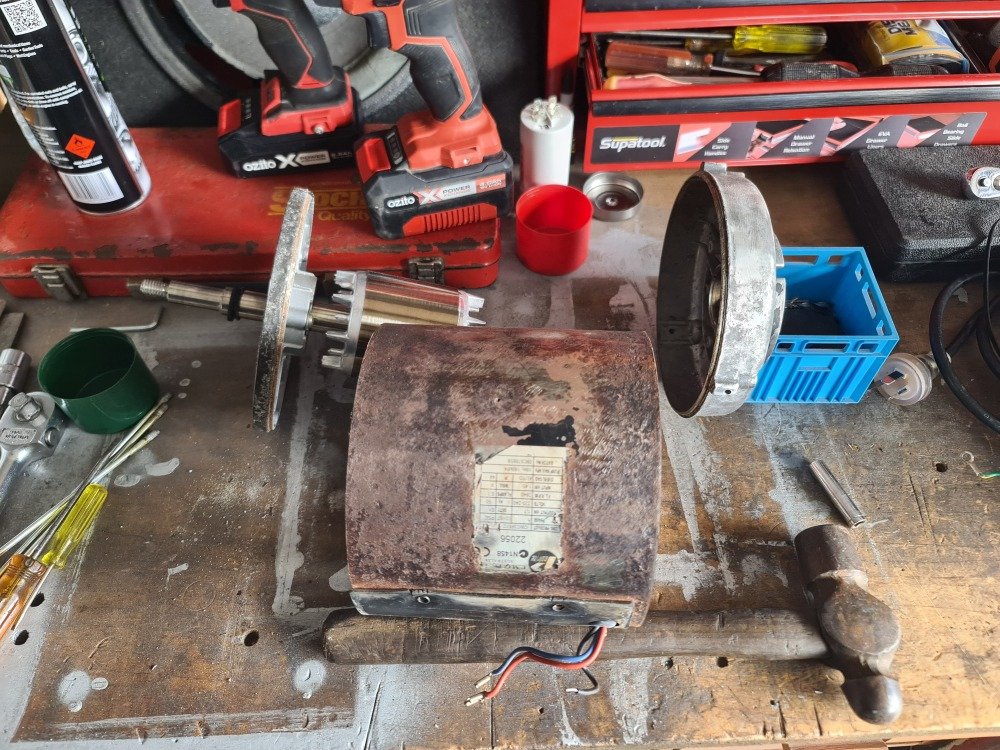
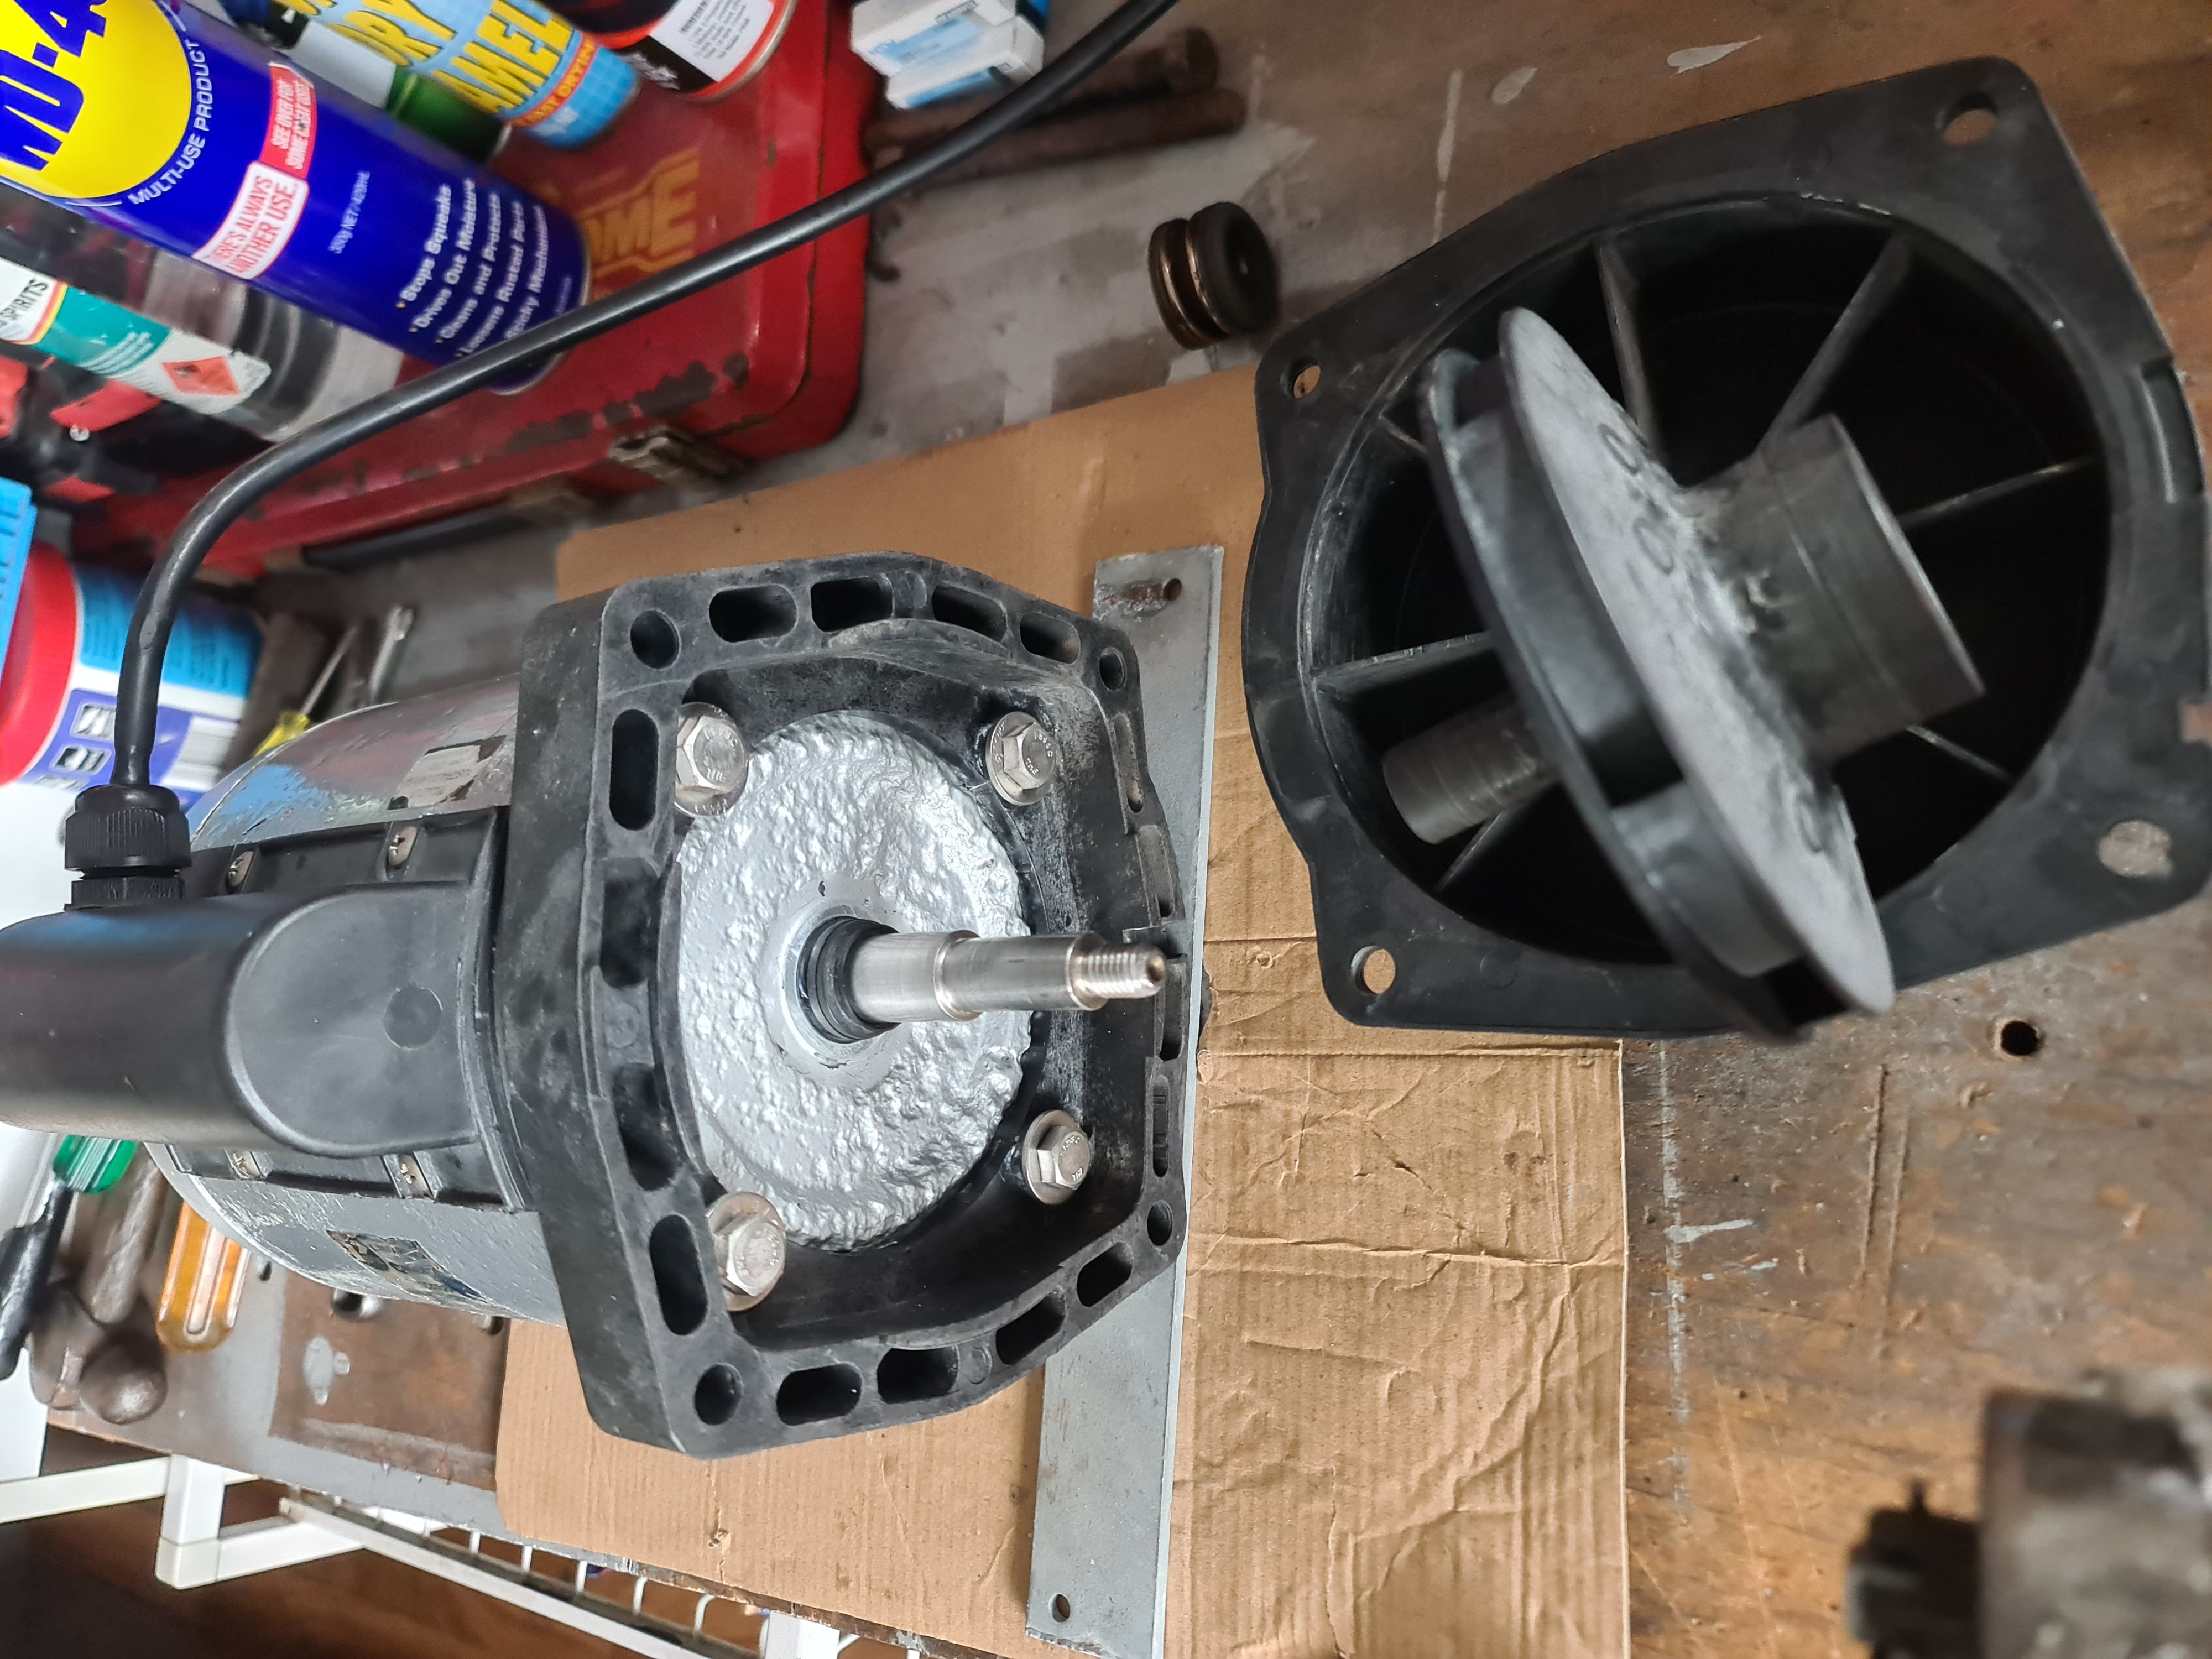
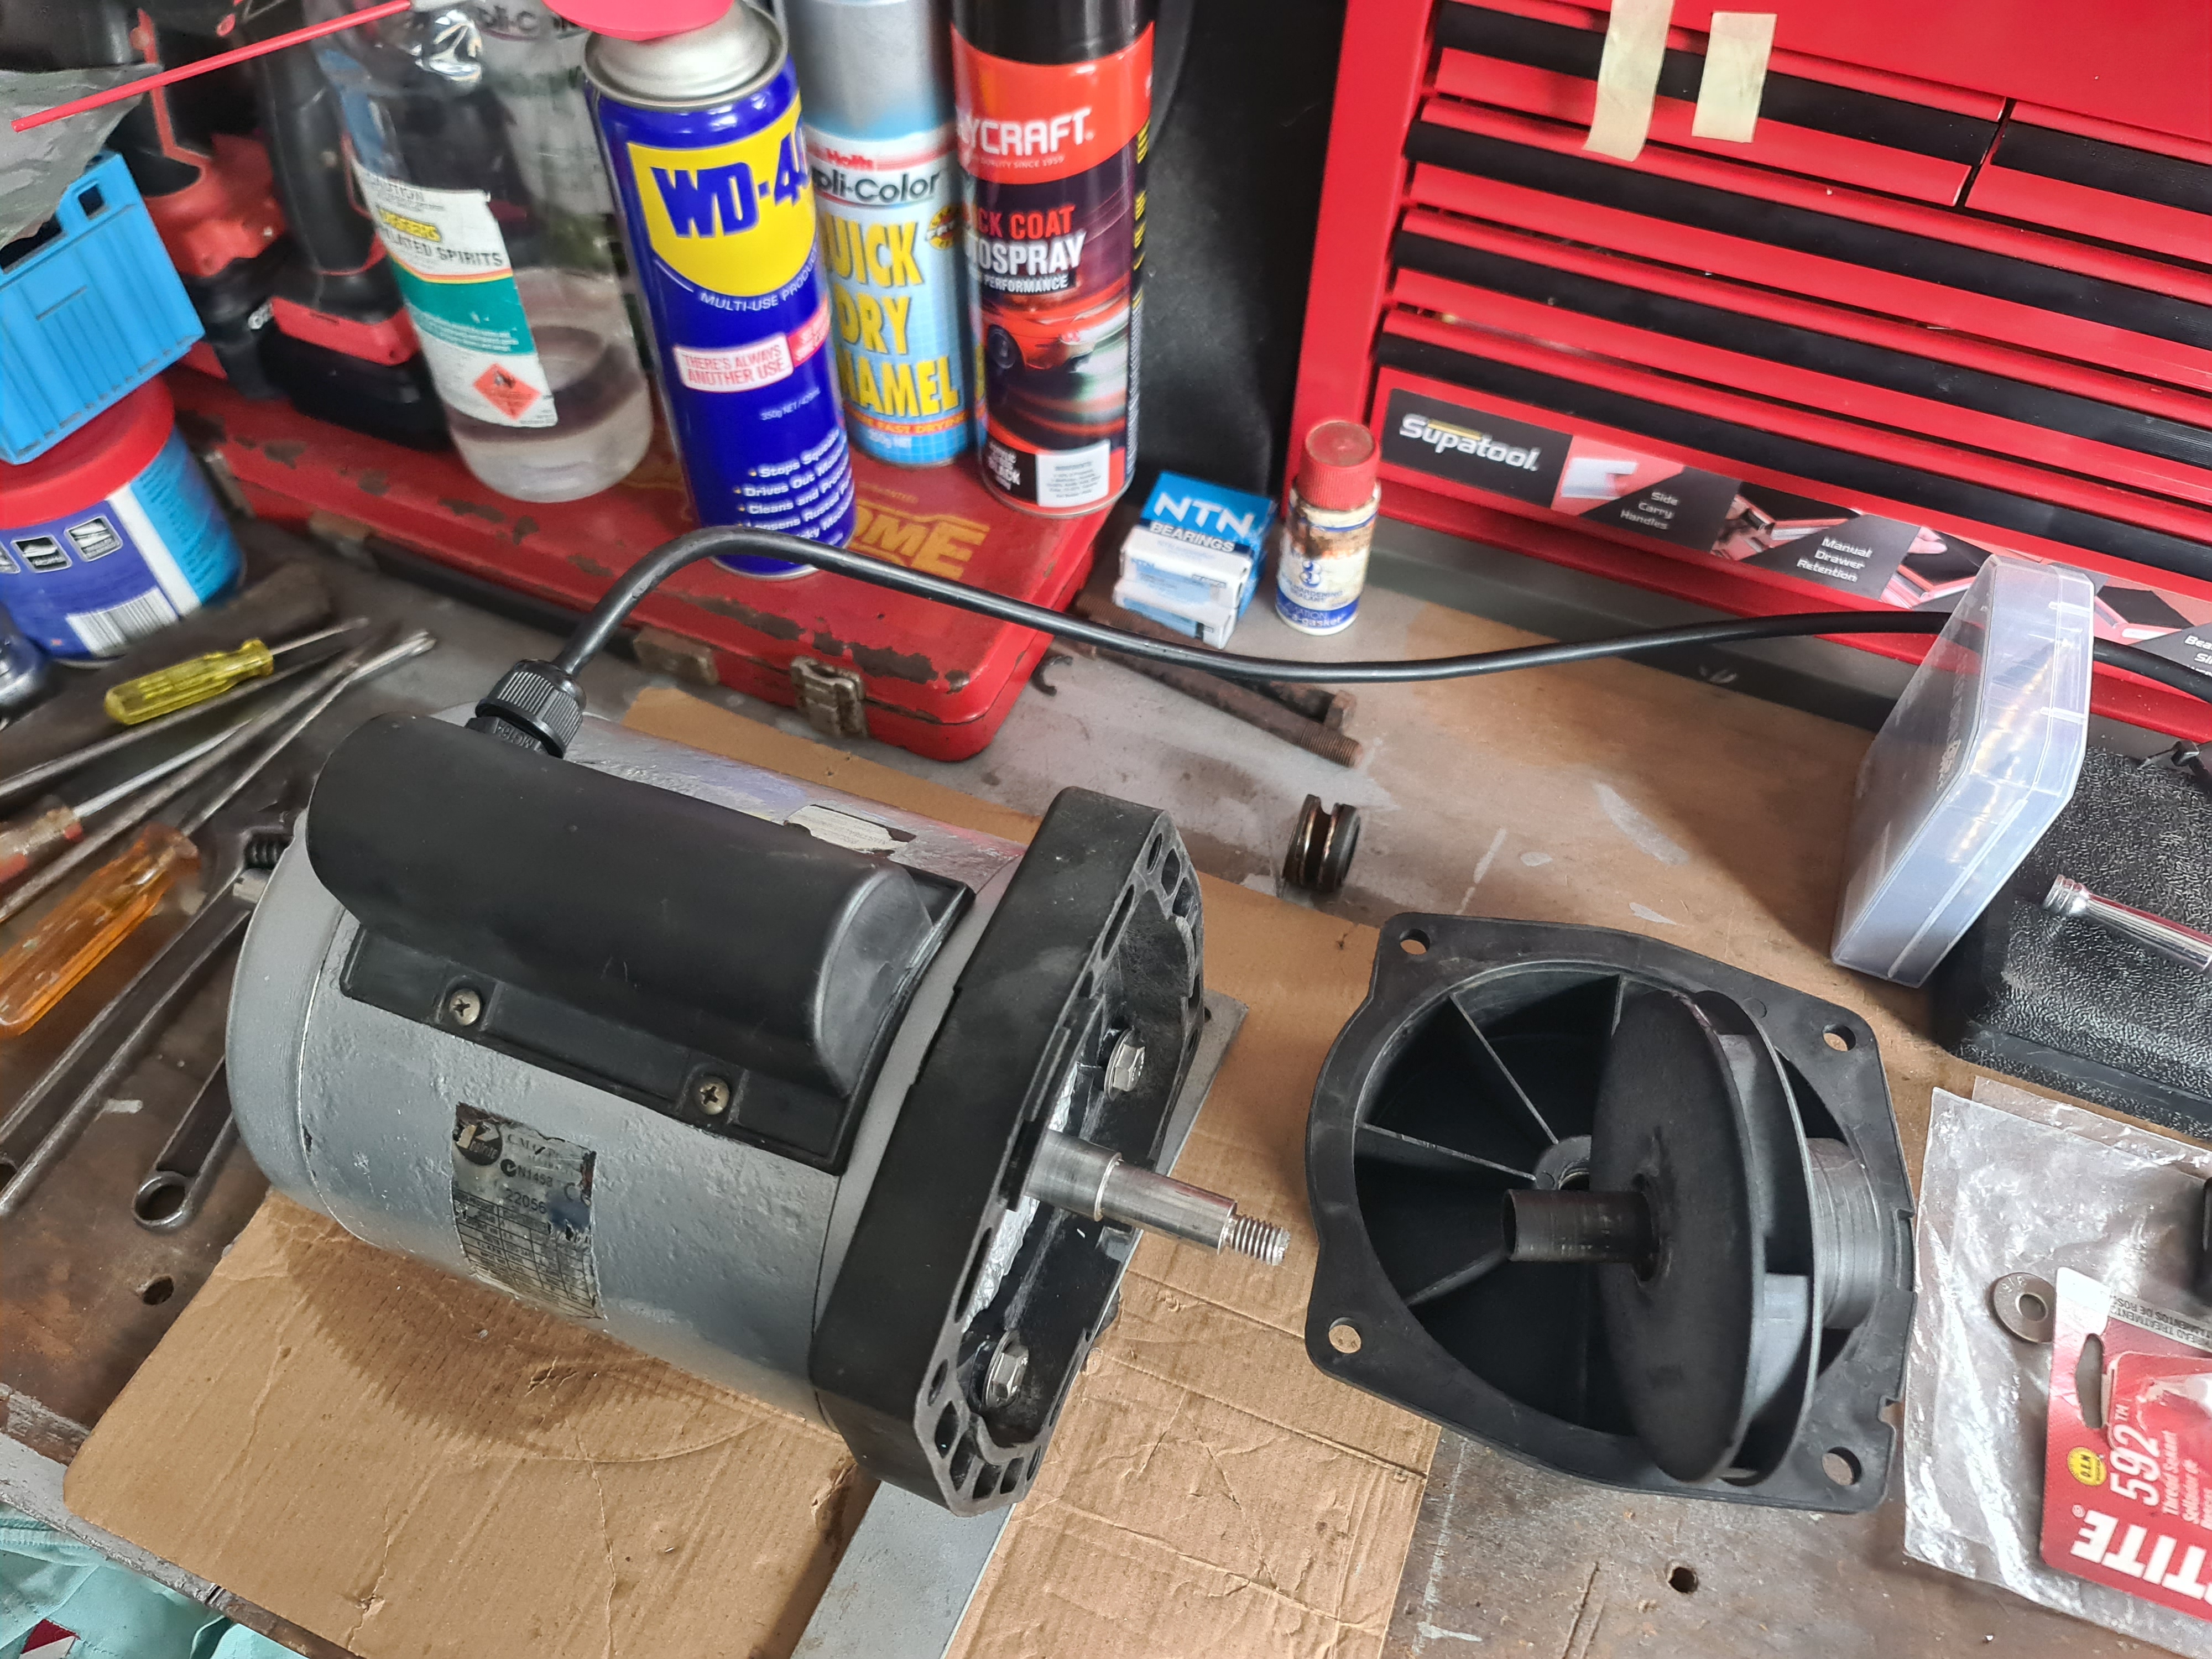
Step 1: Strip and assess the condition of components.

Plus 1 more

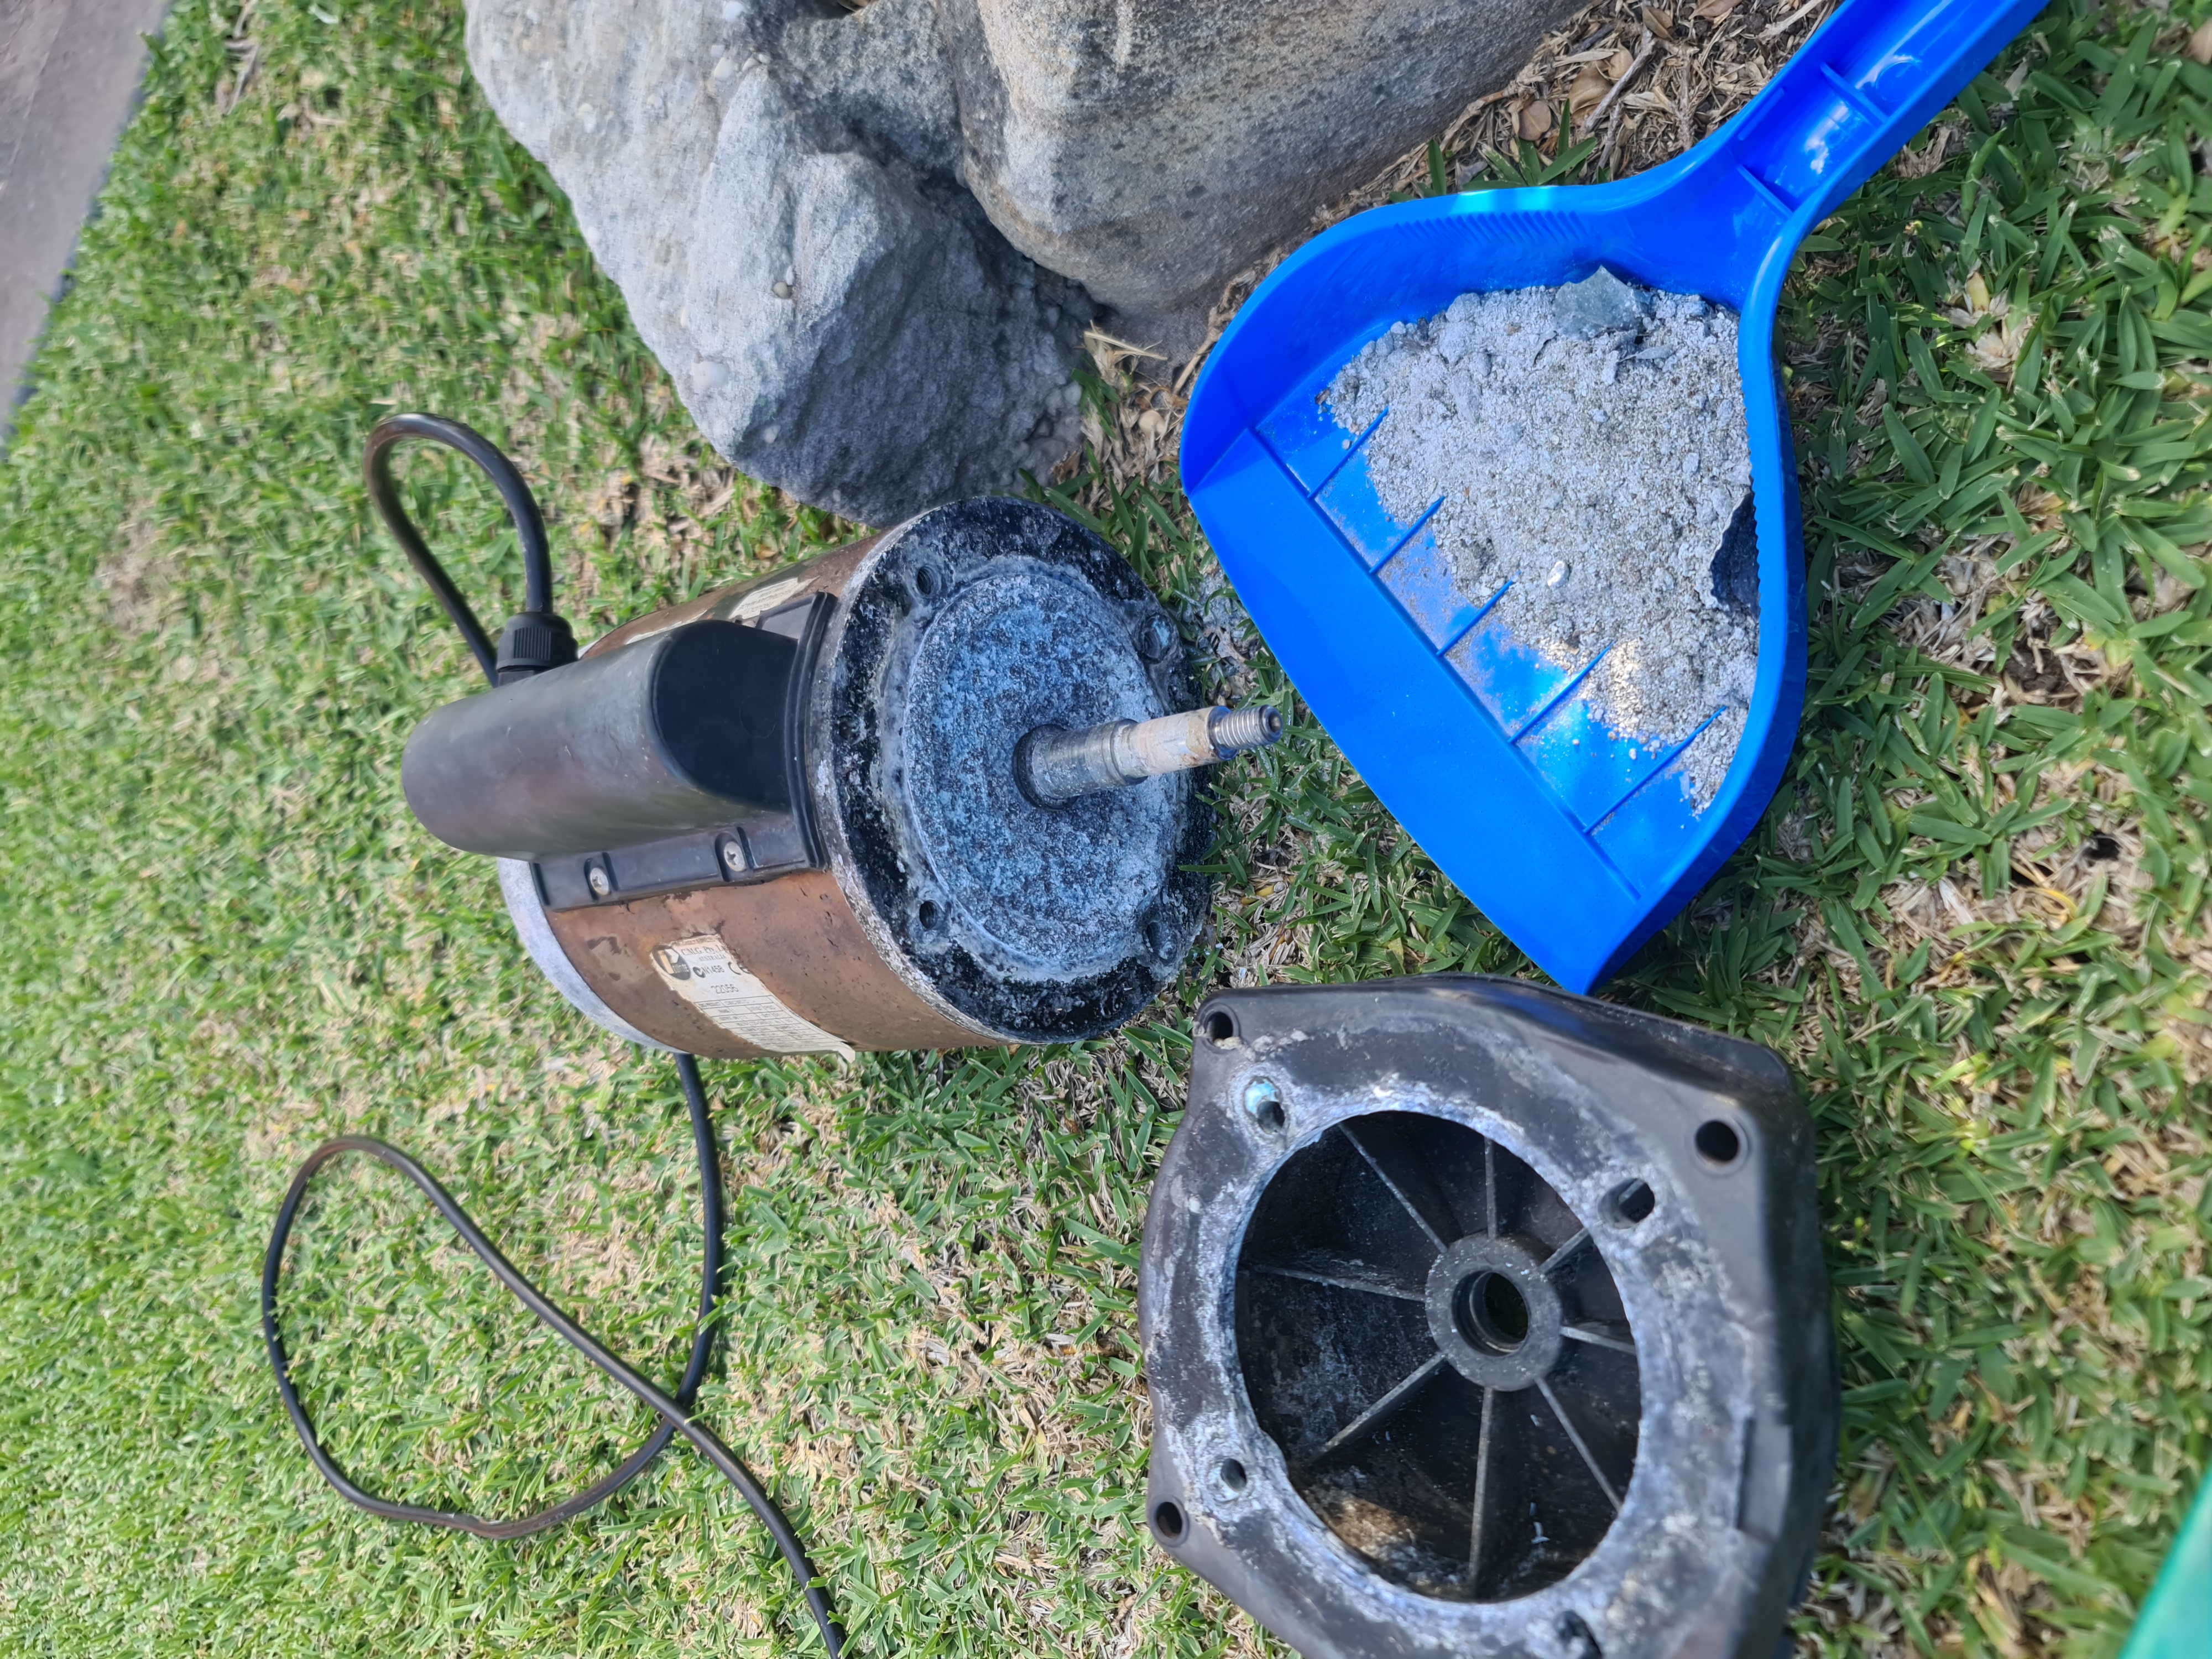
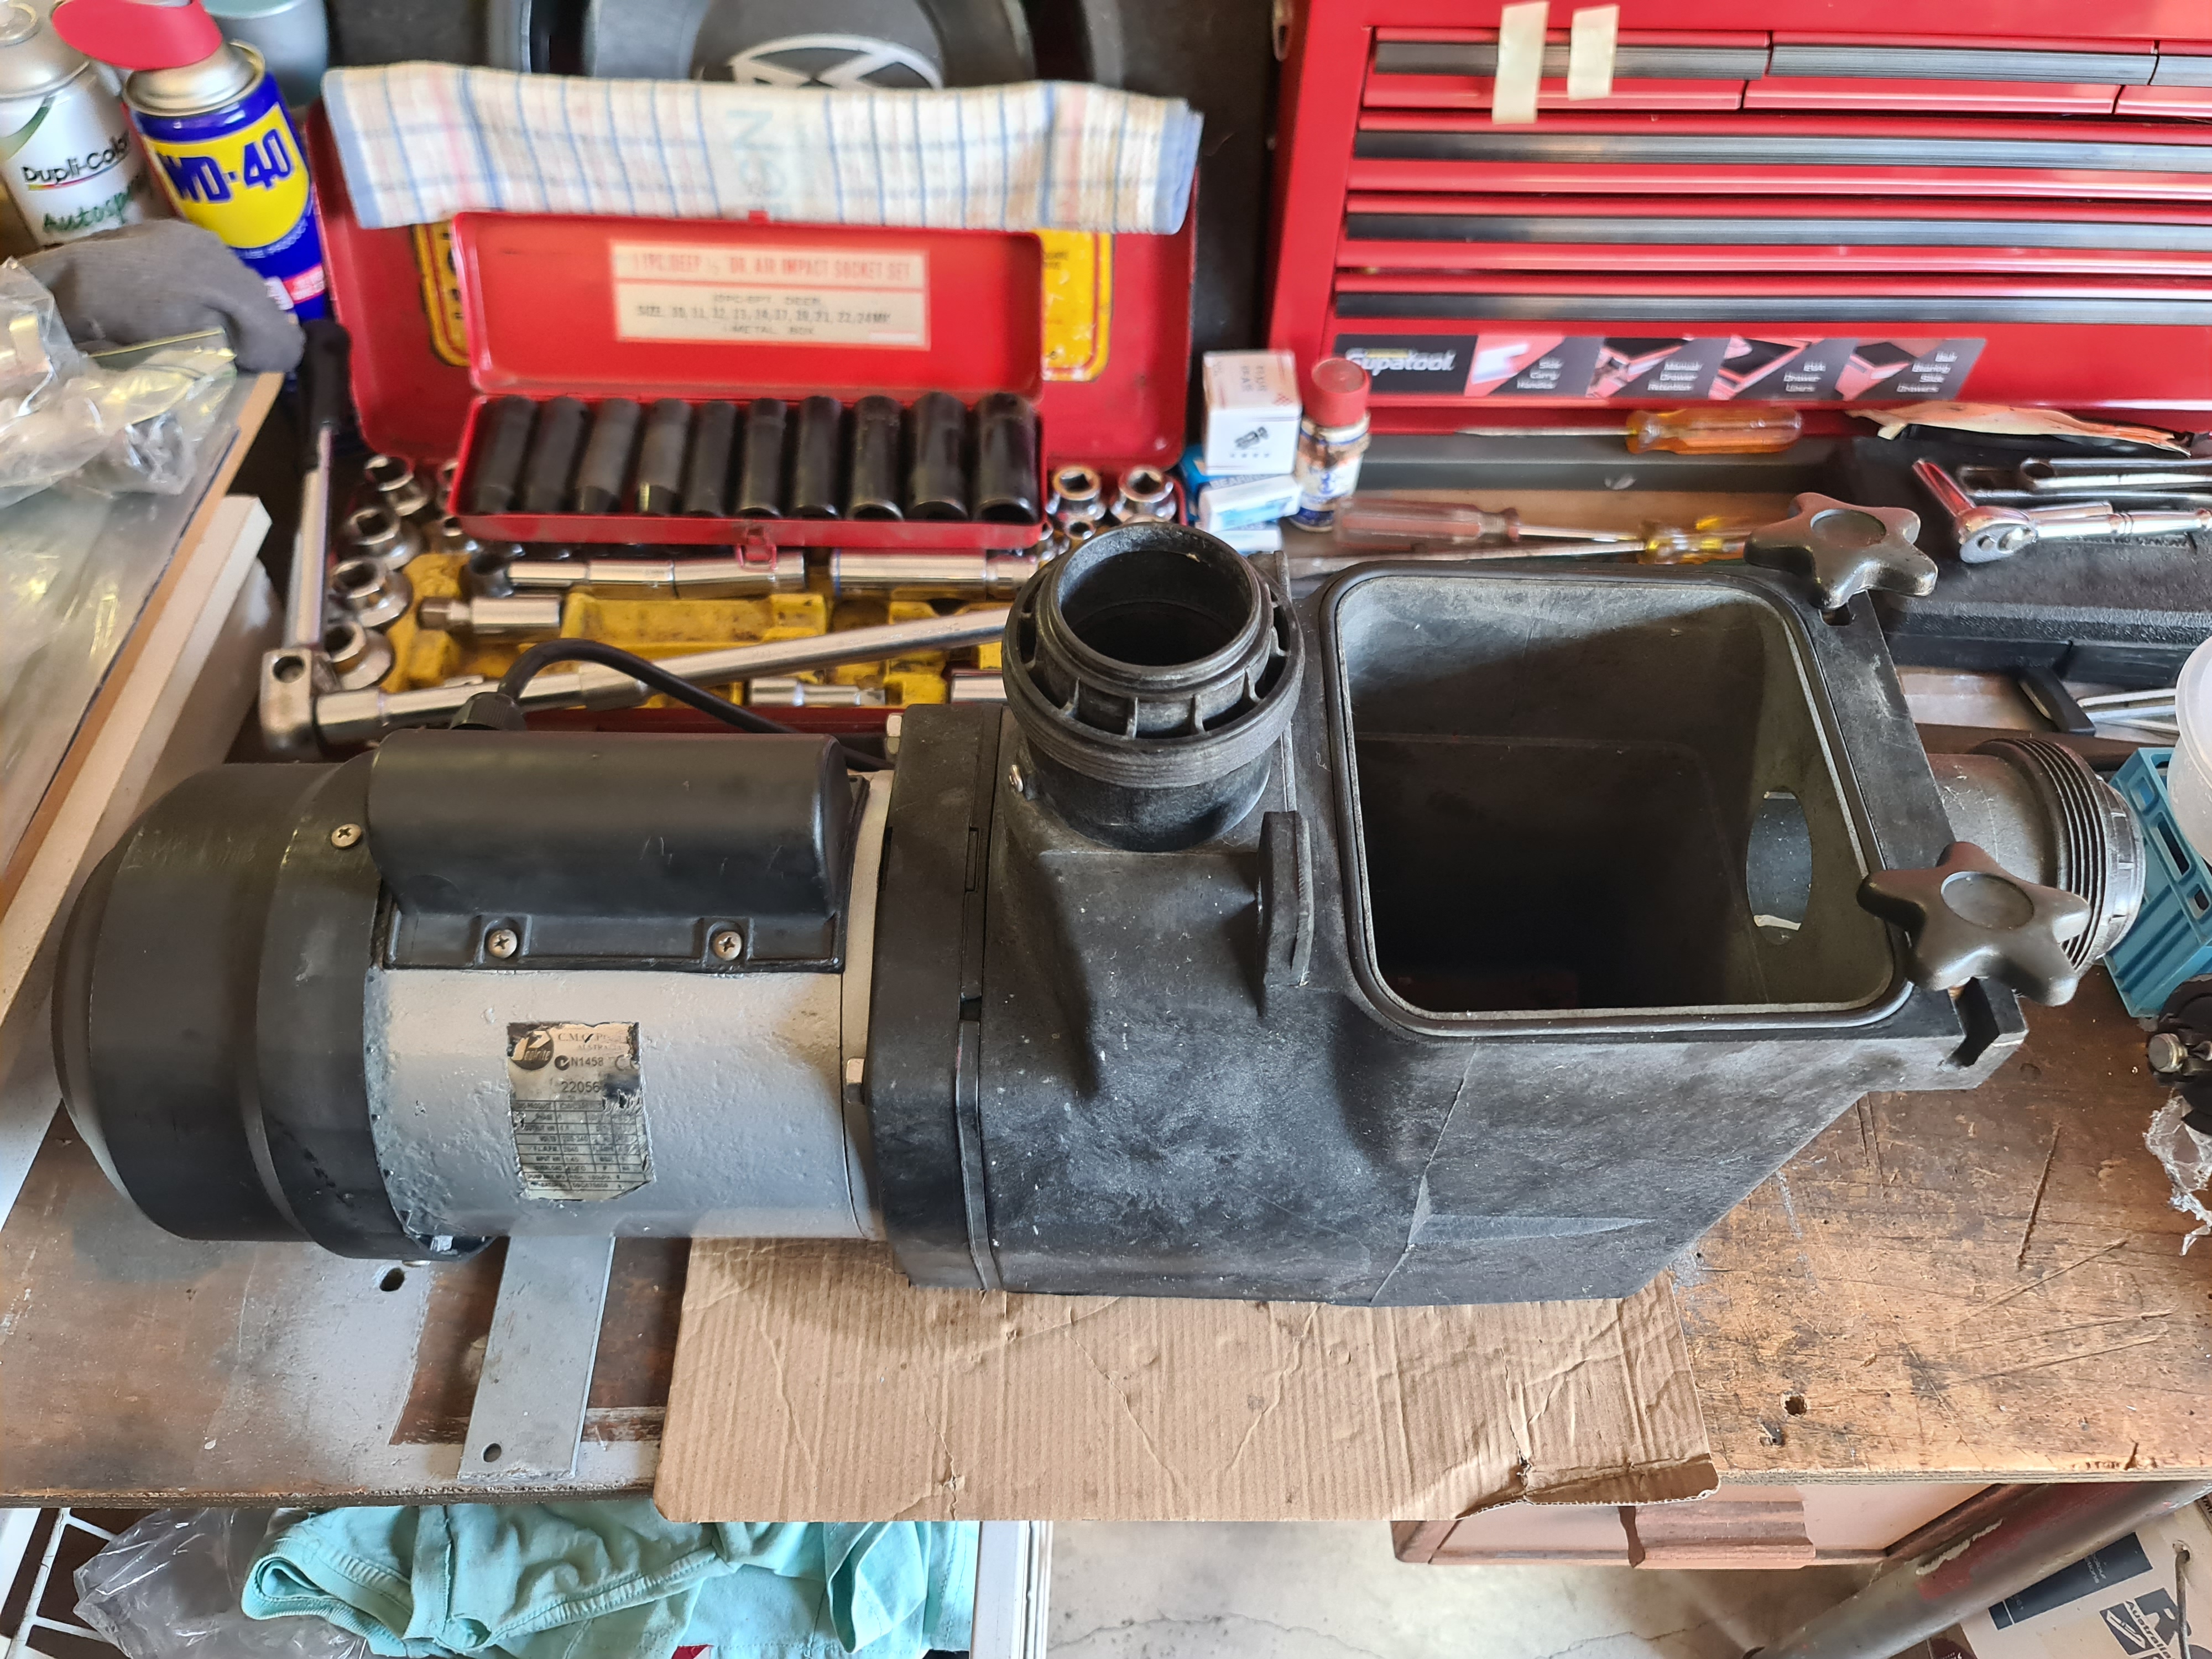
Stripped pump assembly and most parts were in serviceable condition, albeit pretty rough.
I used WD-40 on the bolts & nuts as I dismantled the motor. I confirmed the bearings needed replacing as well as significant corrosion on the aluminium end covers with no chance of the rubber V seals stopping water ingress to the motor.
Made a list of required parts and purchased new replacement parts.
Step 2: Clean and prepare parts for rebuild

Plus 2 more


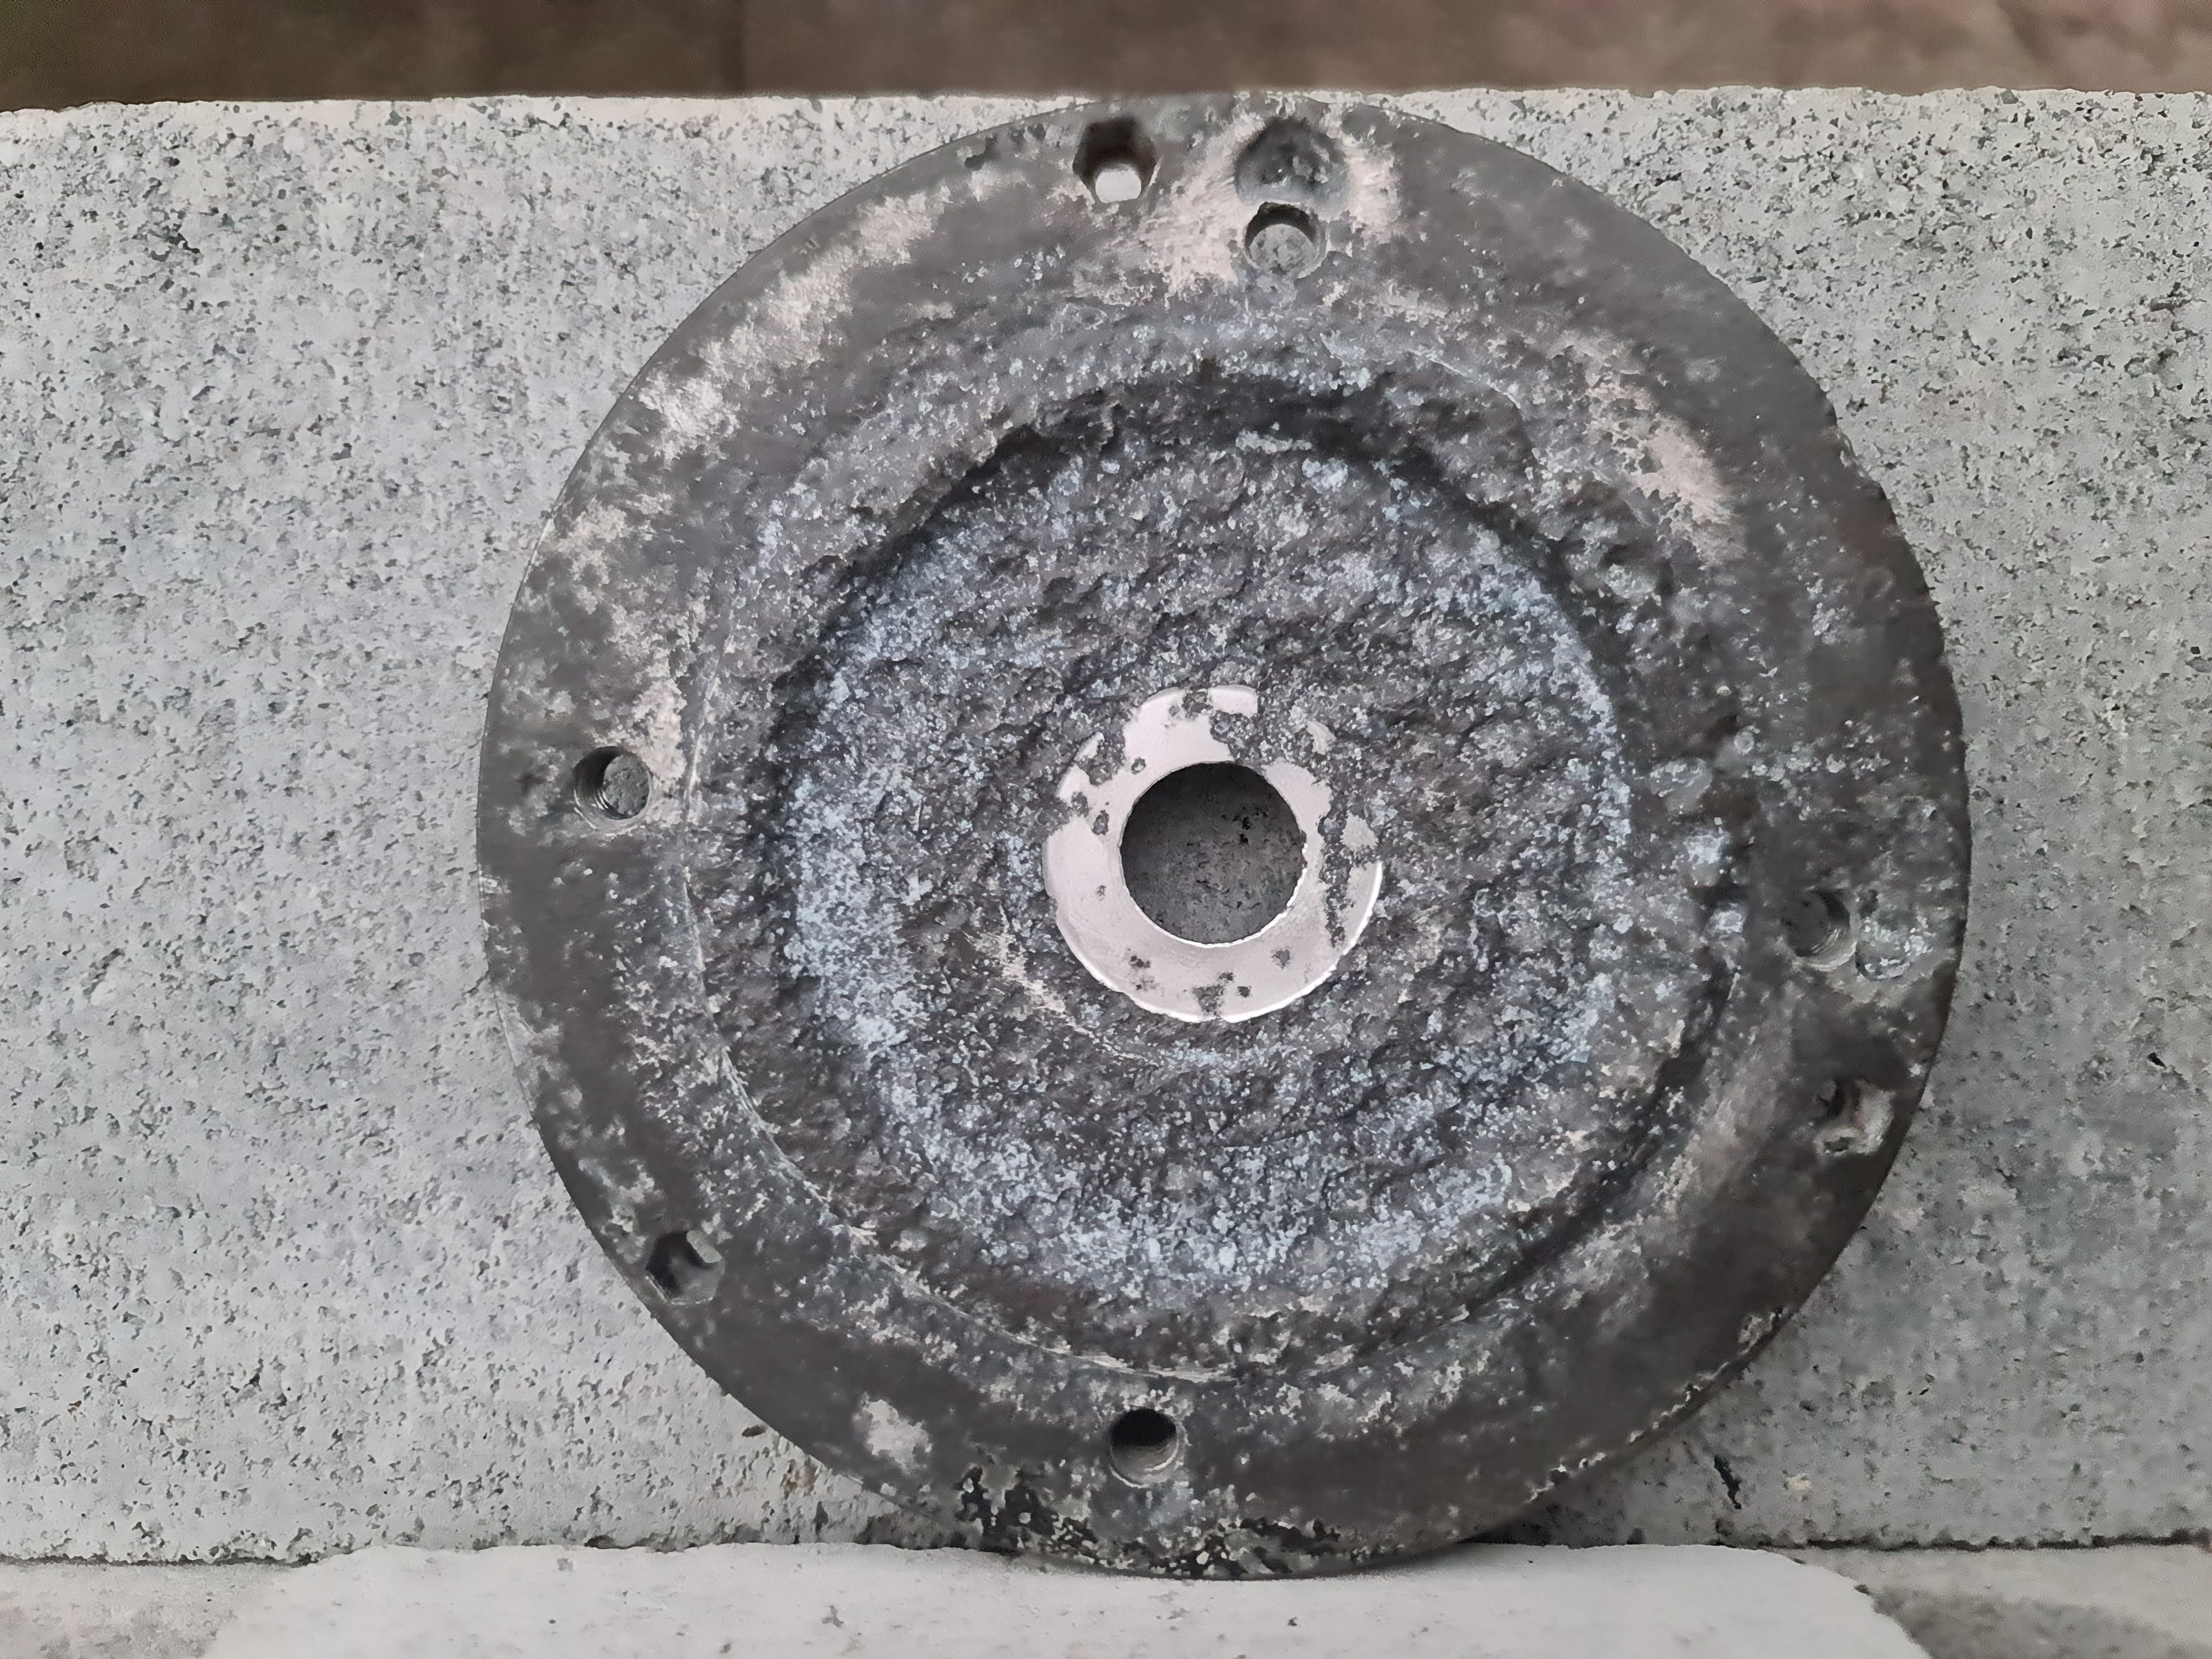

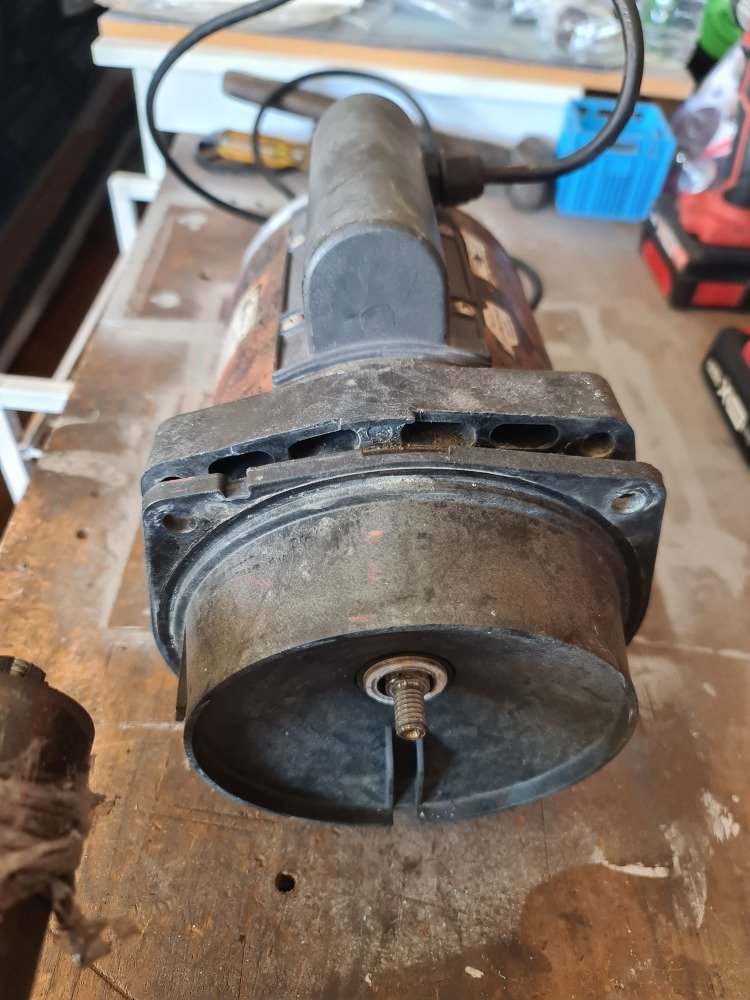
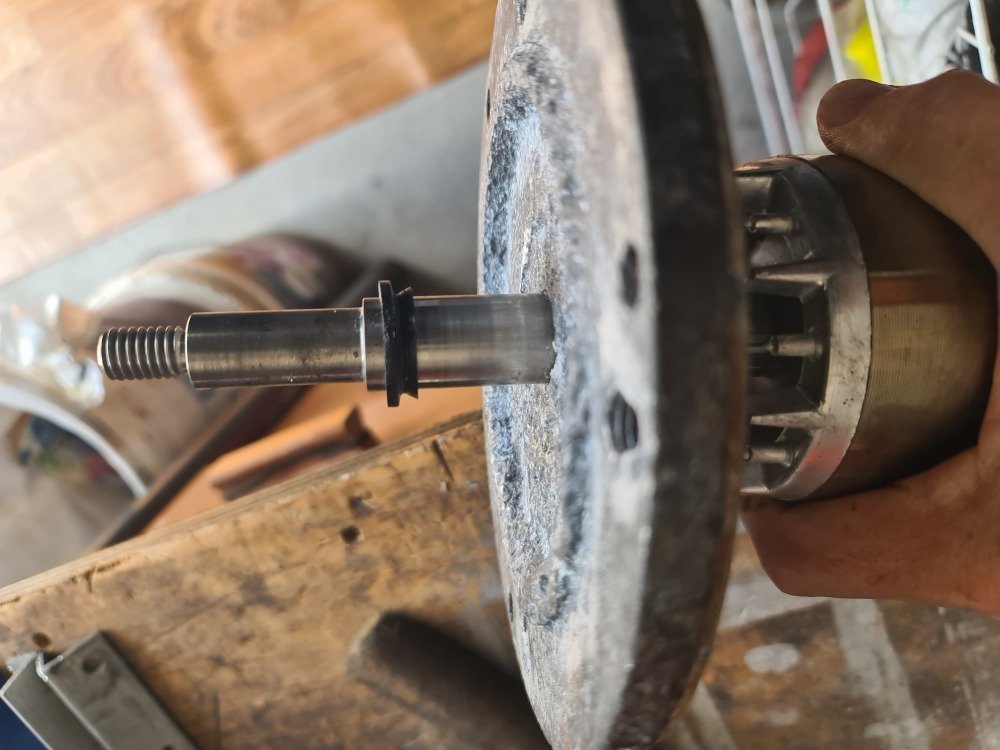
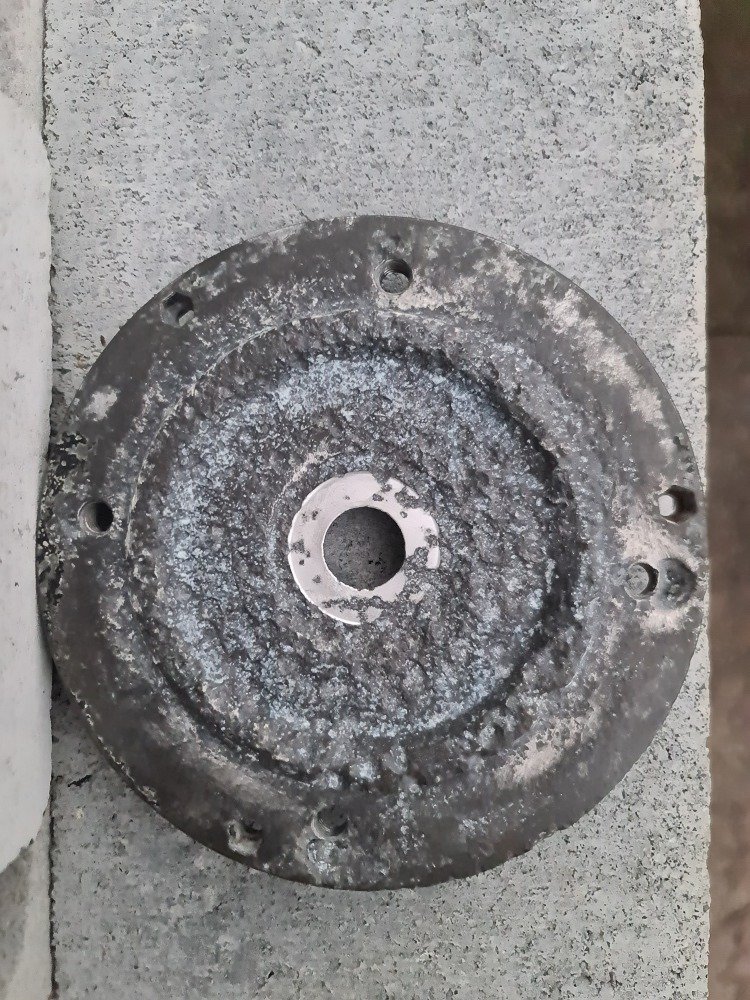
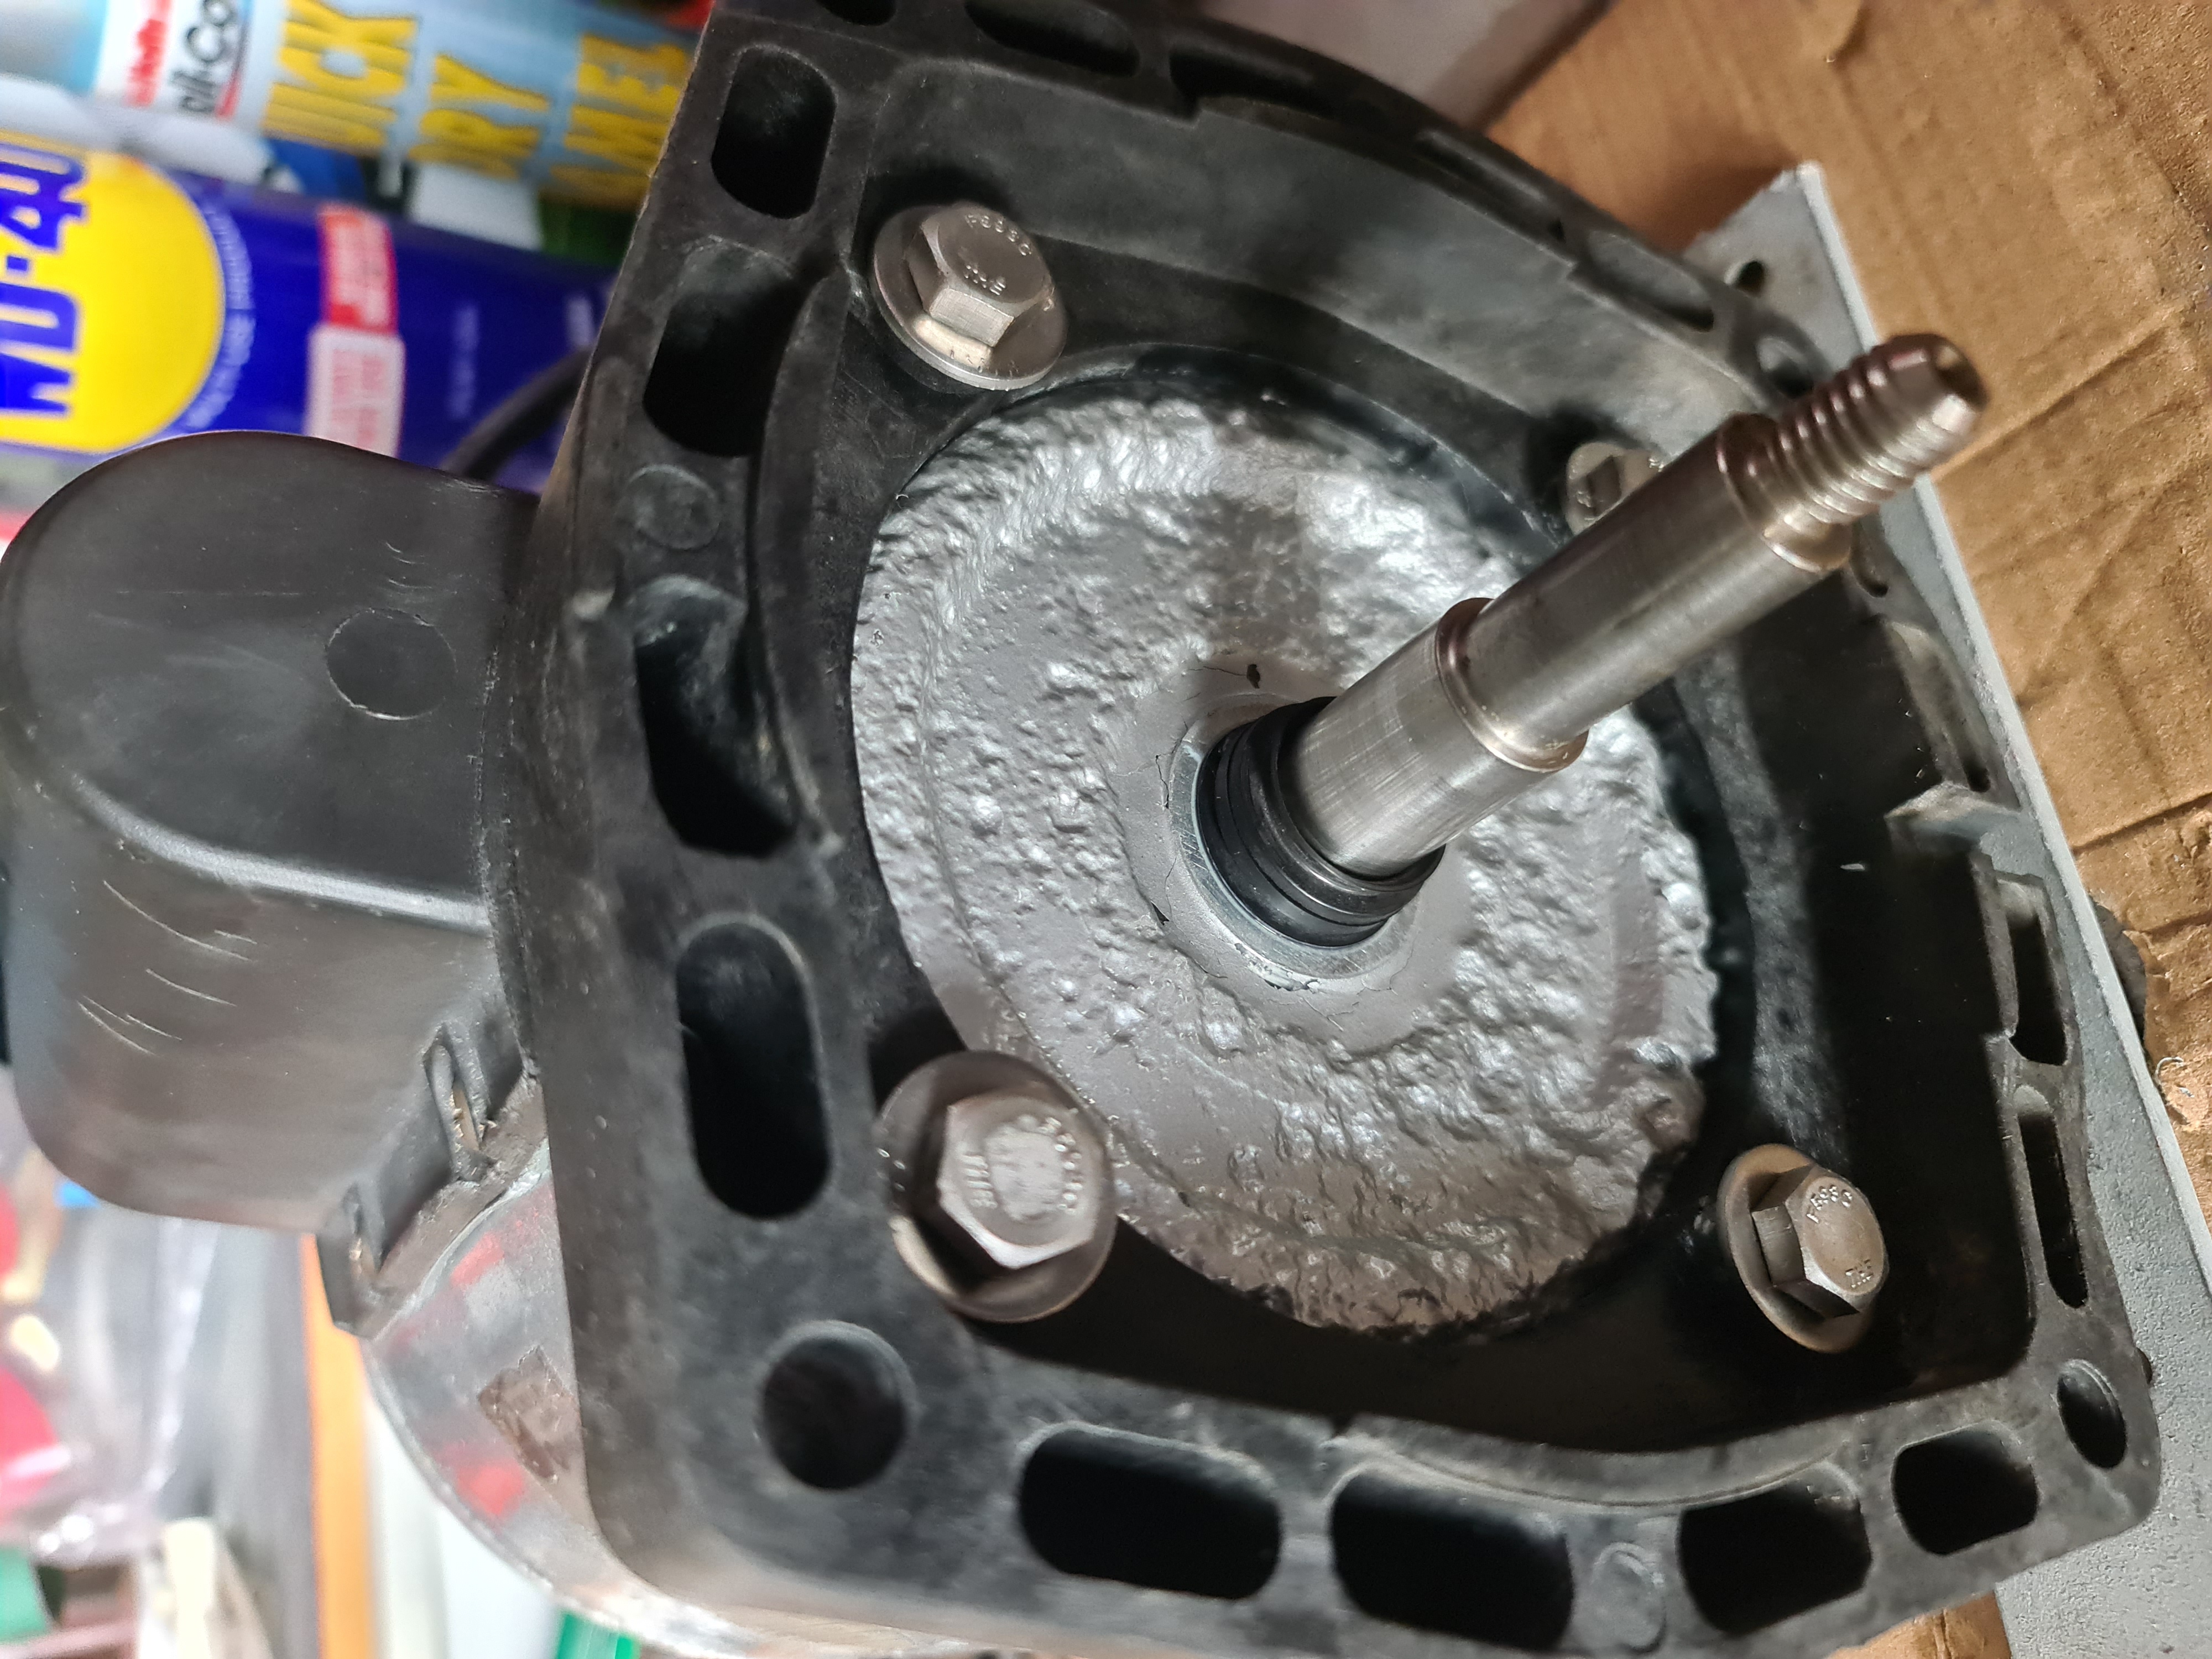
Cleaned all the rust scale from the steel motor body and wire brushed and scrubbed the corroded oxidized aluminium end covers of the motor.
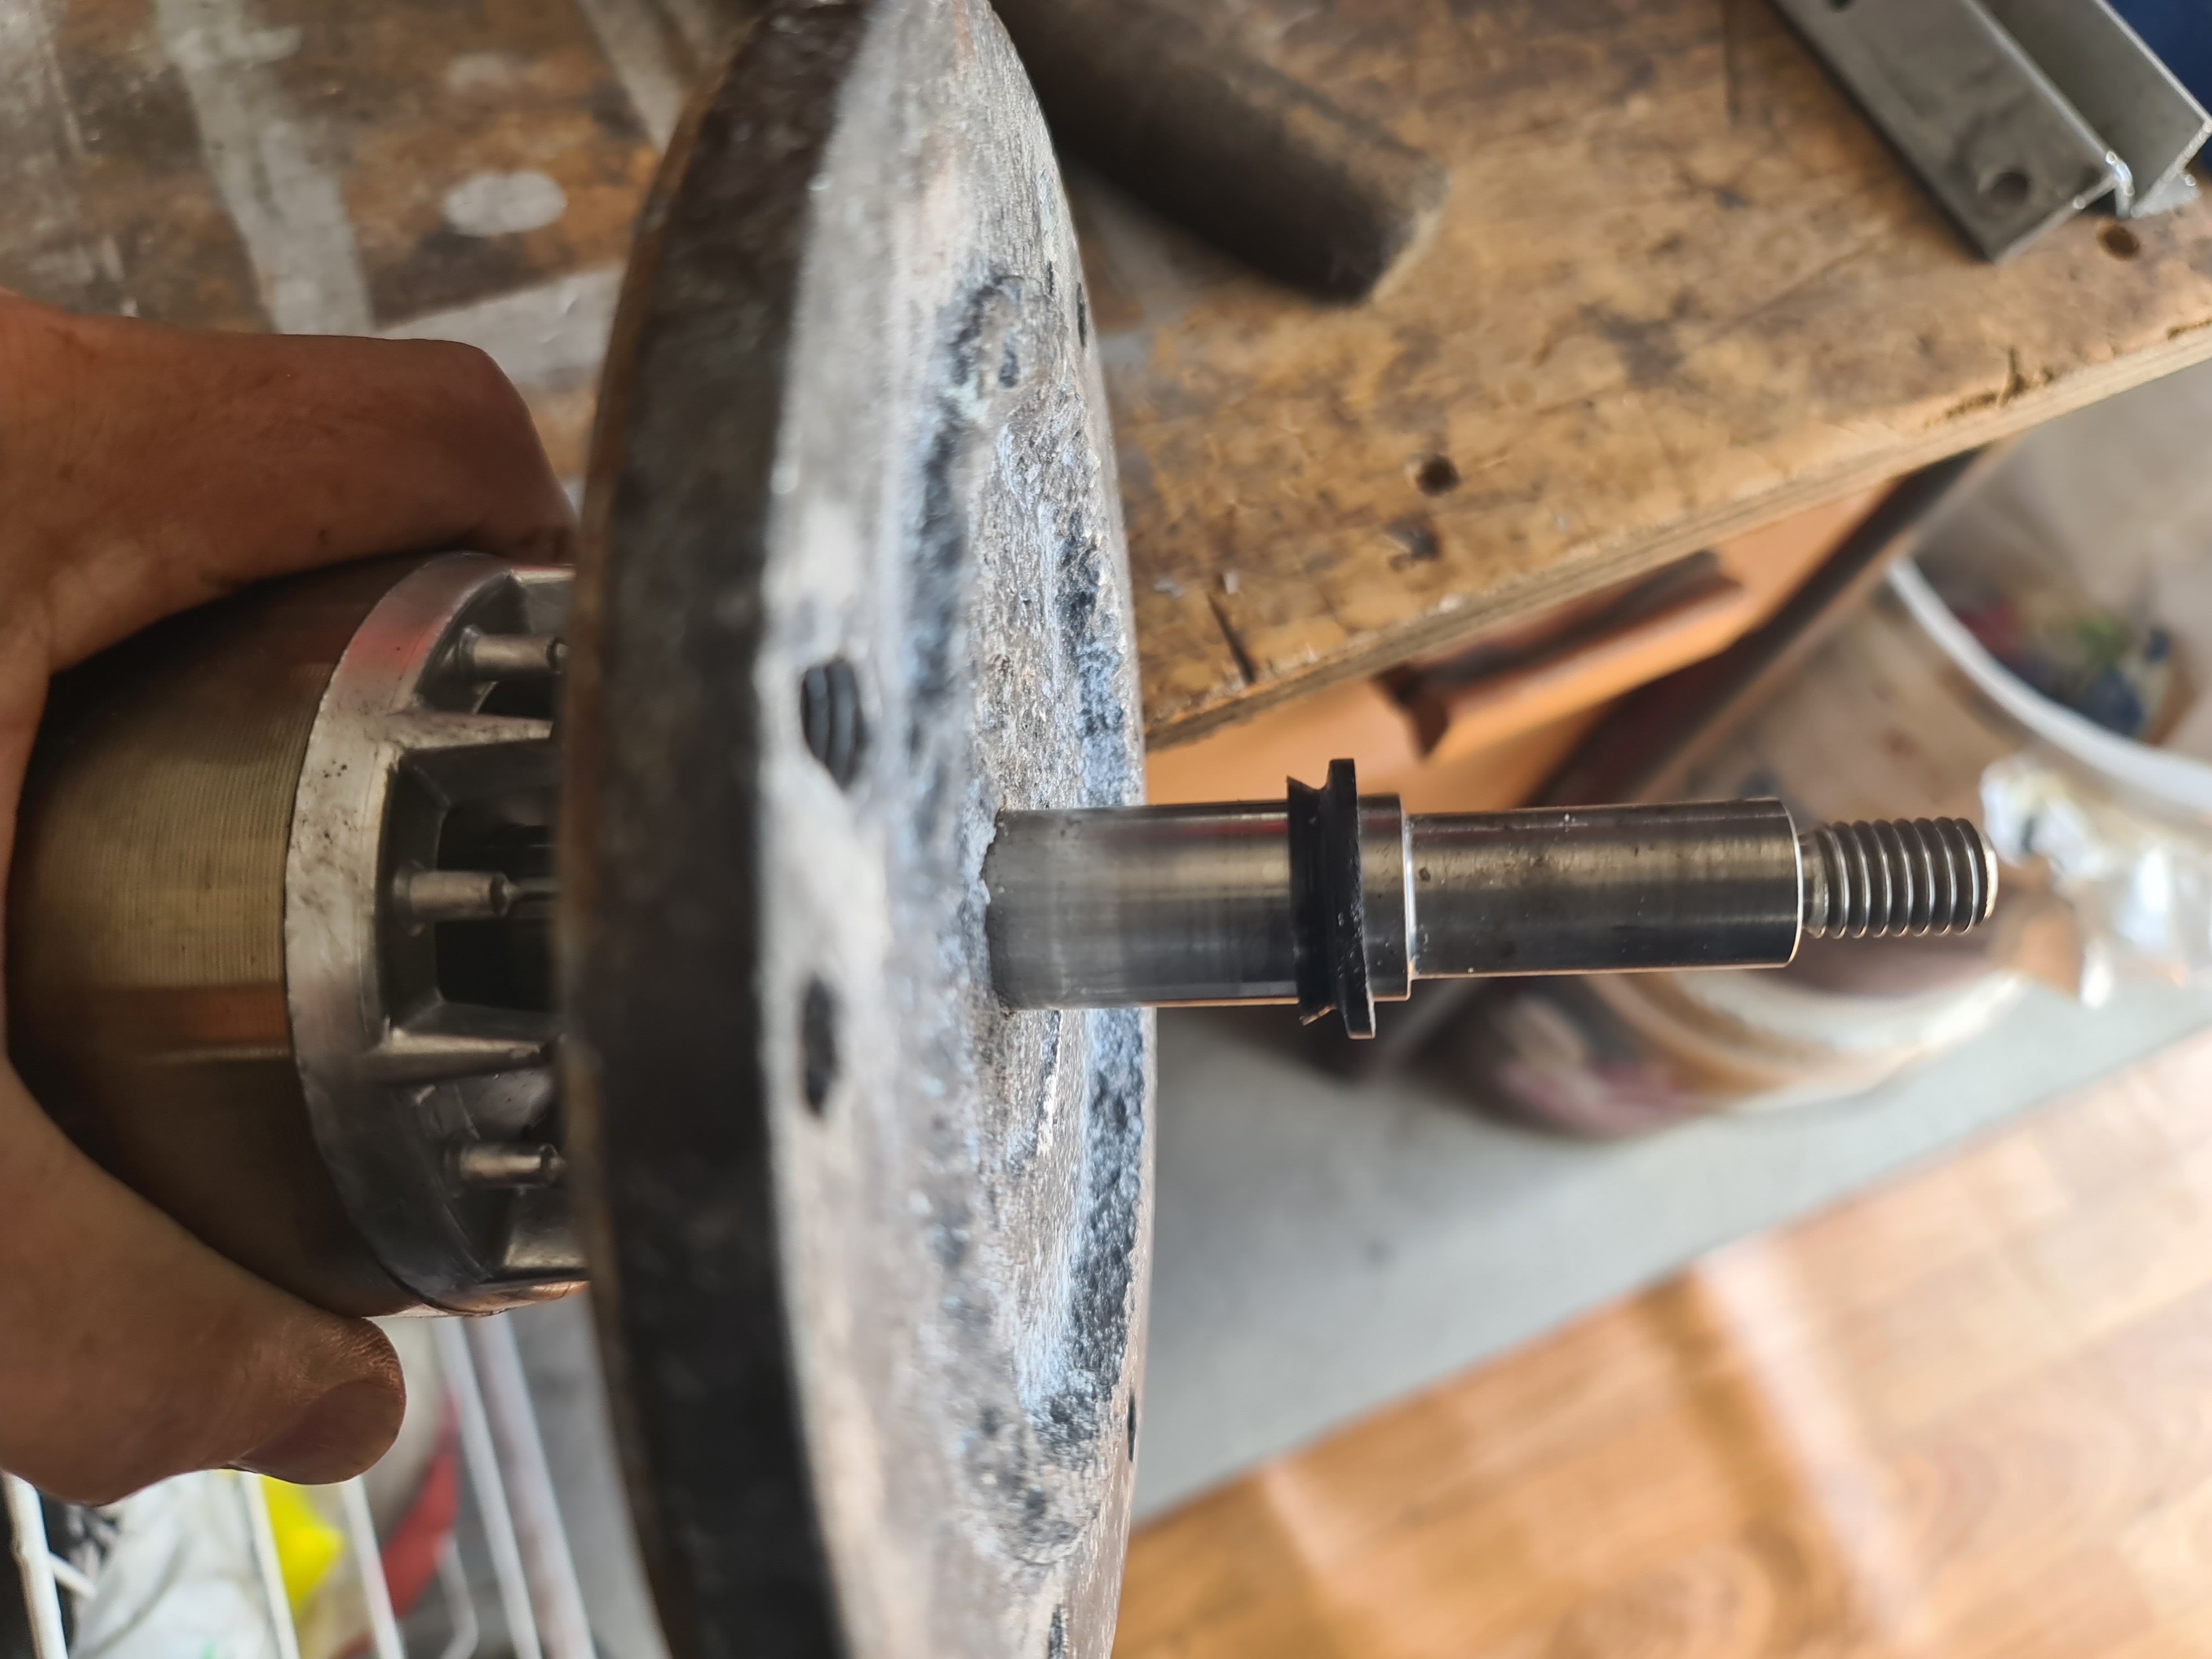
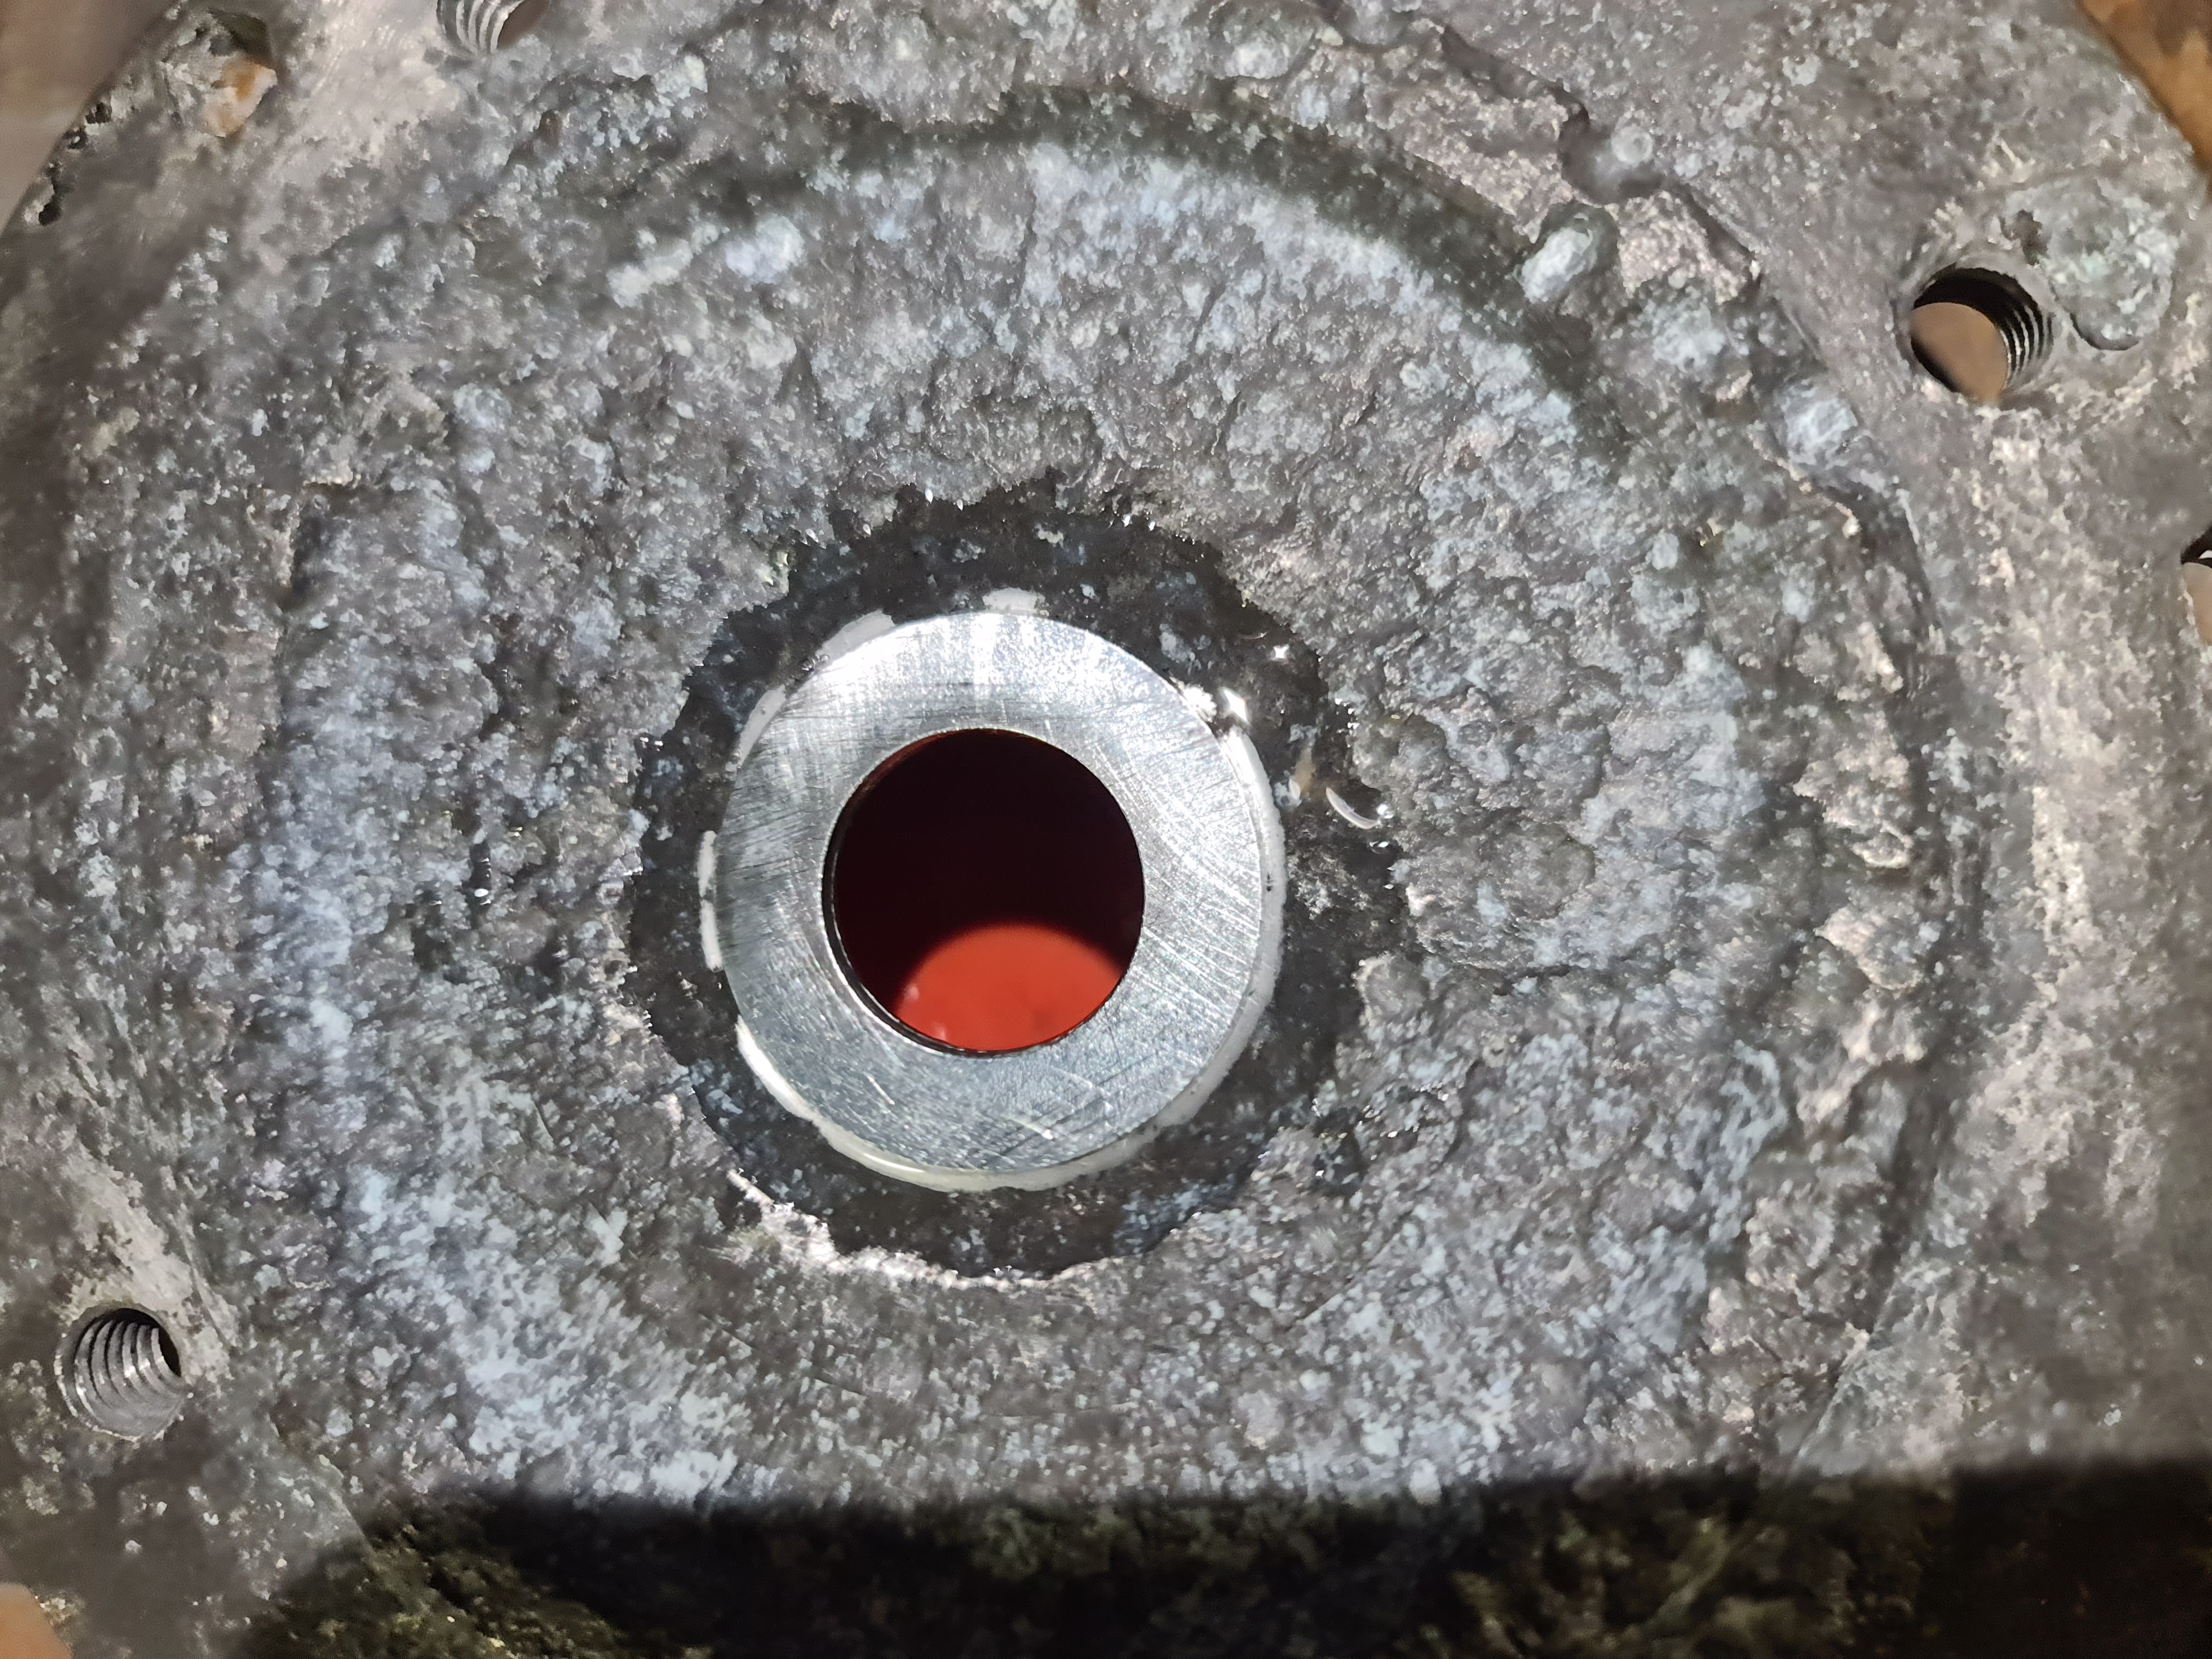
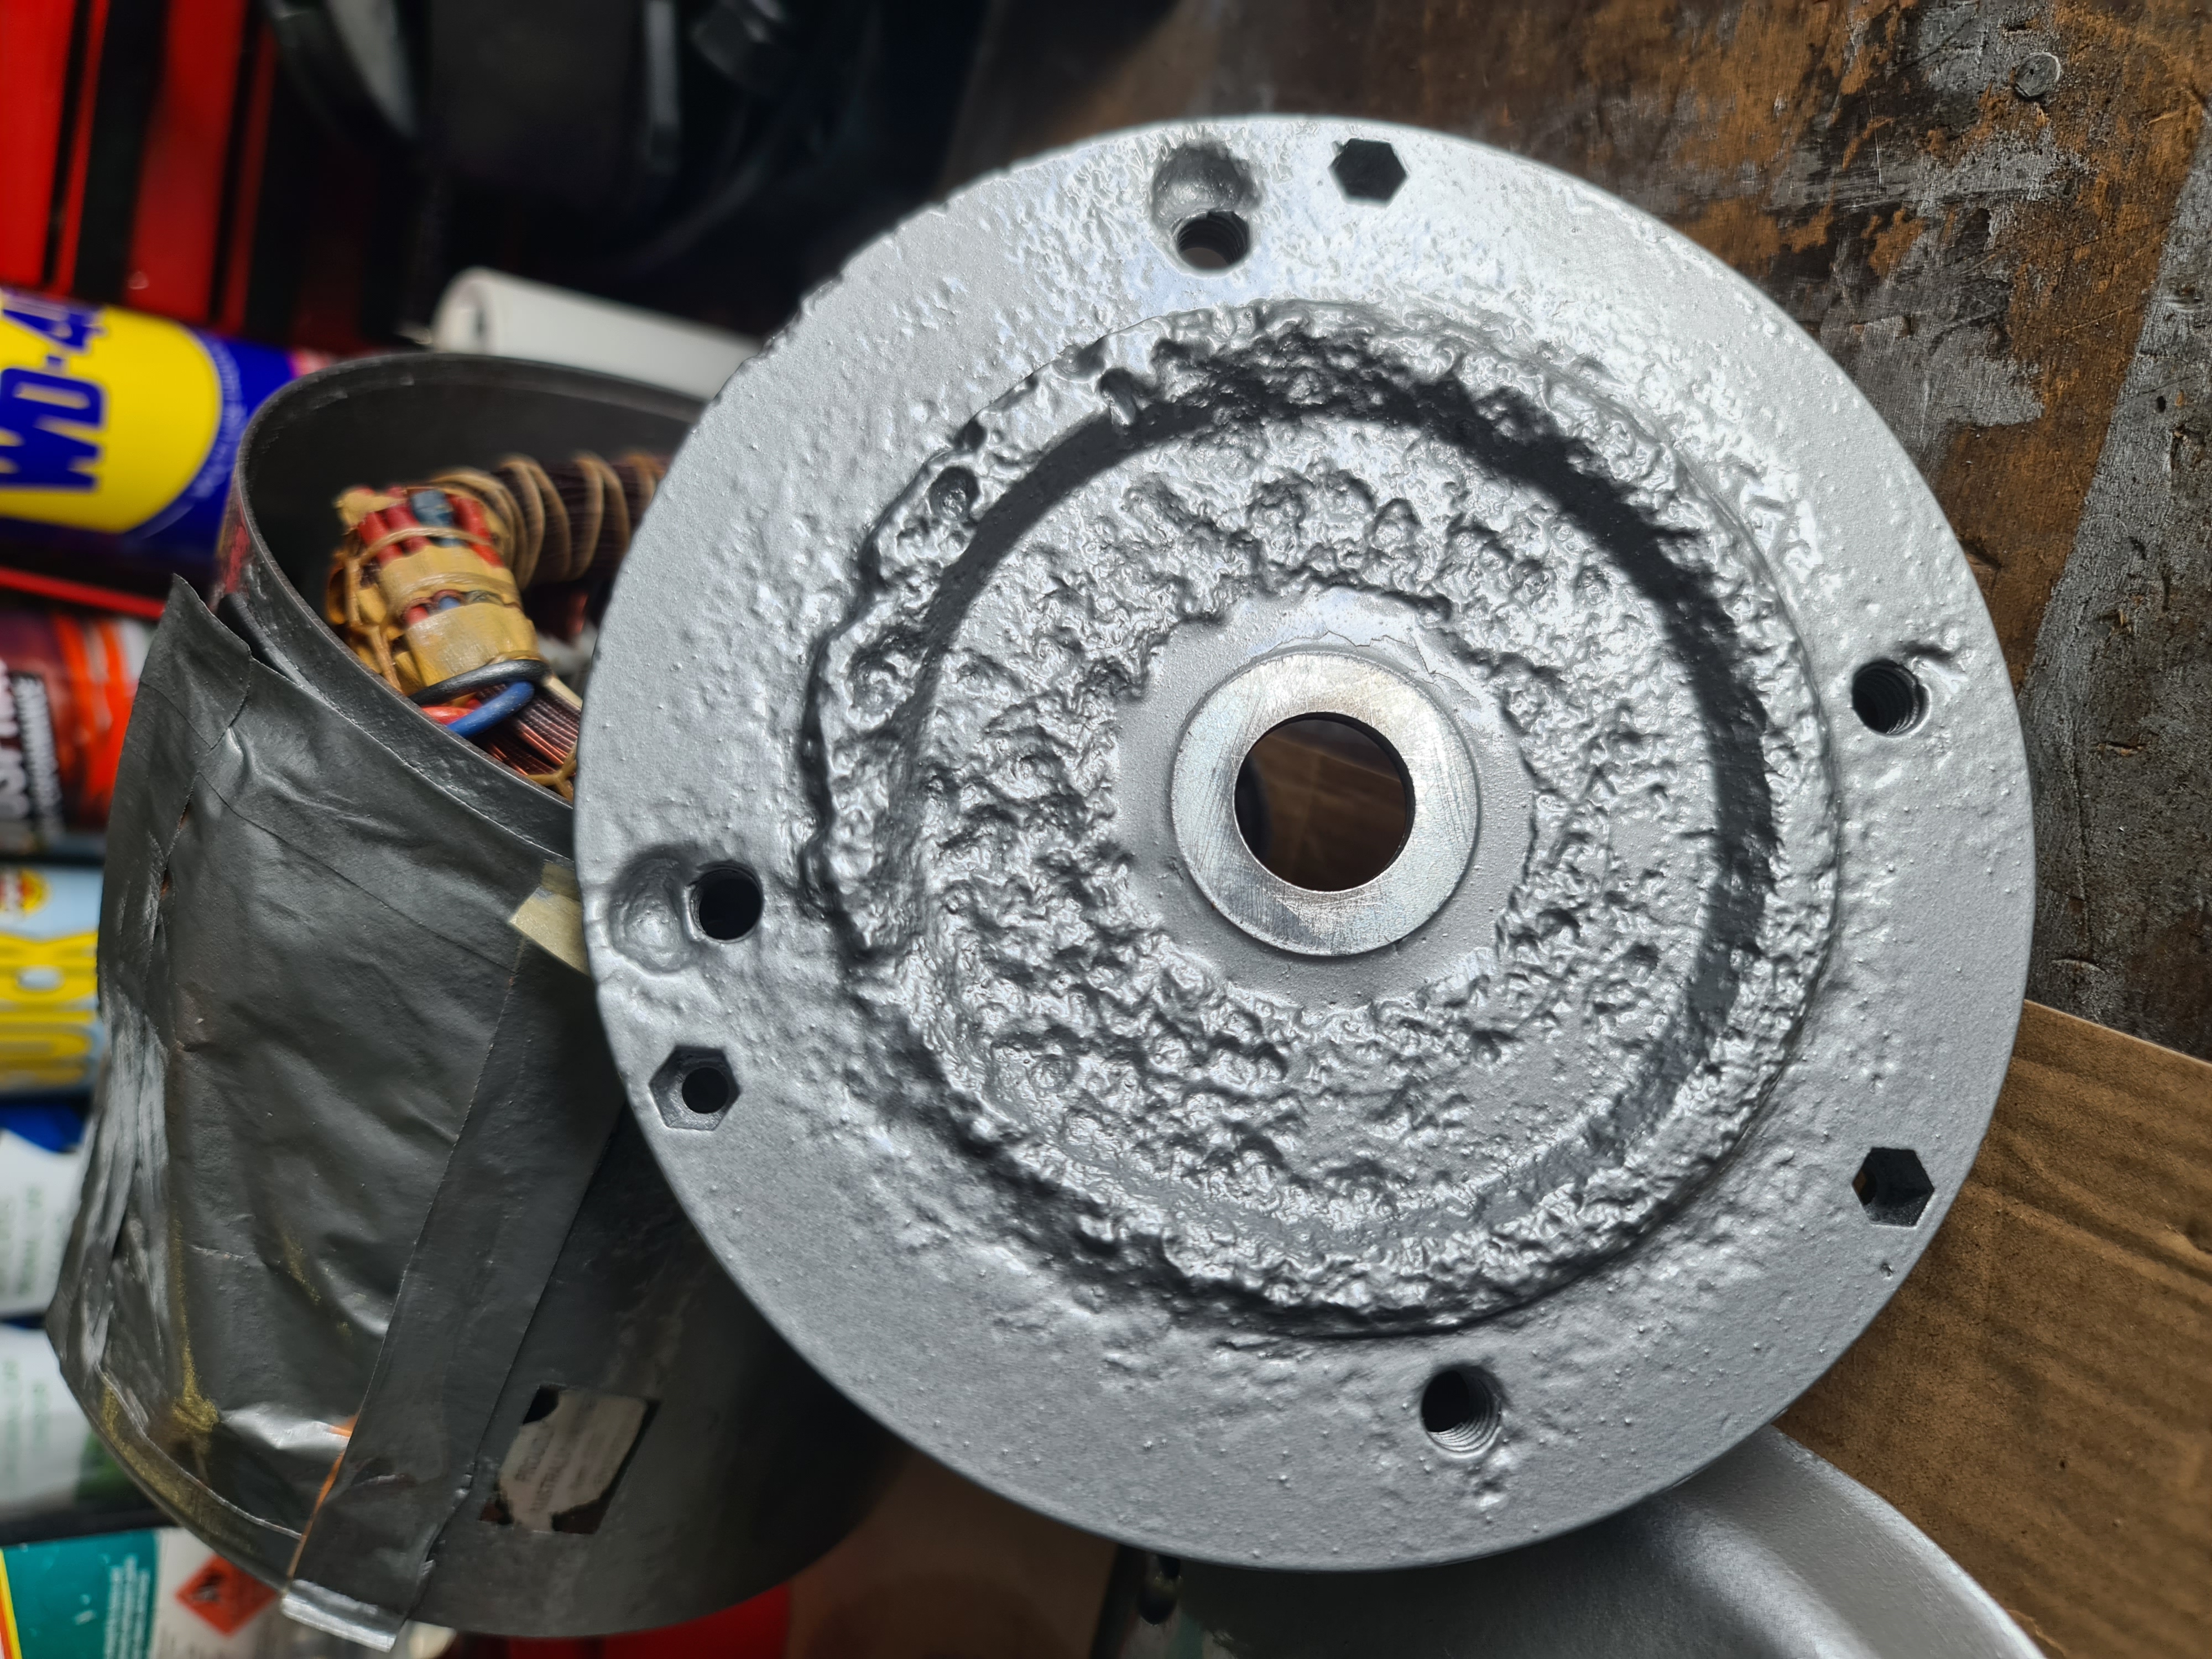
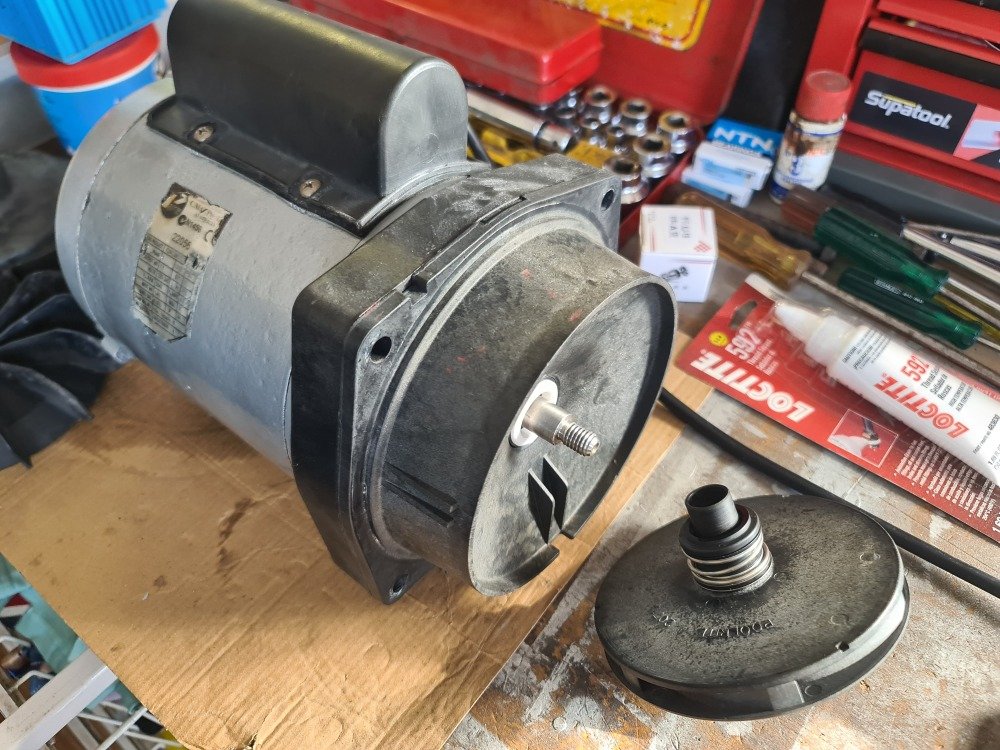
Due to the heavily corroded and pitted aluminium cover where the rubber V seal contacted, I had to machine a flat face which meant the cover was quite thin, so I then glued a flat washer onto the end cover face after I machined it, to enable a flat face for the V seal to contact adequately.
Step 3: Paint parts and fit bearings.
Plus 1 more
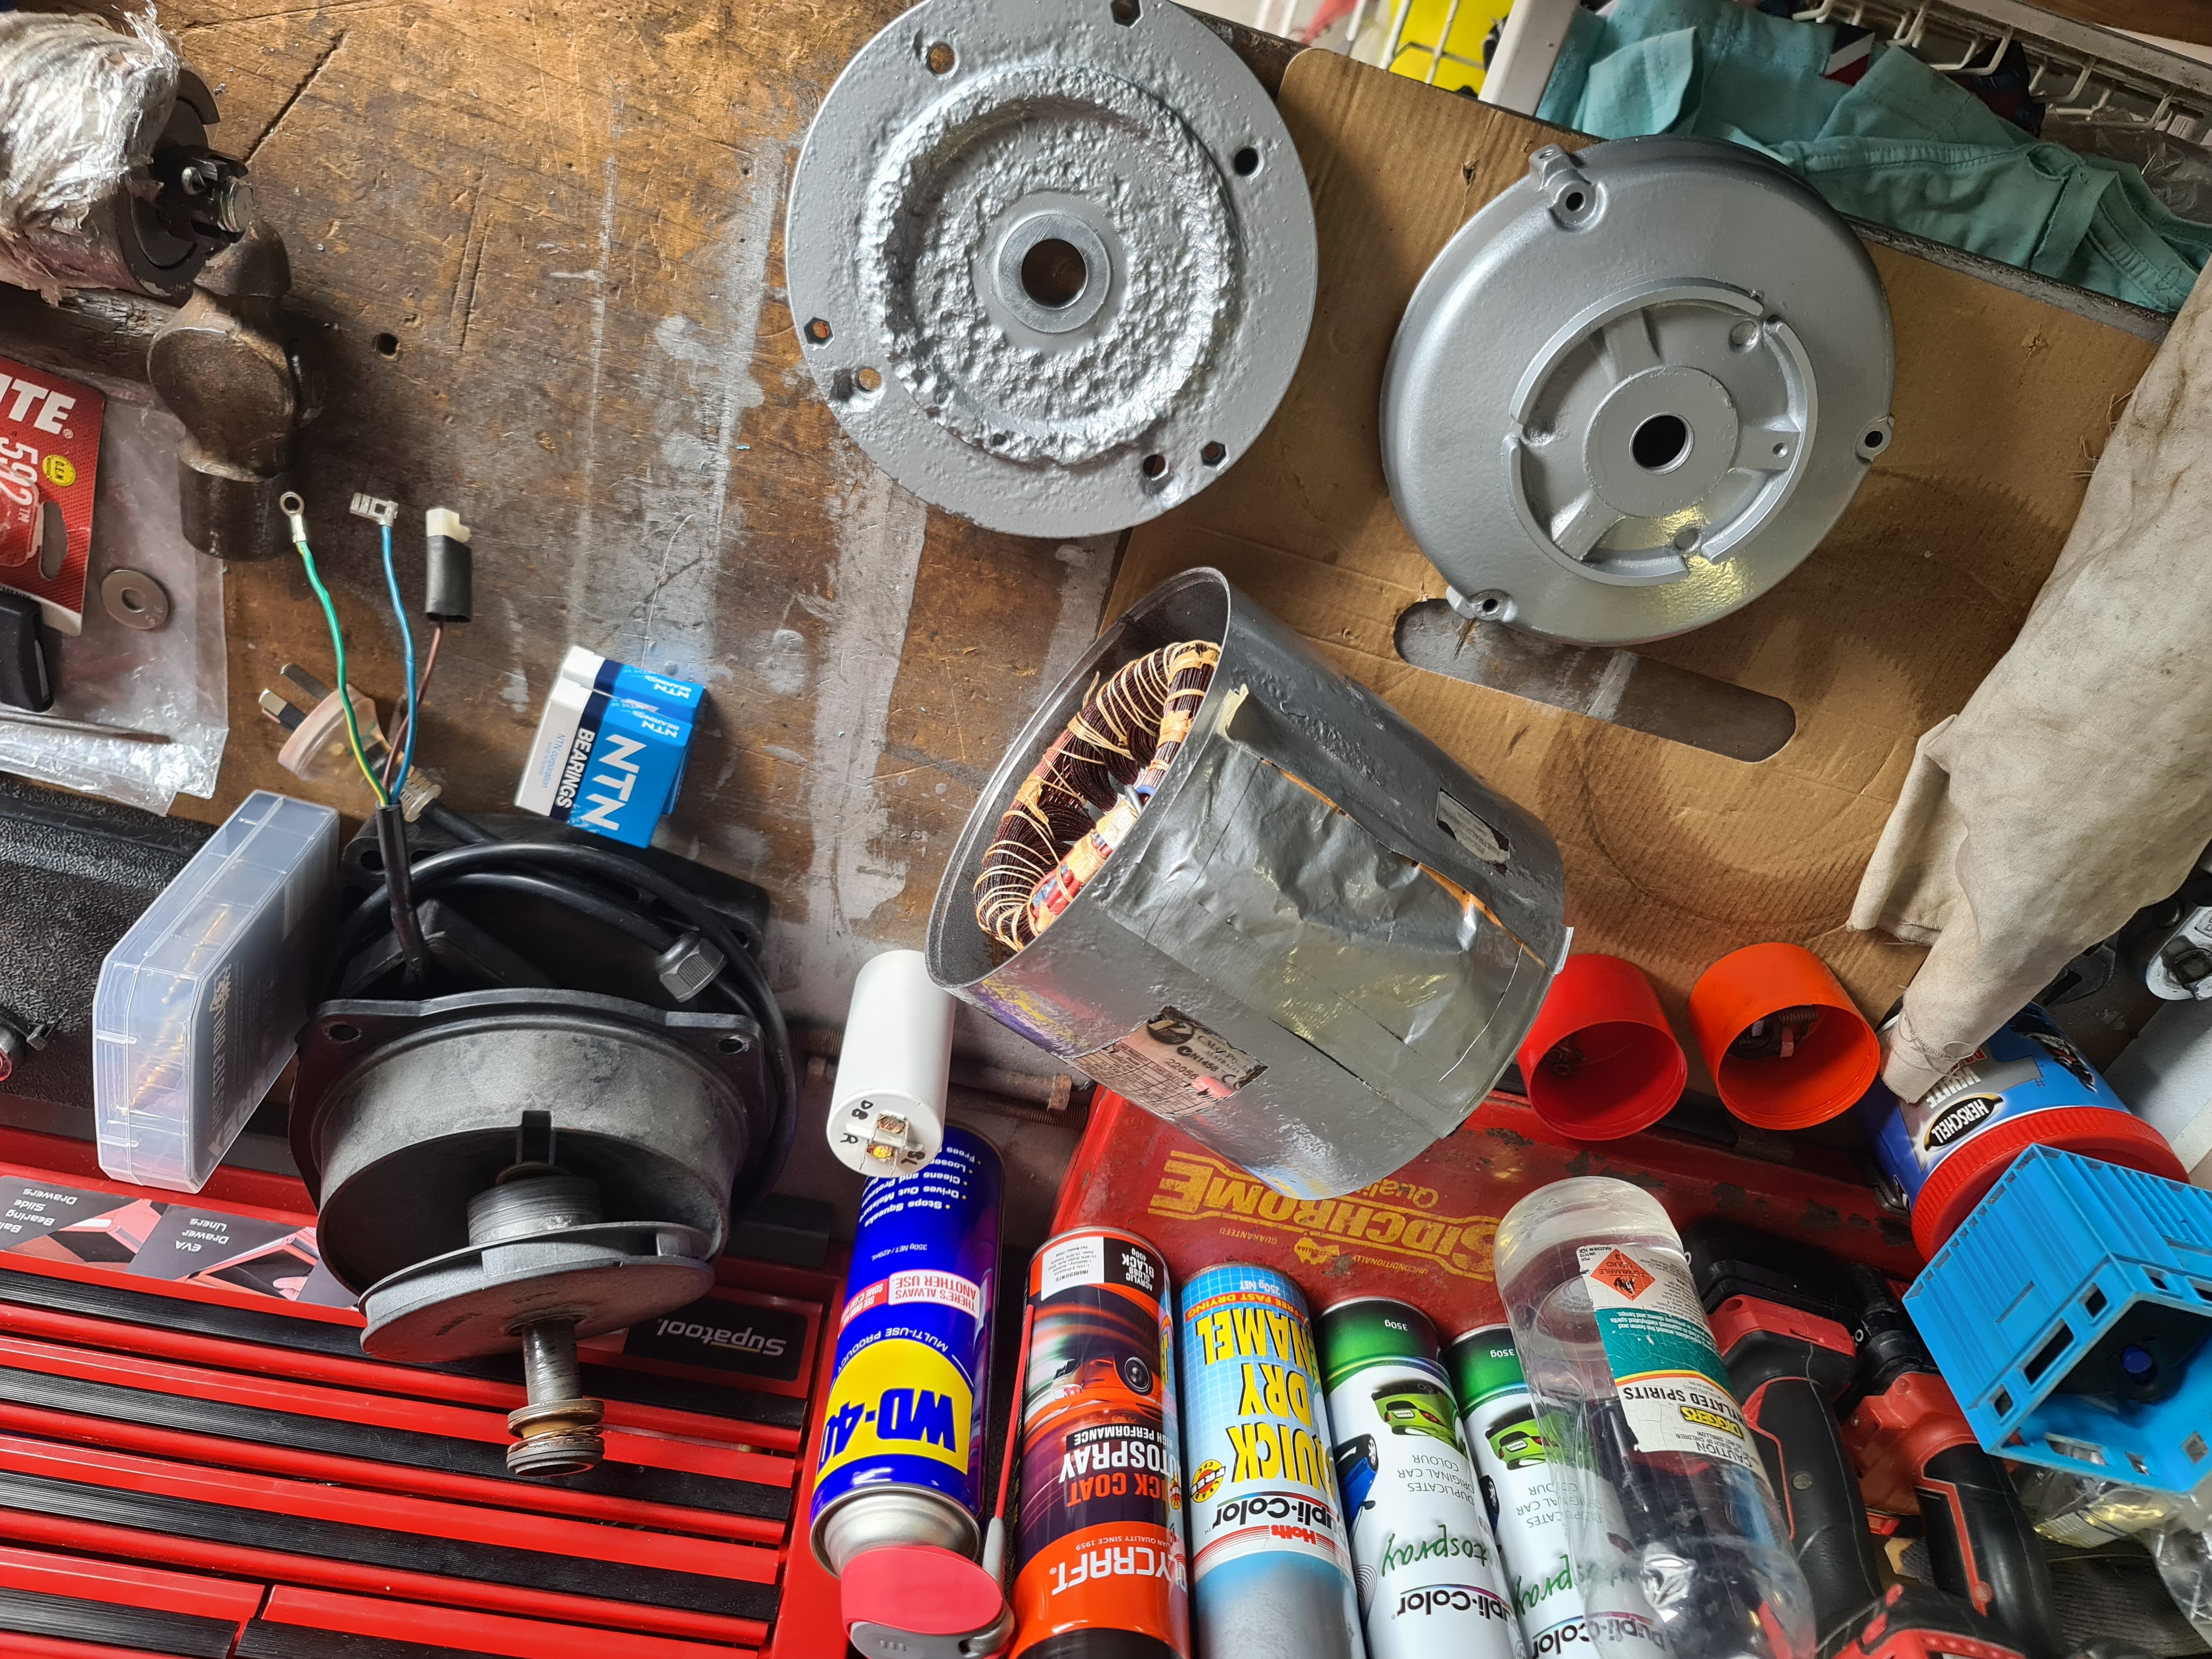
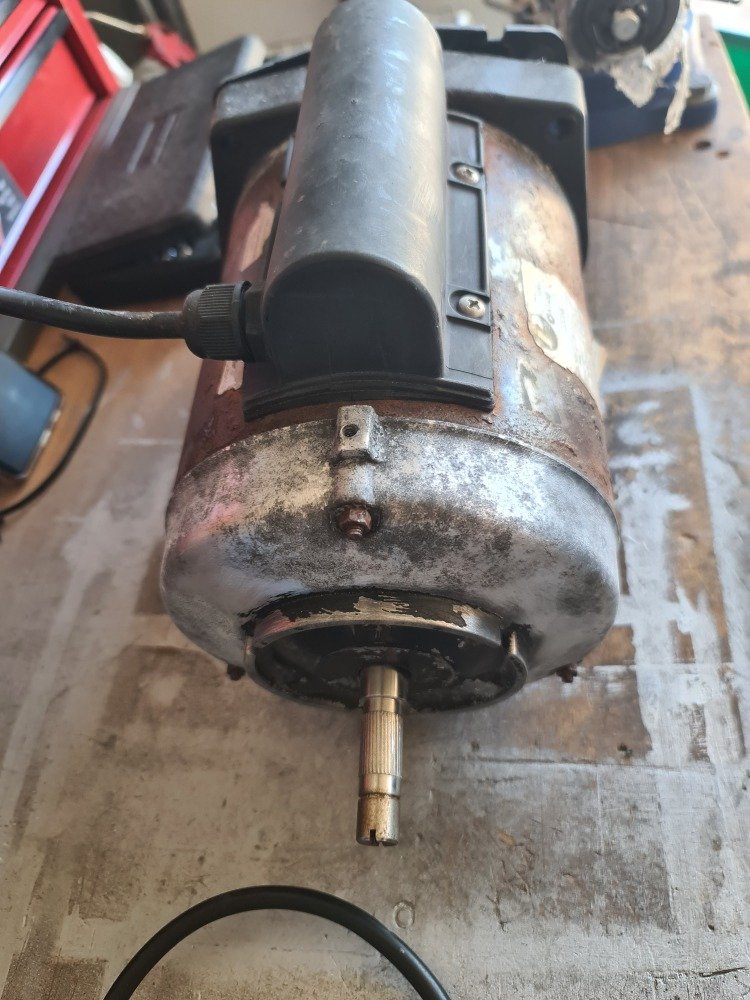
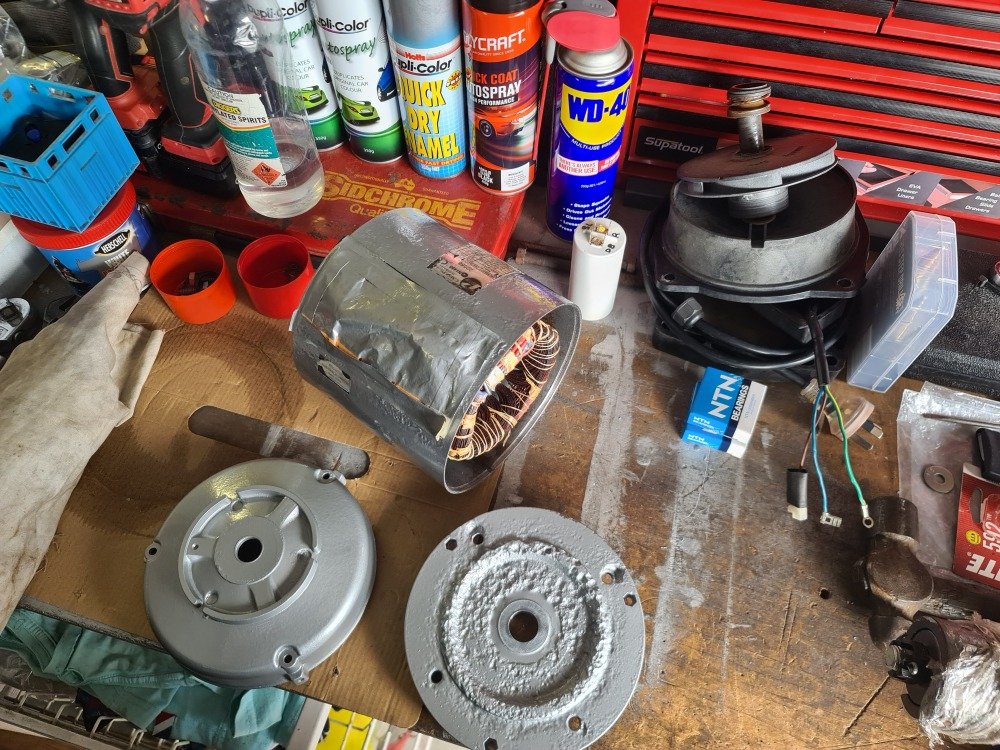
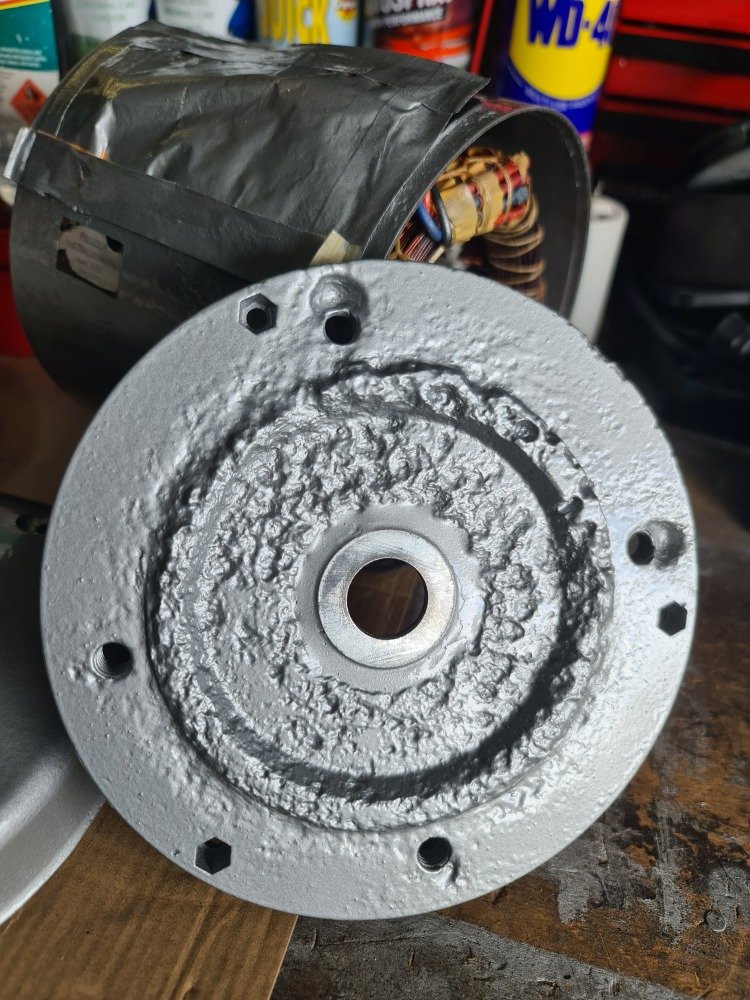
Once all parts had been repaired, I cleaned and prepared all the parts for painting.
I undercoated the aluminium end covers and pump motor housing and then painted with a fast drying enamel paint.
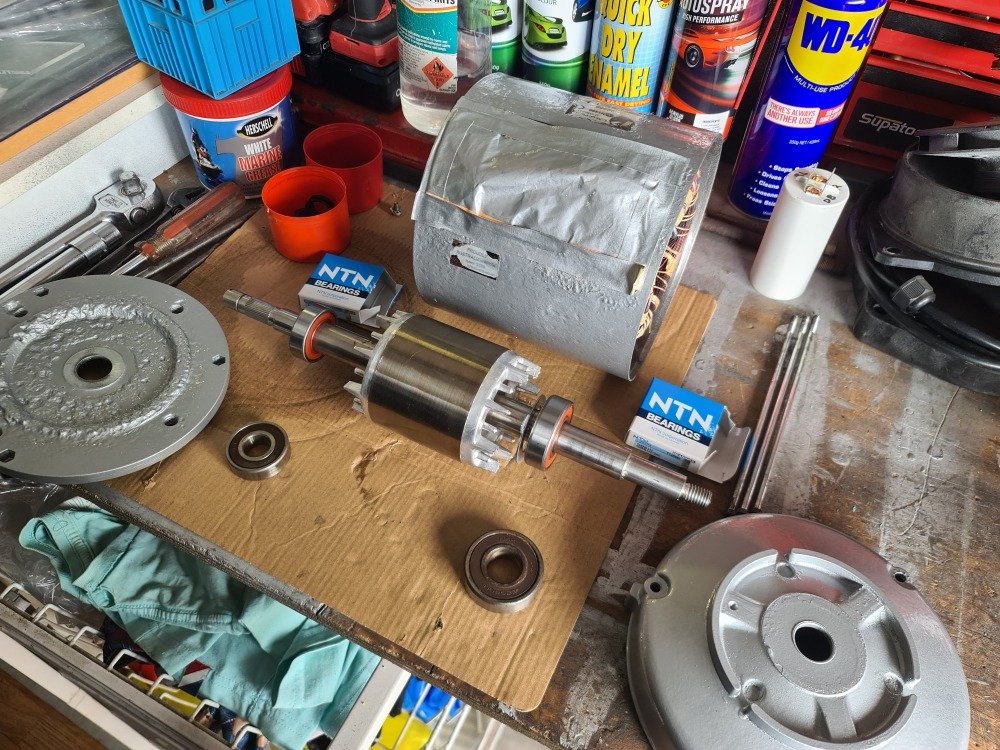
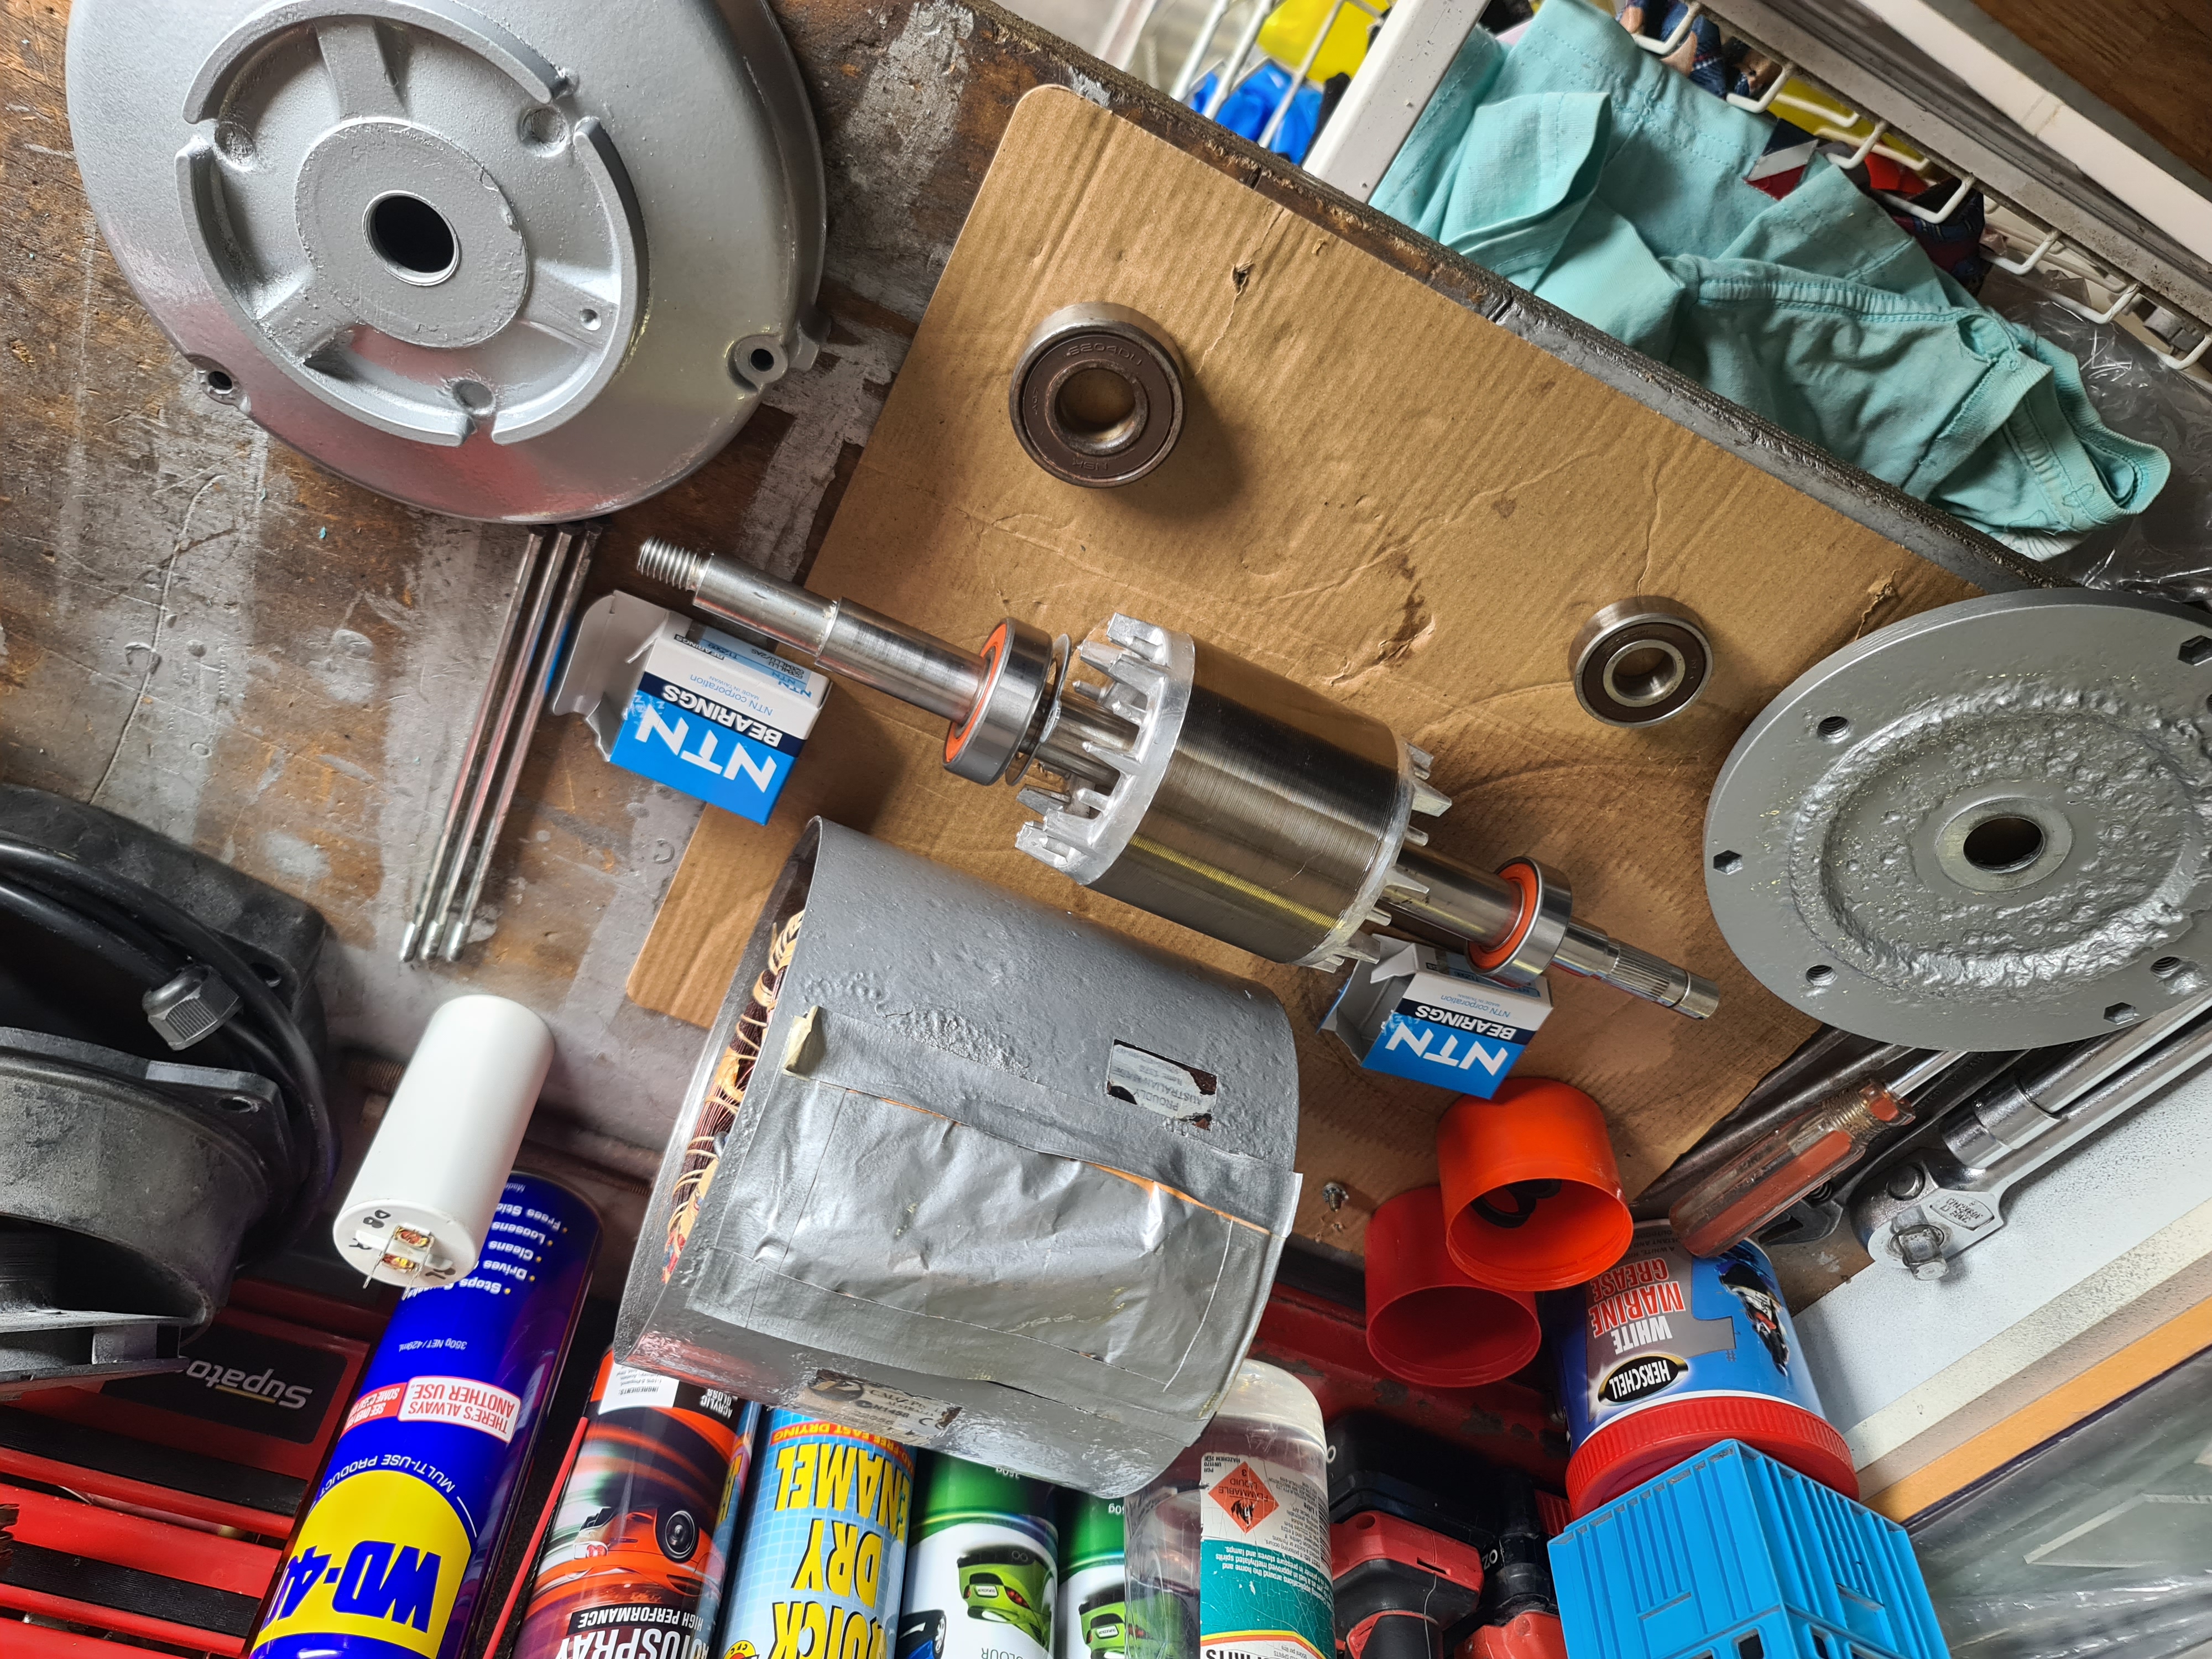
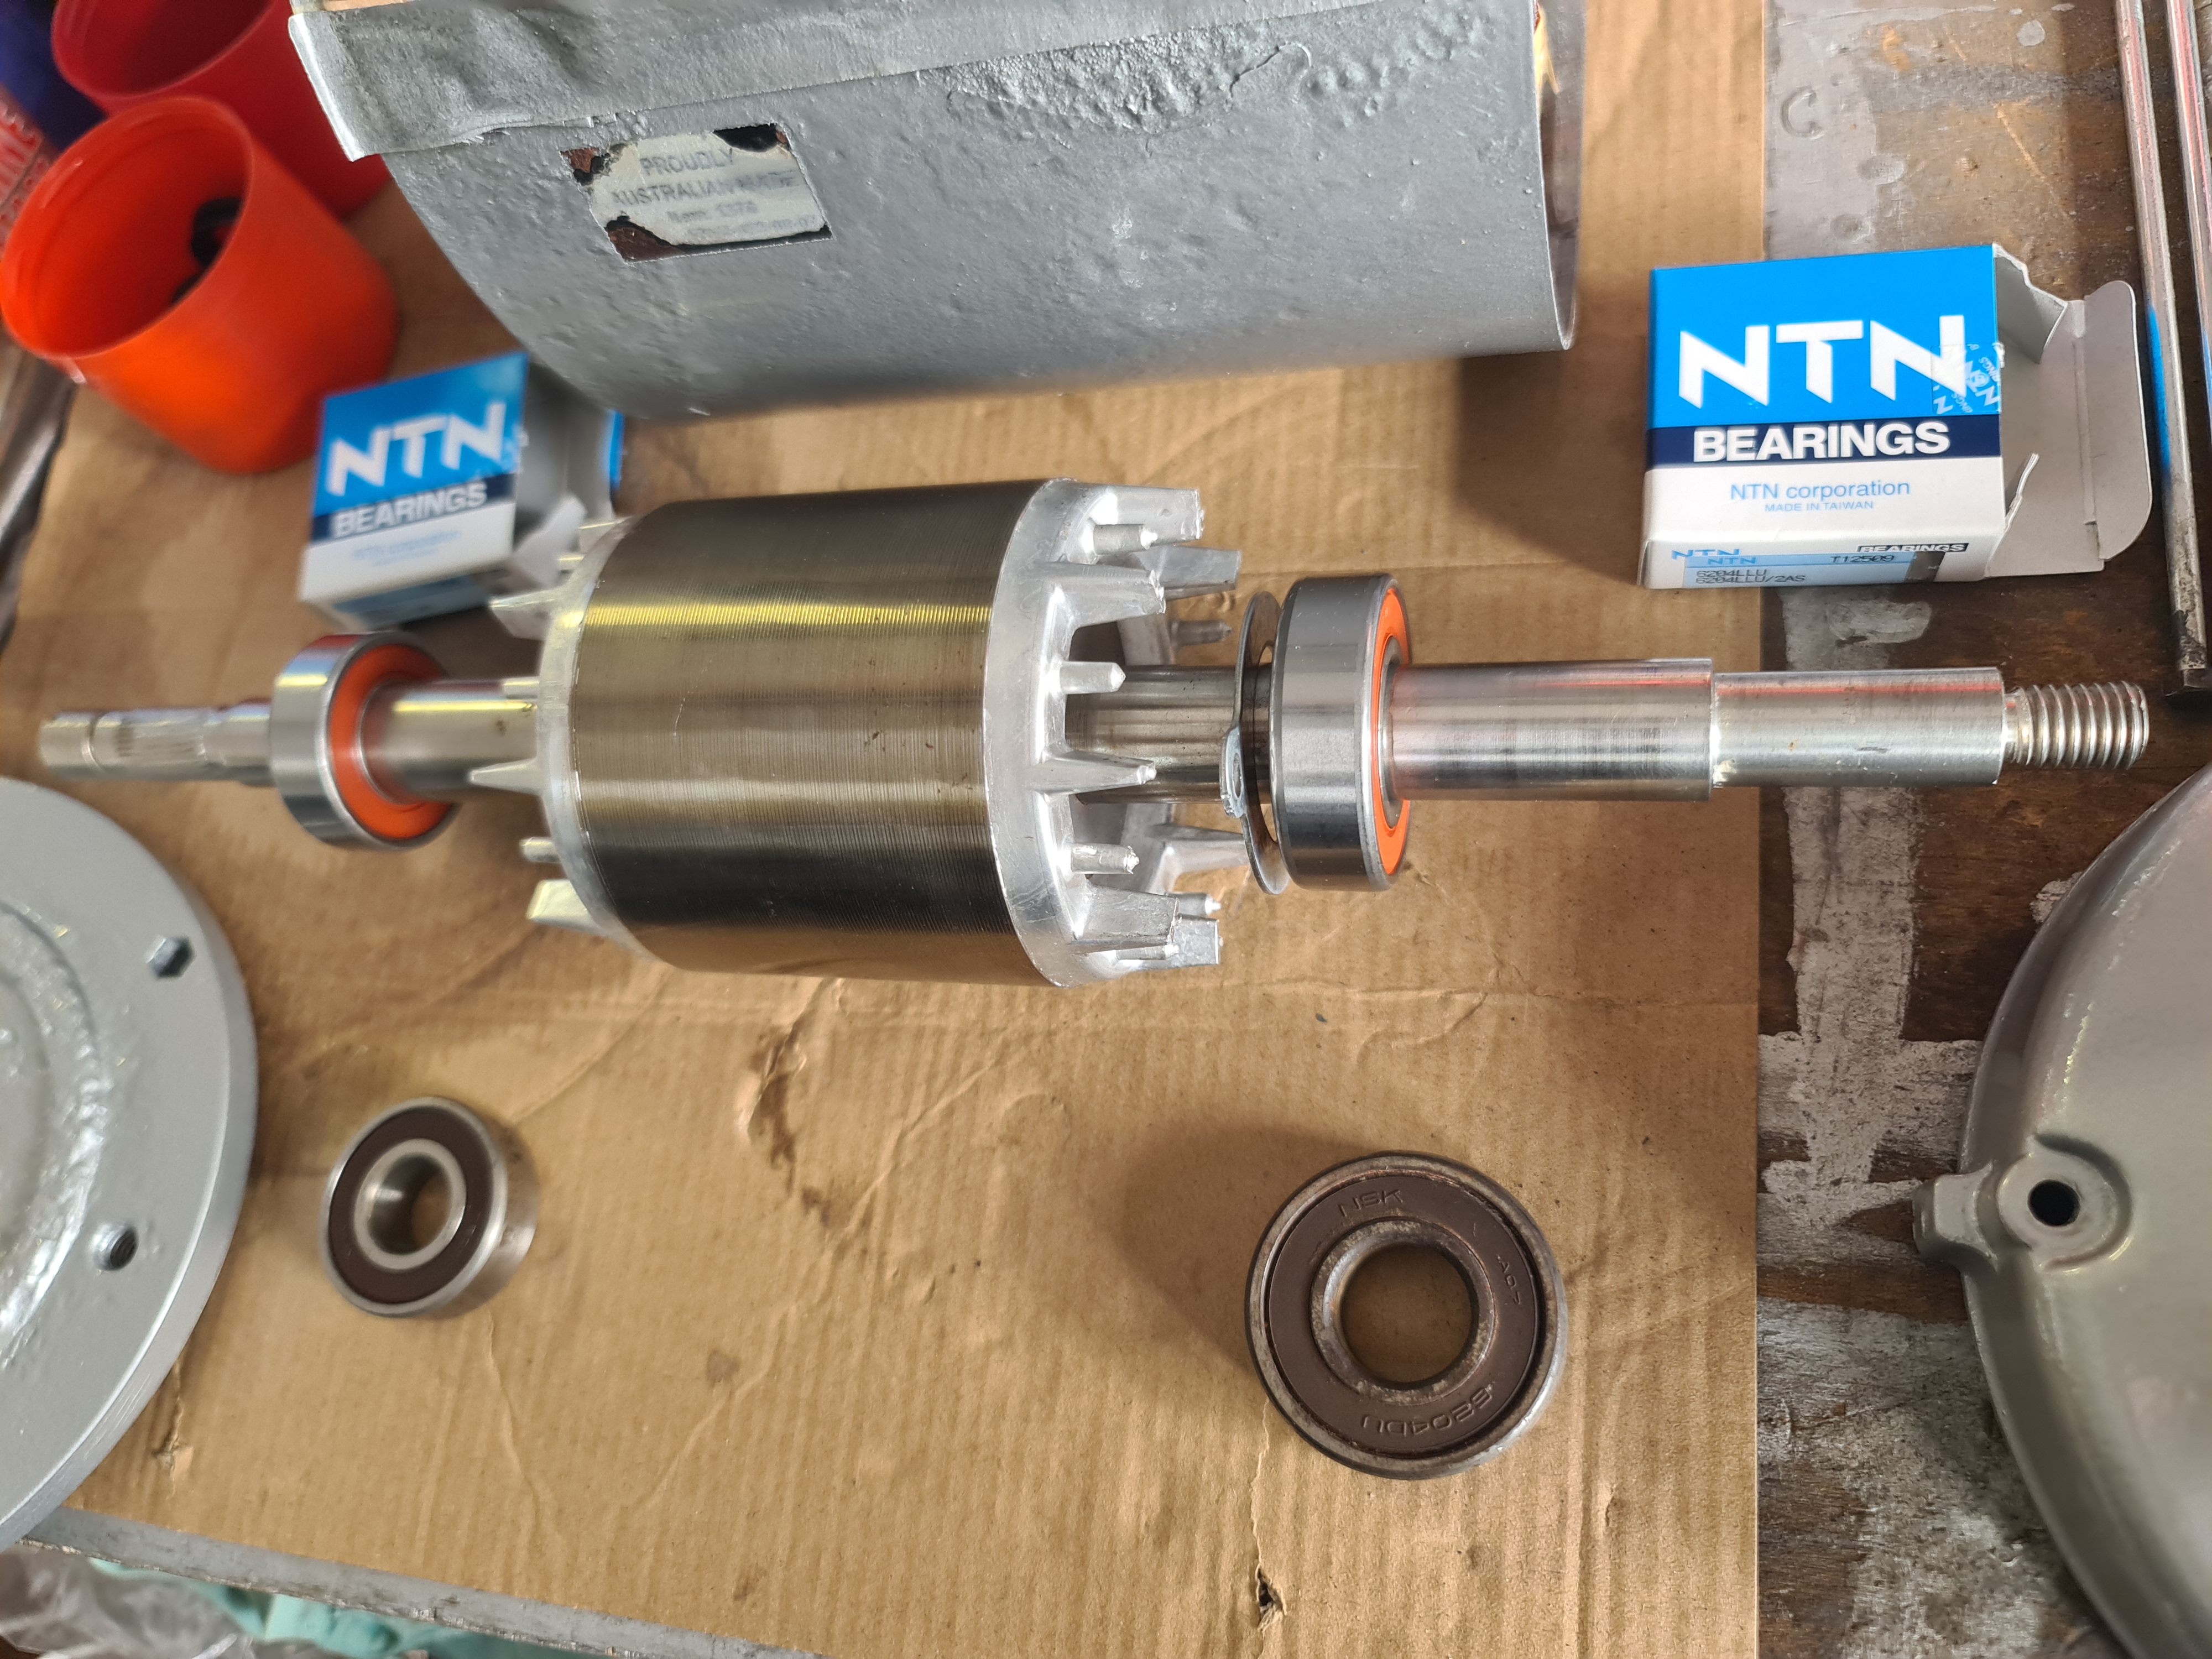
Next, I lightly sprayed the motor rotor shafts with WD-40 and fitted the new bearings to the rotor shaft.
The weather was hot but I left the painted parts to dry for an extra day.
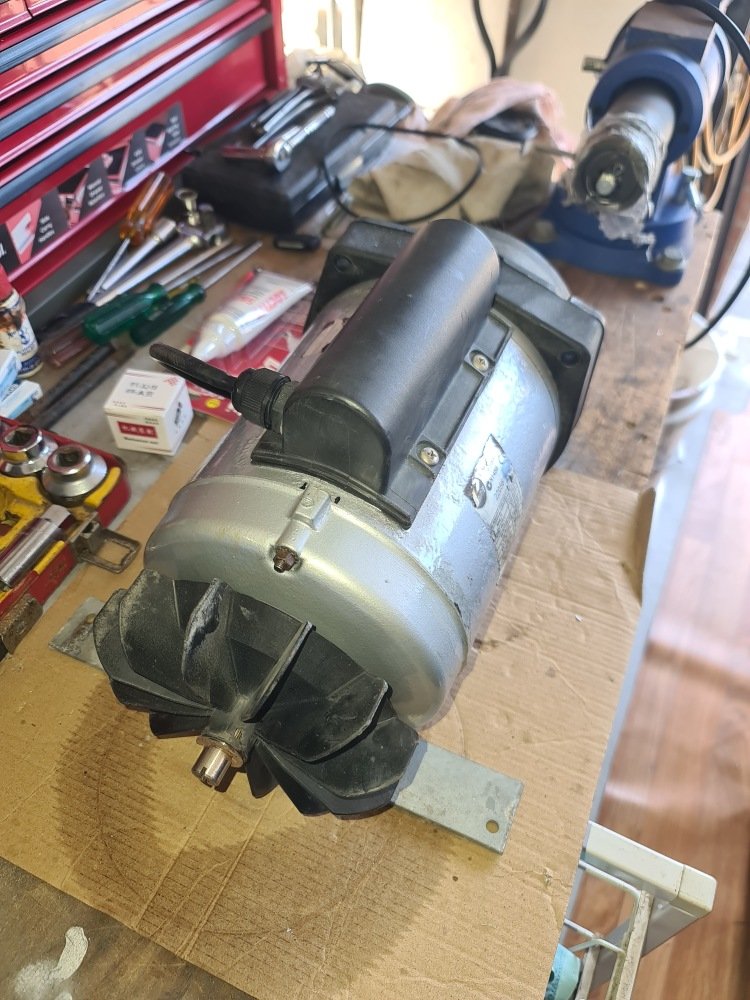
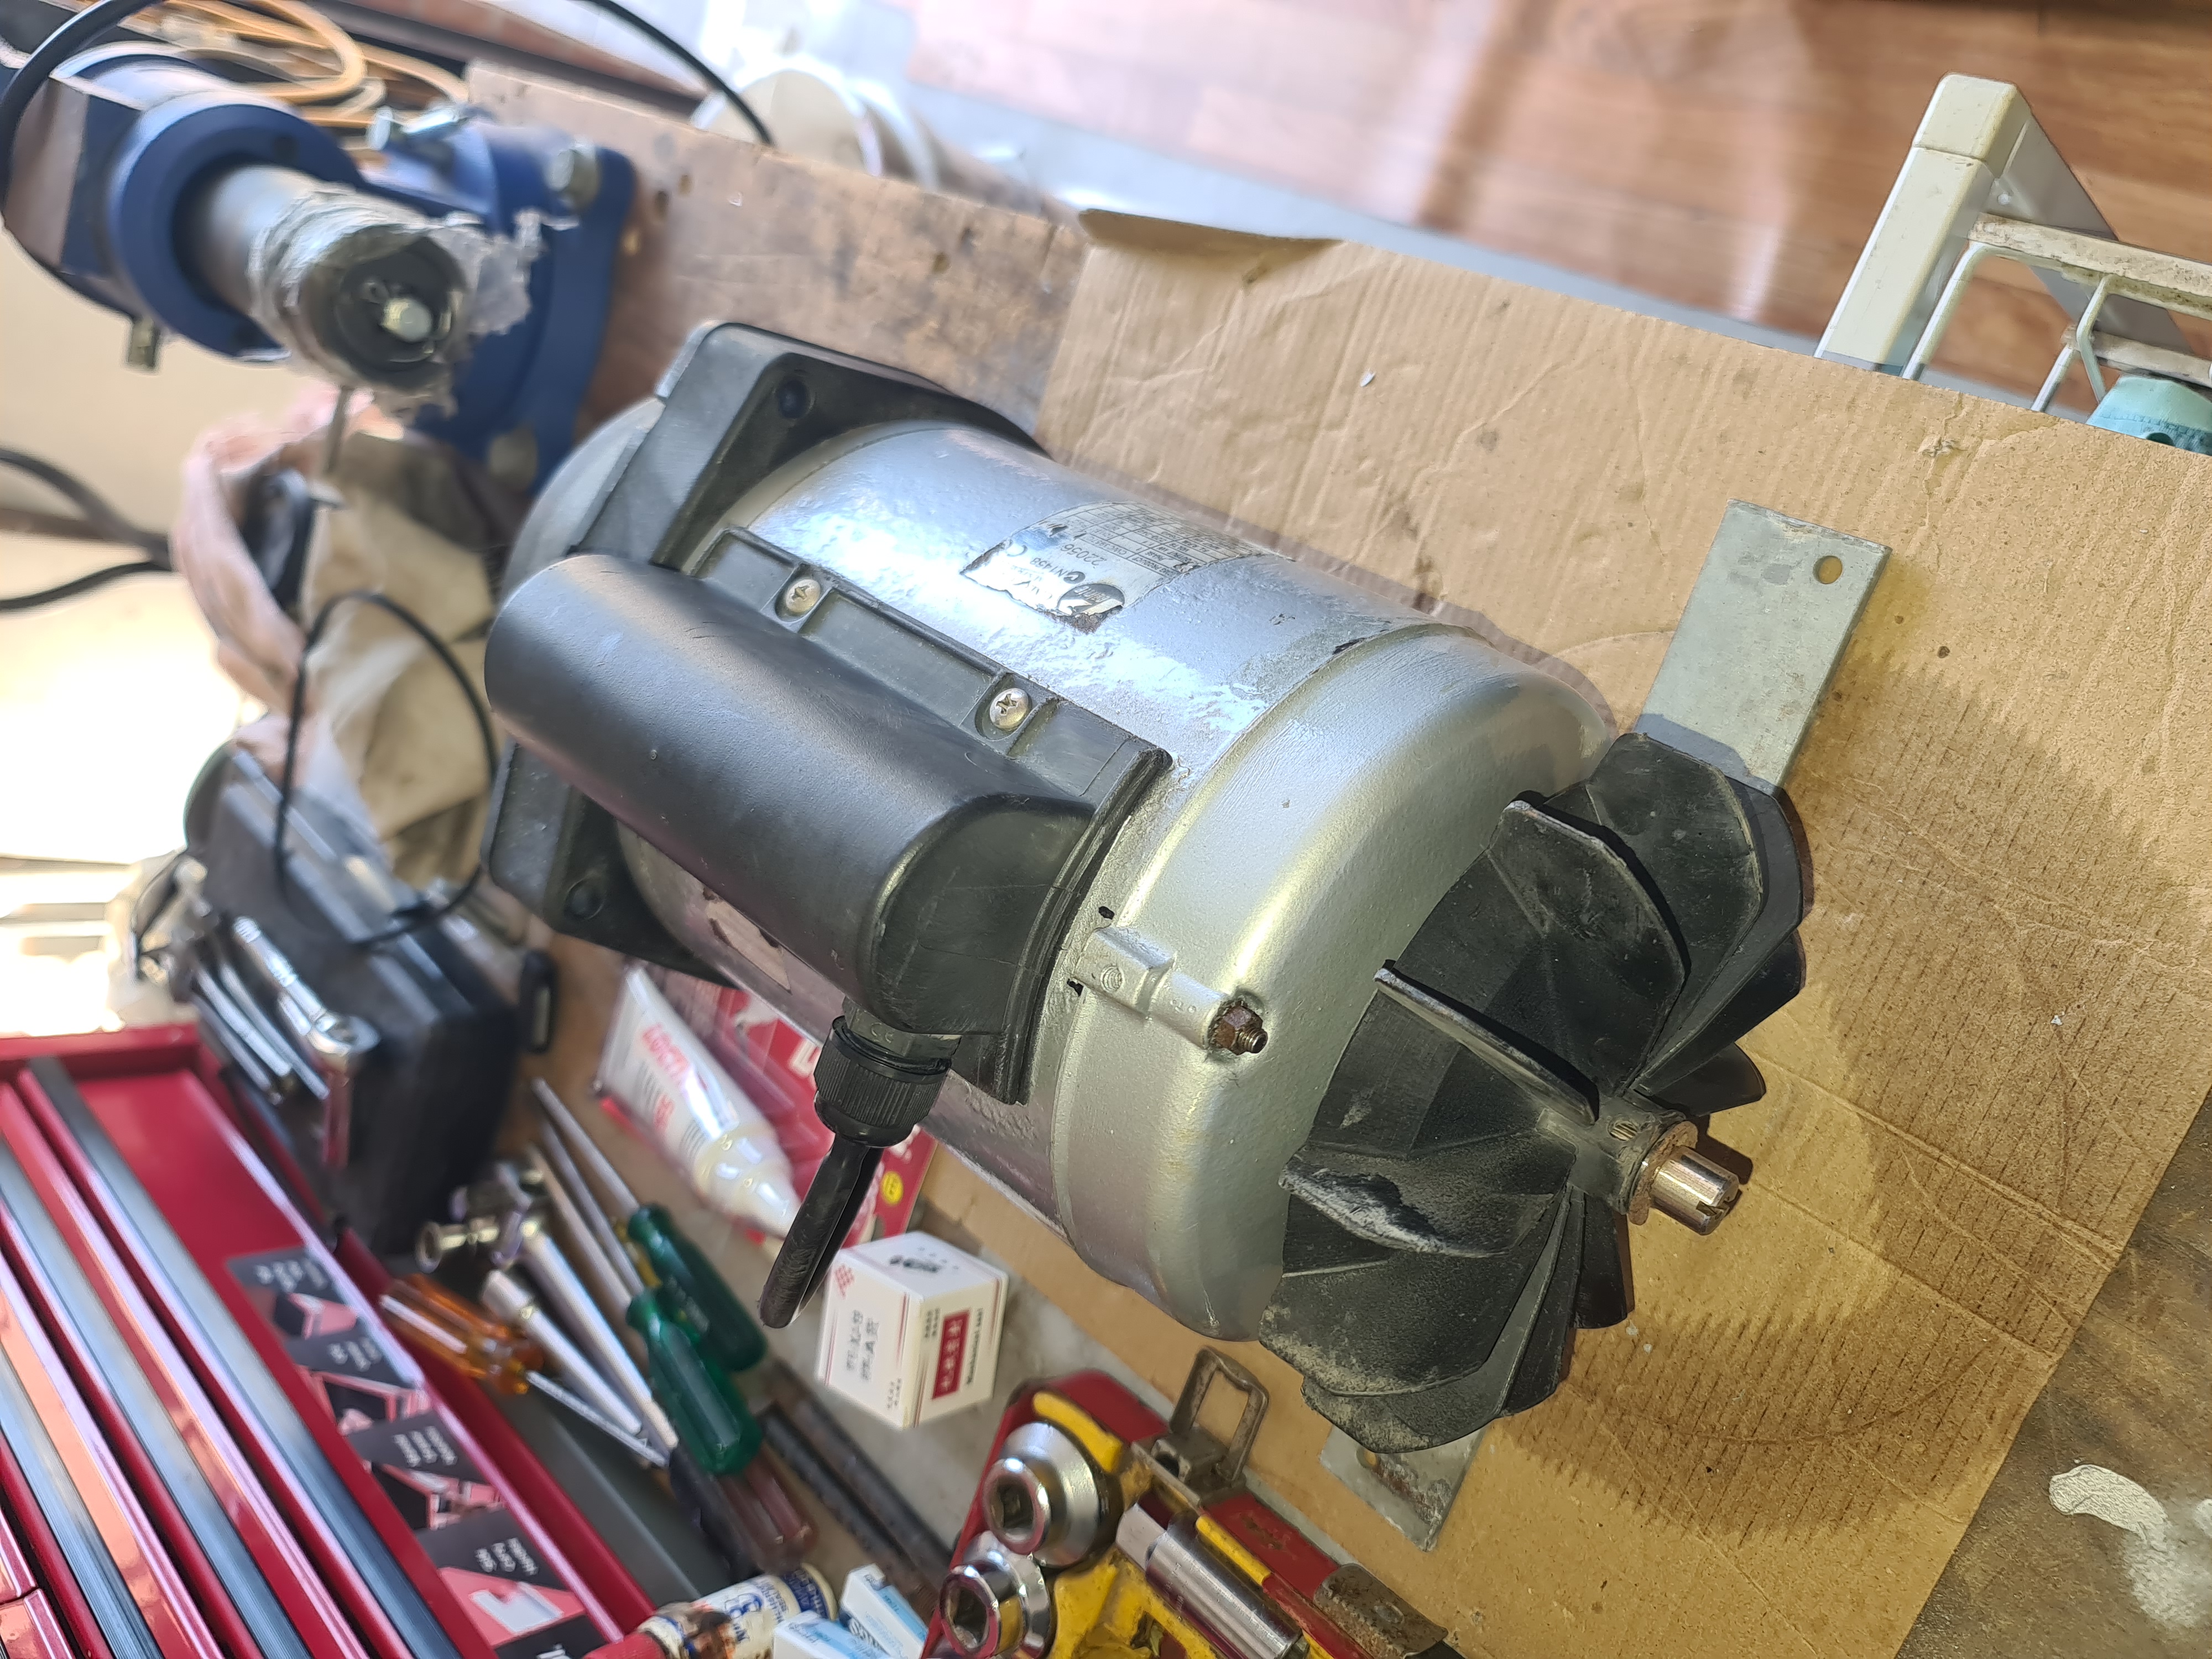
Step 4: Assemble motor & ready for pump assembly

Plus 2 more

I inspected & prepared the motor parts before final assembly.
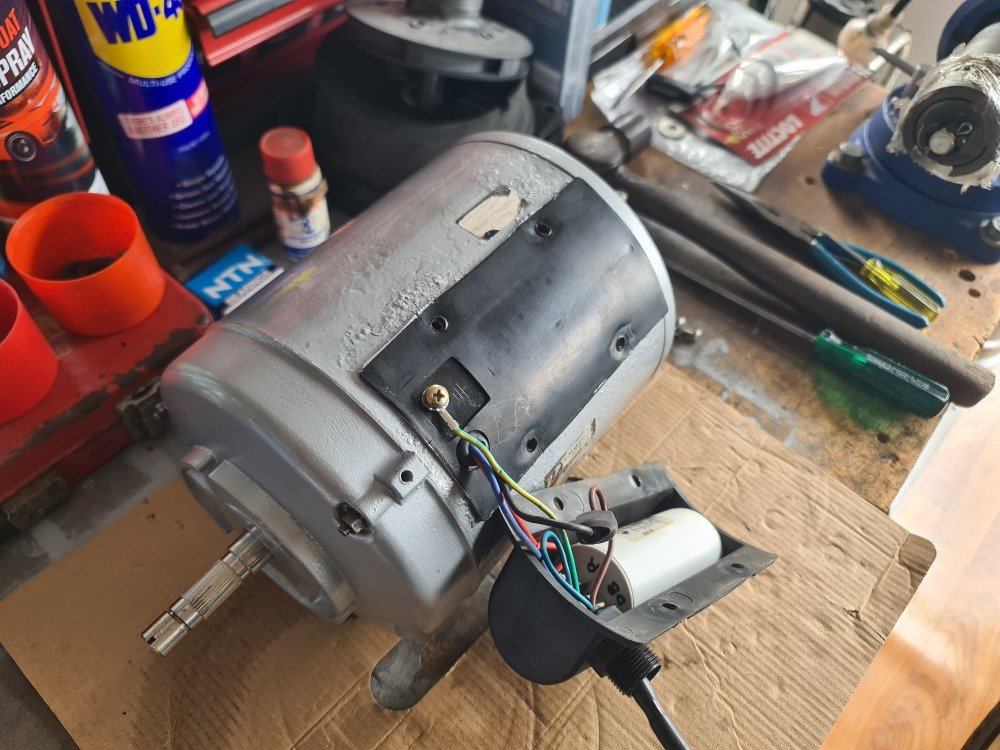
Connected wiring, capacitor & terminal housing.
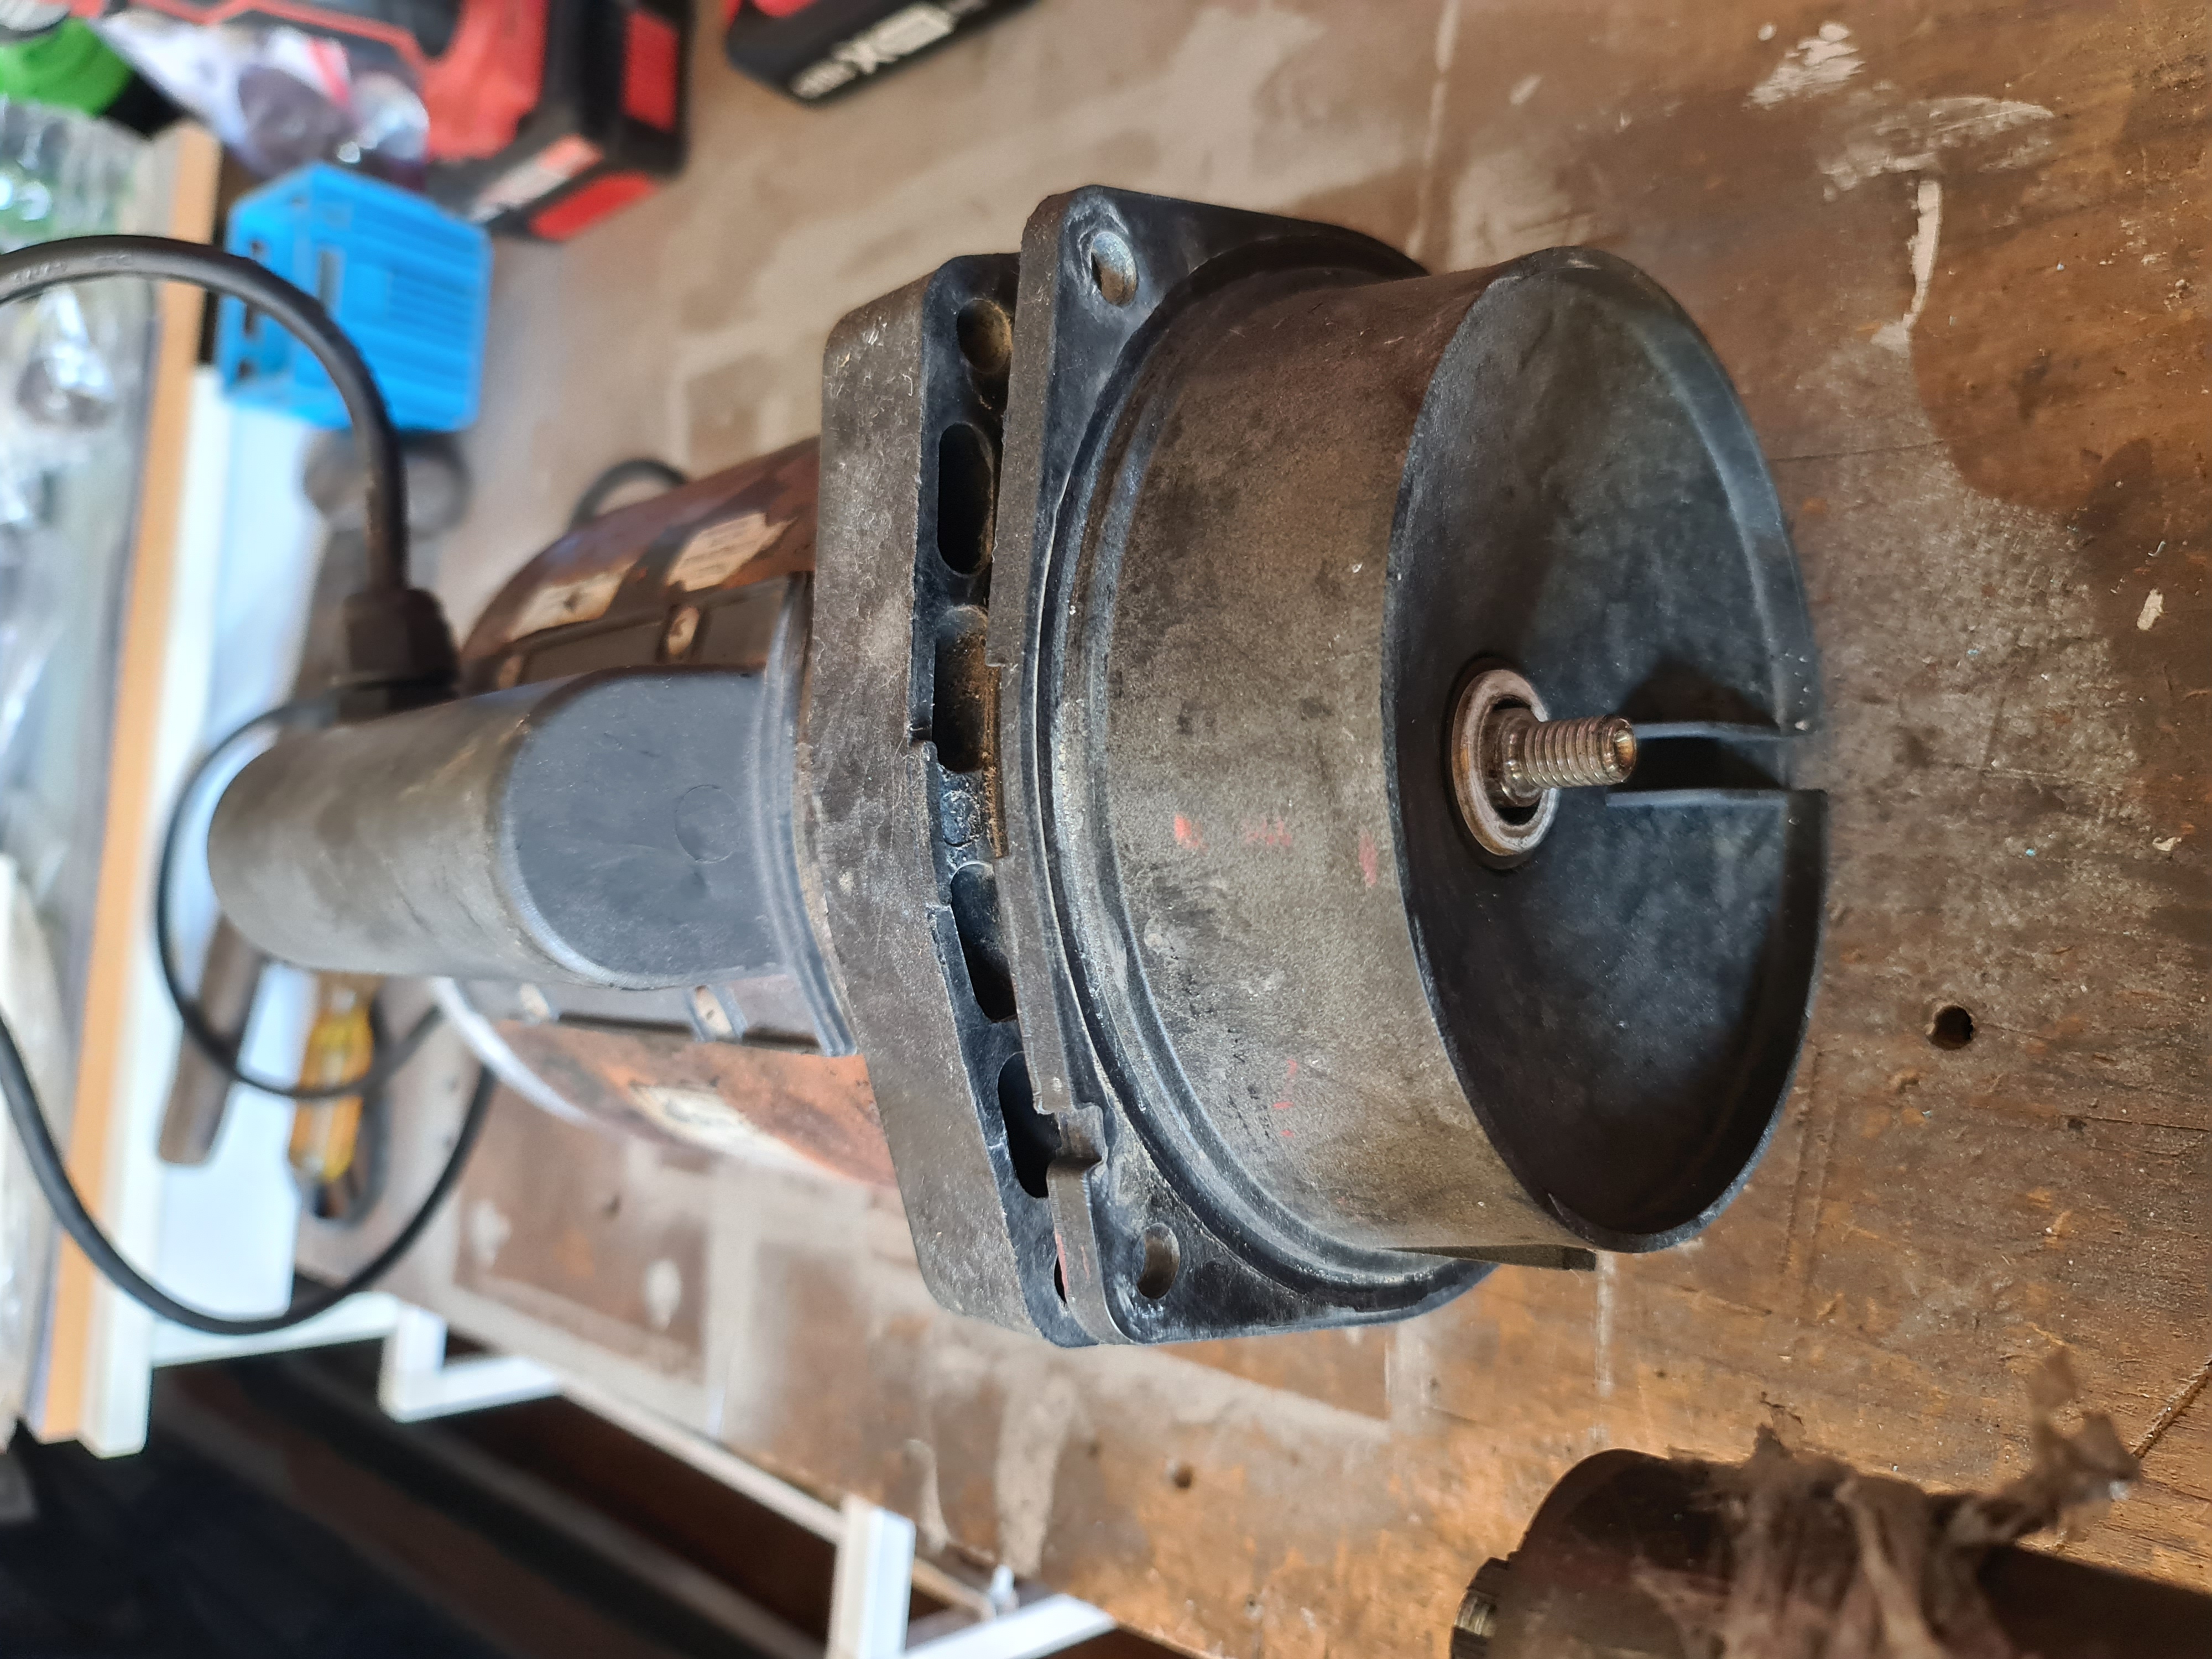
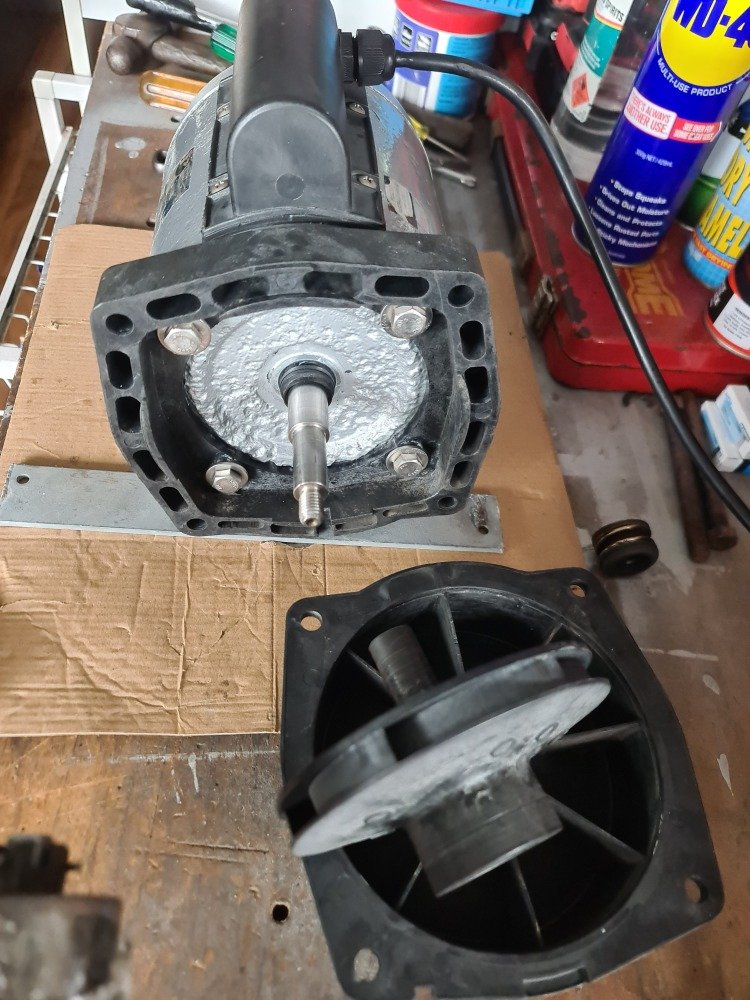
Used WD-40 to lubricate all treads on nuts & bolts, especially on the aluminium end covers and installed the motor rotor shaft assembly, bearing support end covers and bolted up to correct tension.
Ready for pump housing, ceramic carbon seal and pump impellor to be installed.
Step 5: Fit up pump assembly to motor
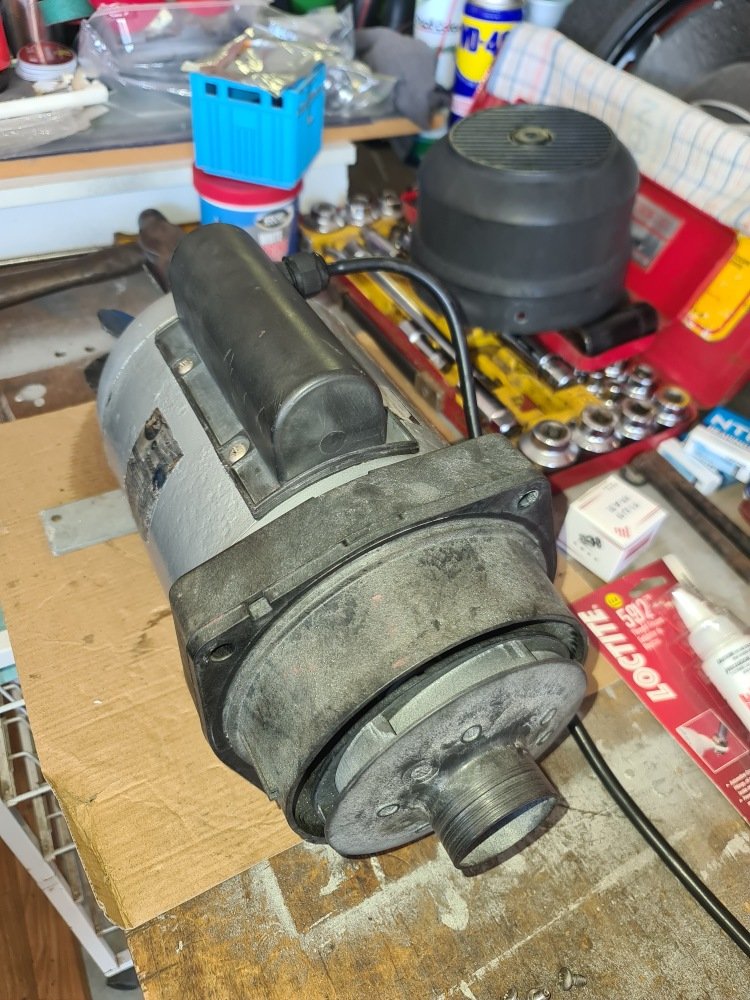
Plus 3 more

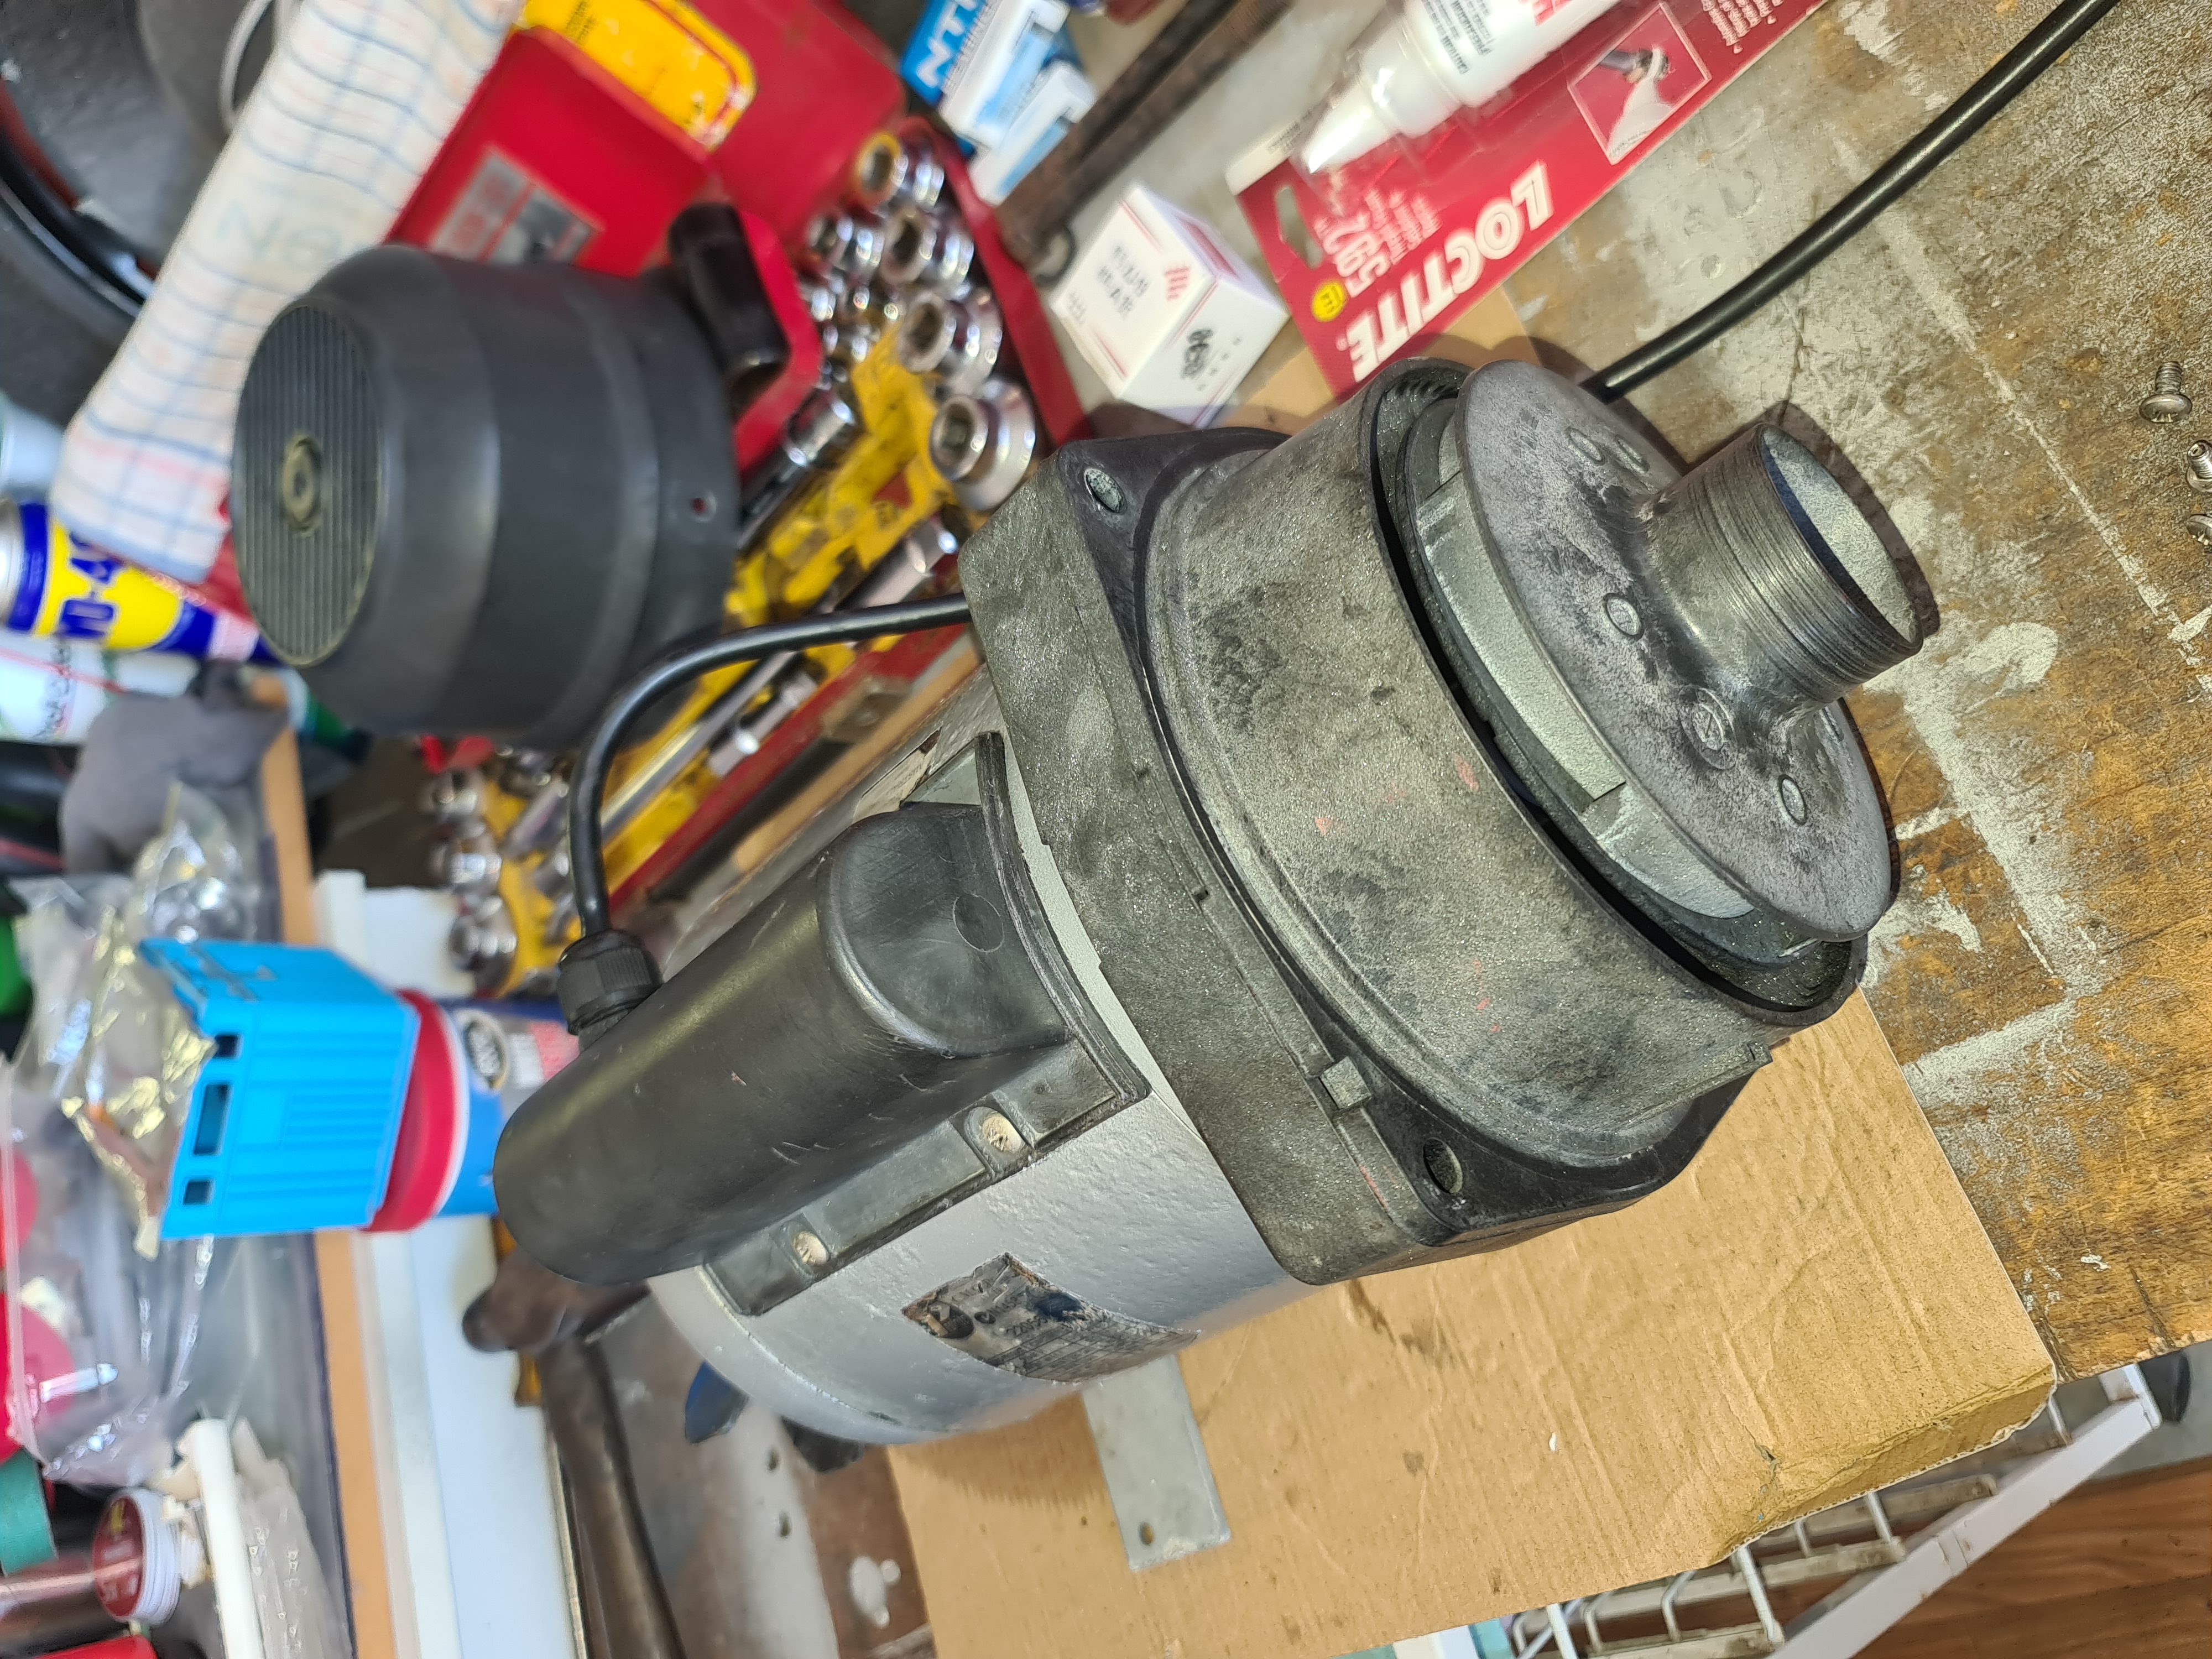

Fitted ceramic carbon seal to the pump cover and impellor.
Cleaned all contact faces of the pump housing, including o'ring grooves and sprayed a mist coat of WD-40 to the o'rings and bolt threads and proceeded to mount and bolt up the pump housing to the motor flange.
Once pump was fully mounted to the motor, I rotated the motor shaft by hand to ensure the assembly was not fouling on anything and it rotated smoothly.
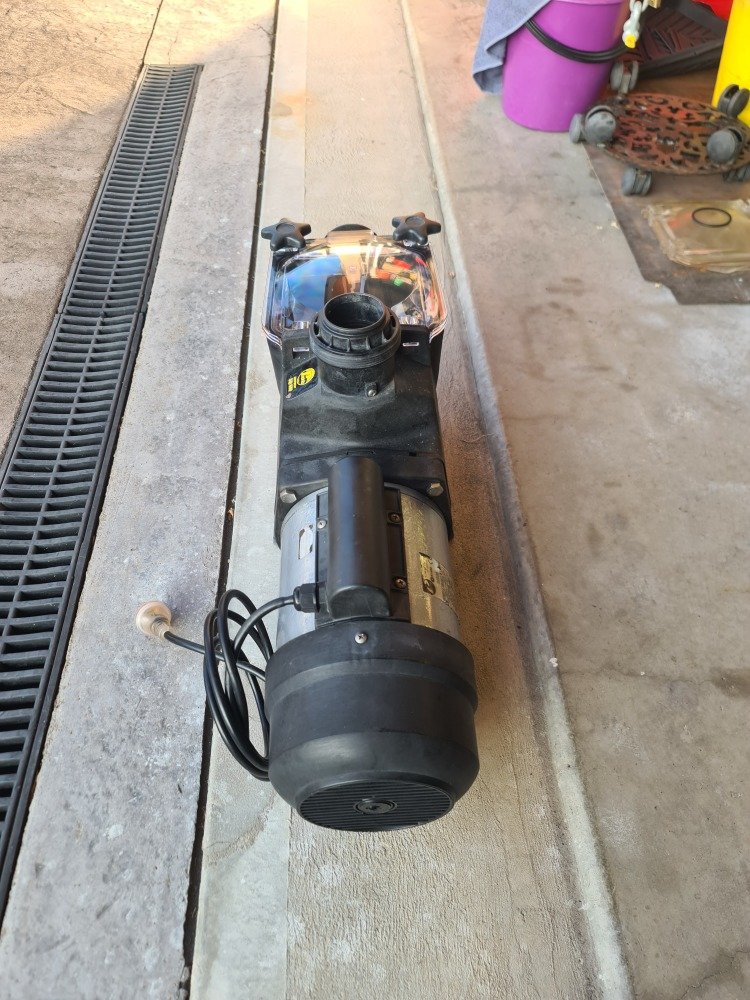
I fitted the final motor fan & pump covers and connected the power to start the pump for a brief test run as it is not recommended to run the pump dry as to avoid overheating & damaging the ceramic carbon seal.....and it ran very smooth and quiet, much quieter than before I commenced this project.
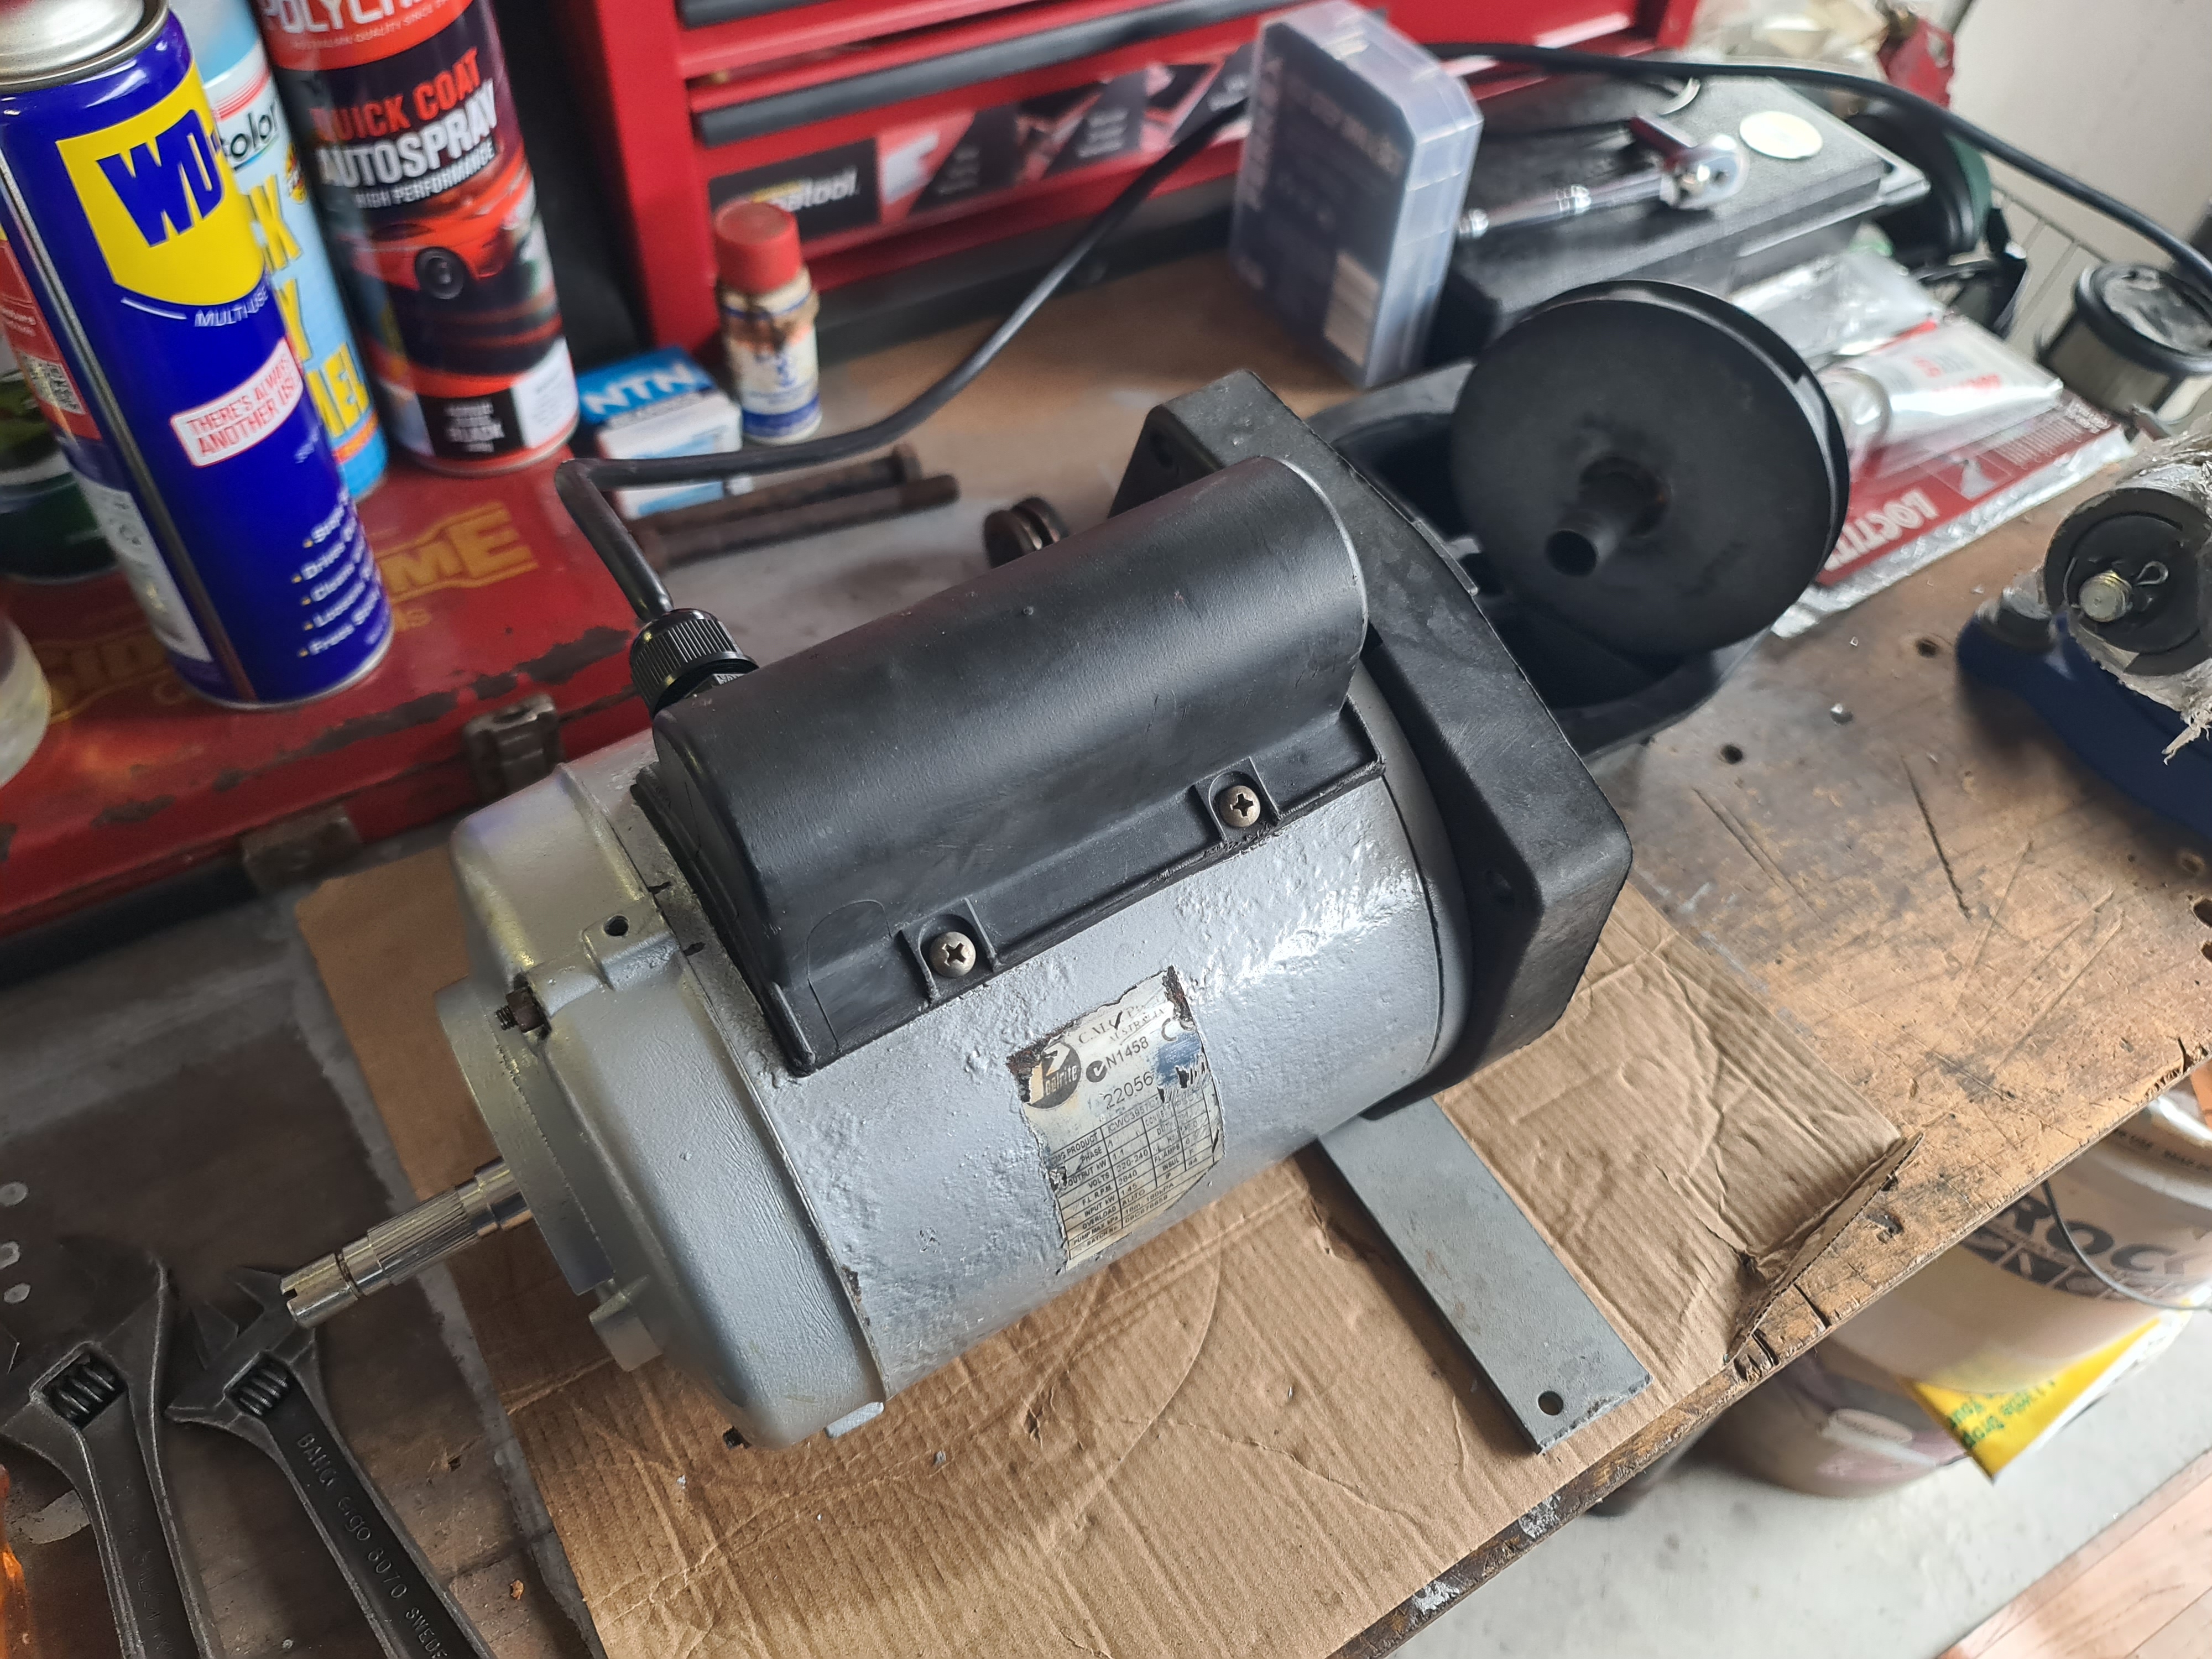
After replacing the critical parts and painting the vulnerable alloy motor covers, the pump assembly is as good as new, reliable and with peace of mind.
Step 6: Pump rebuild complete


Plus 1 more
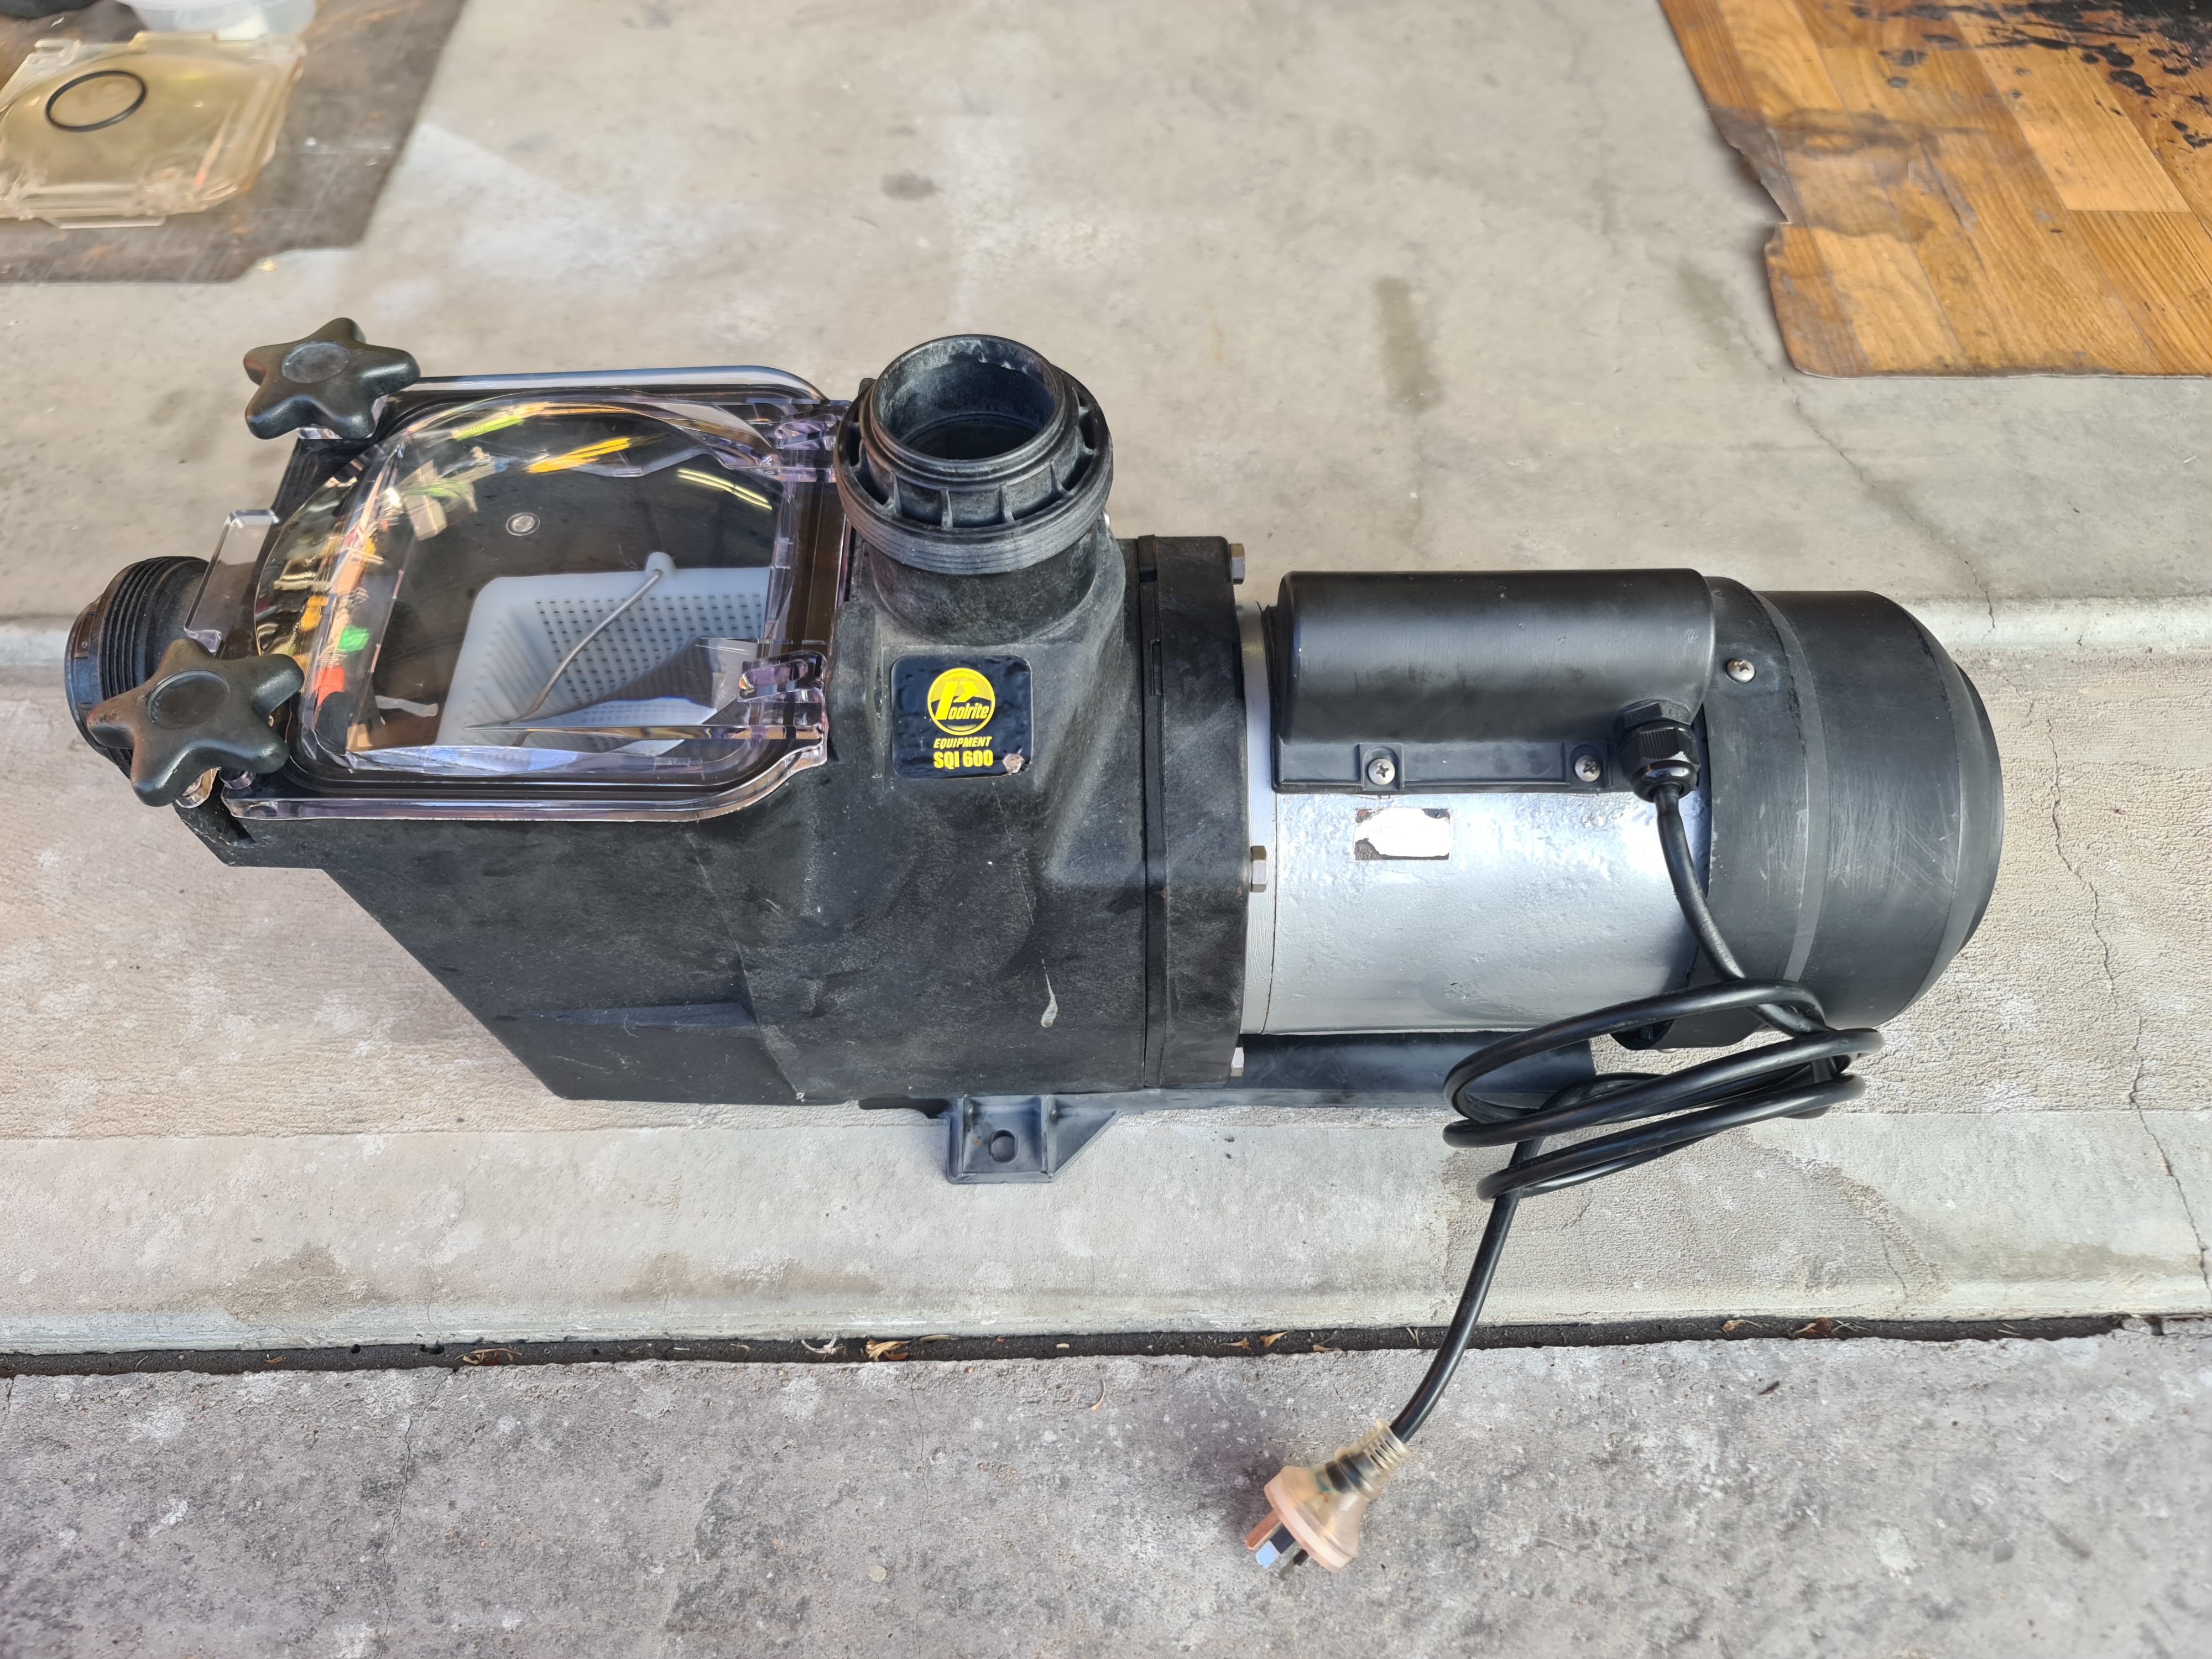
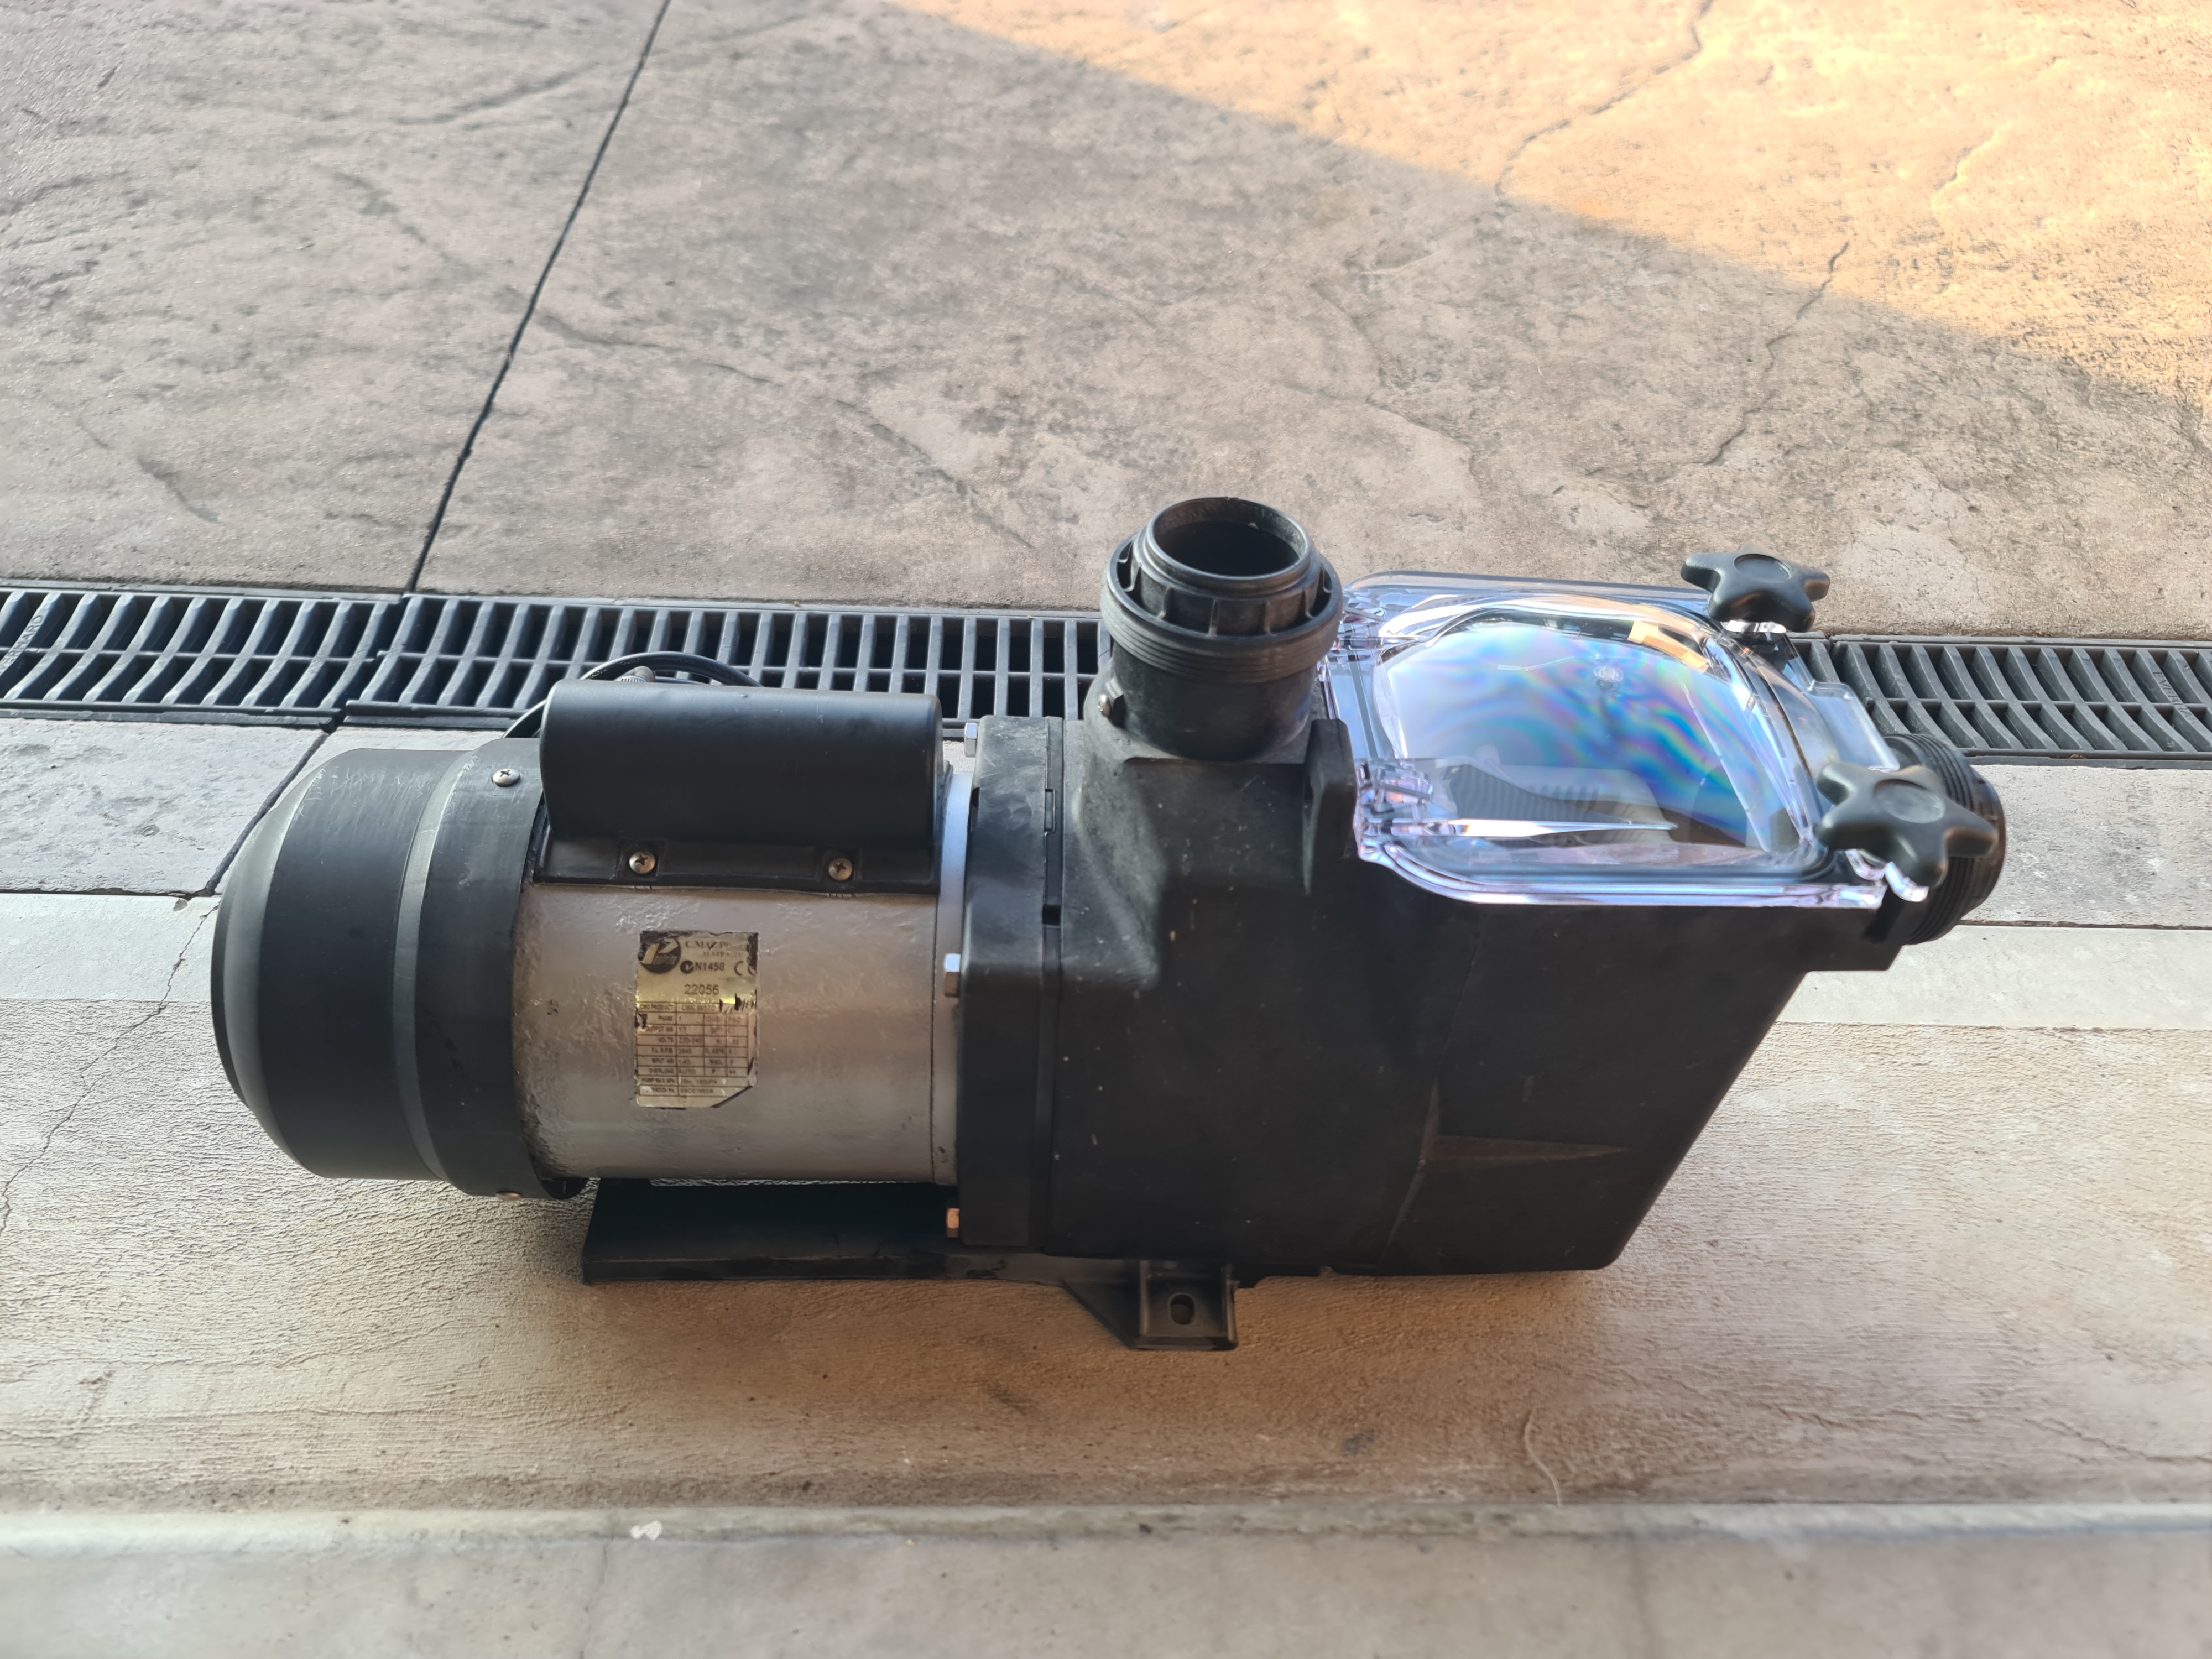
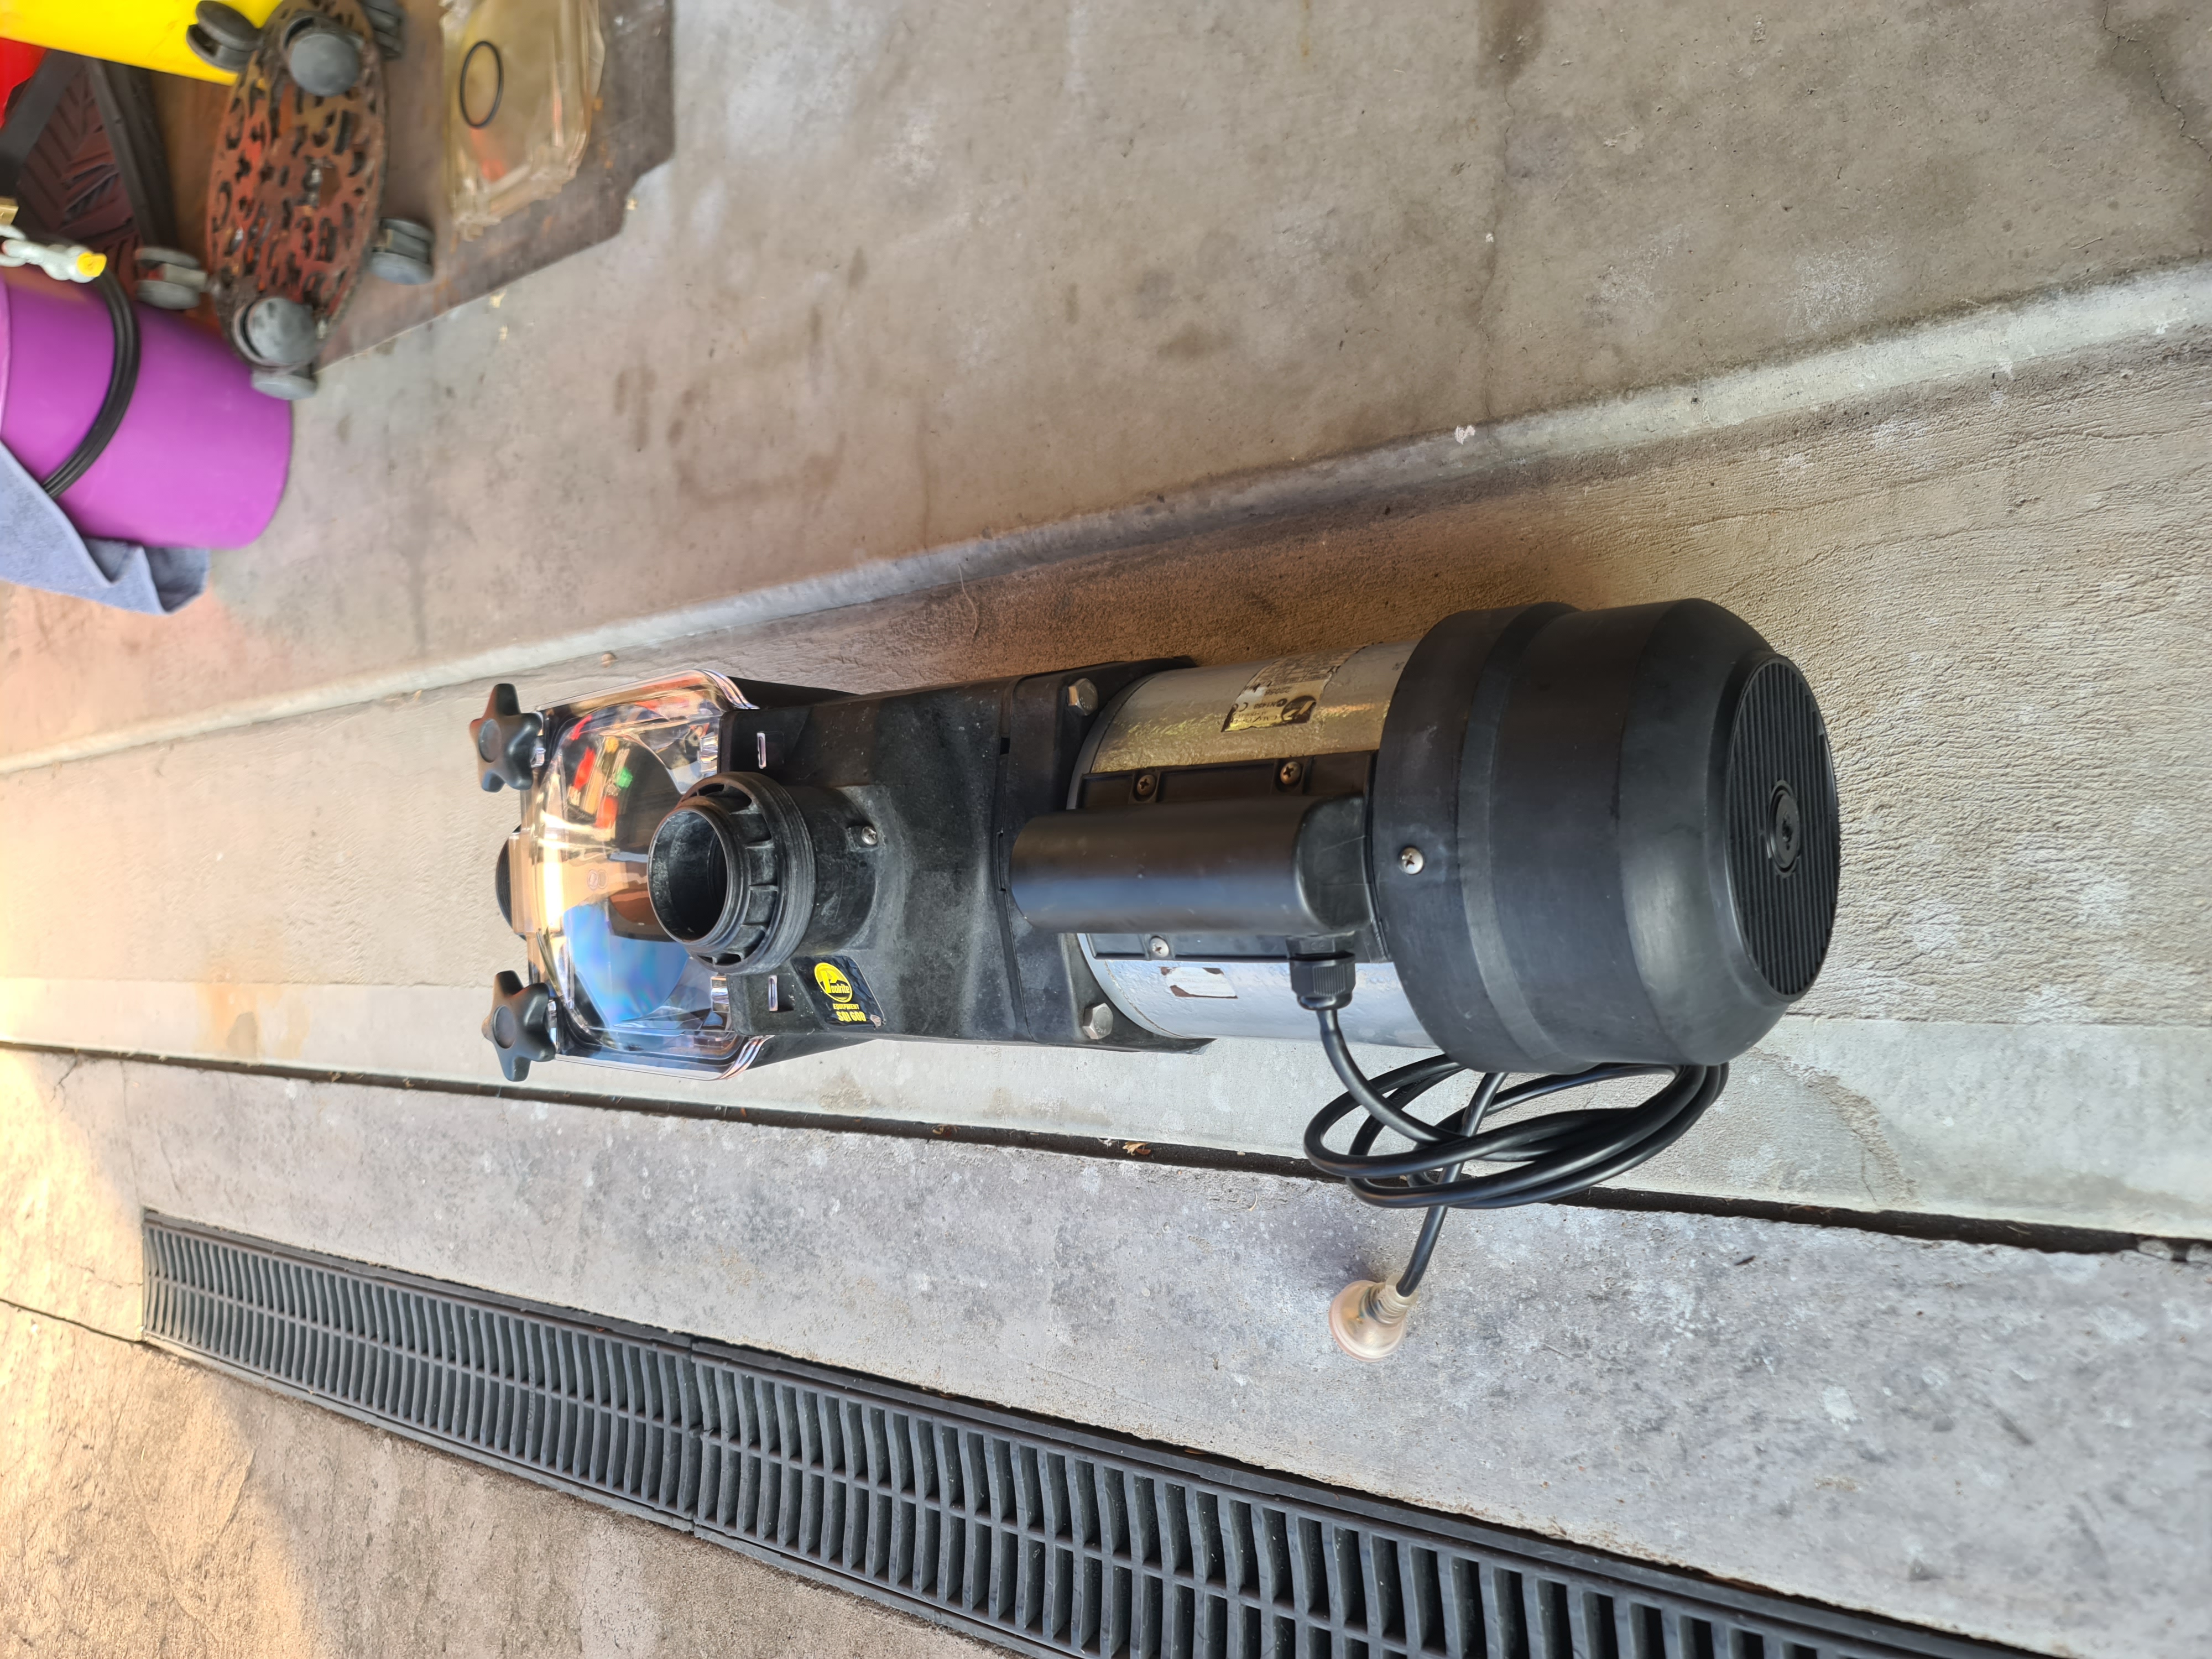
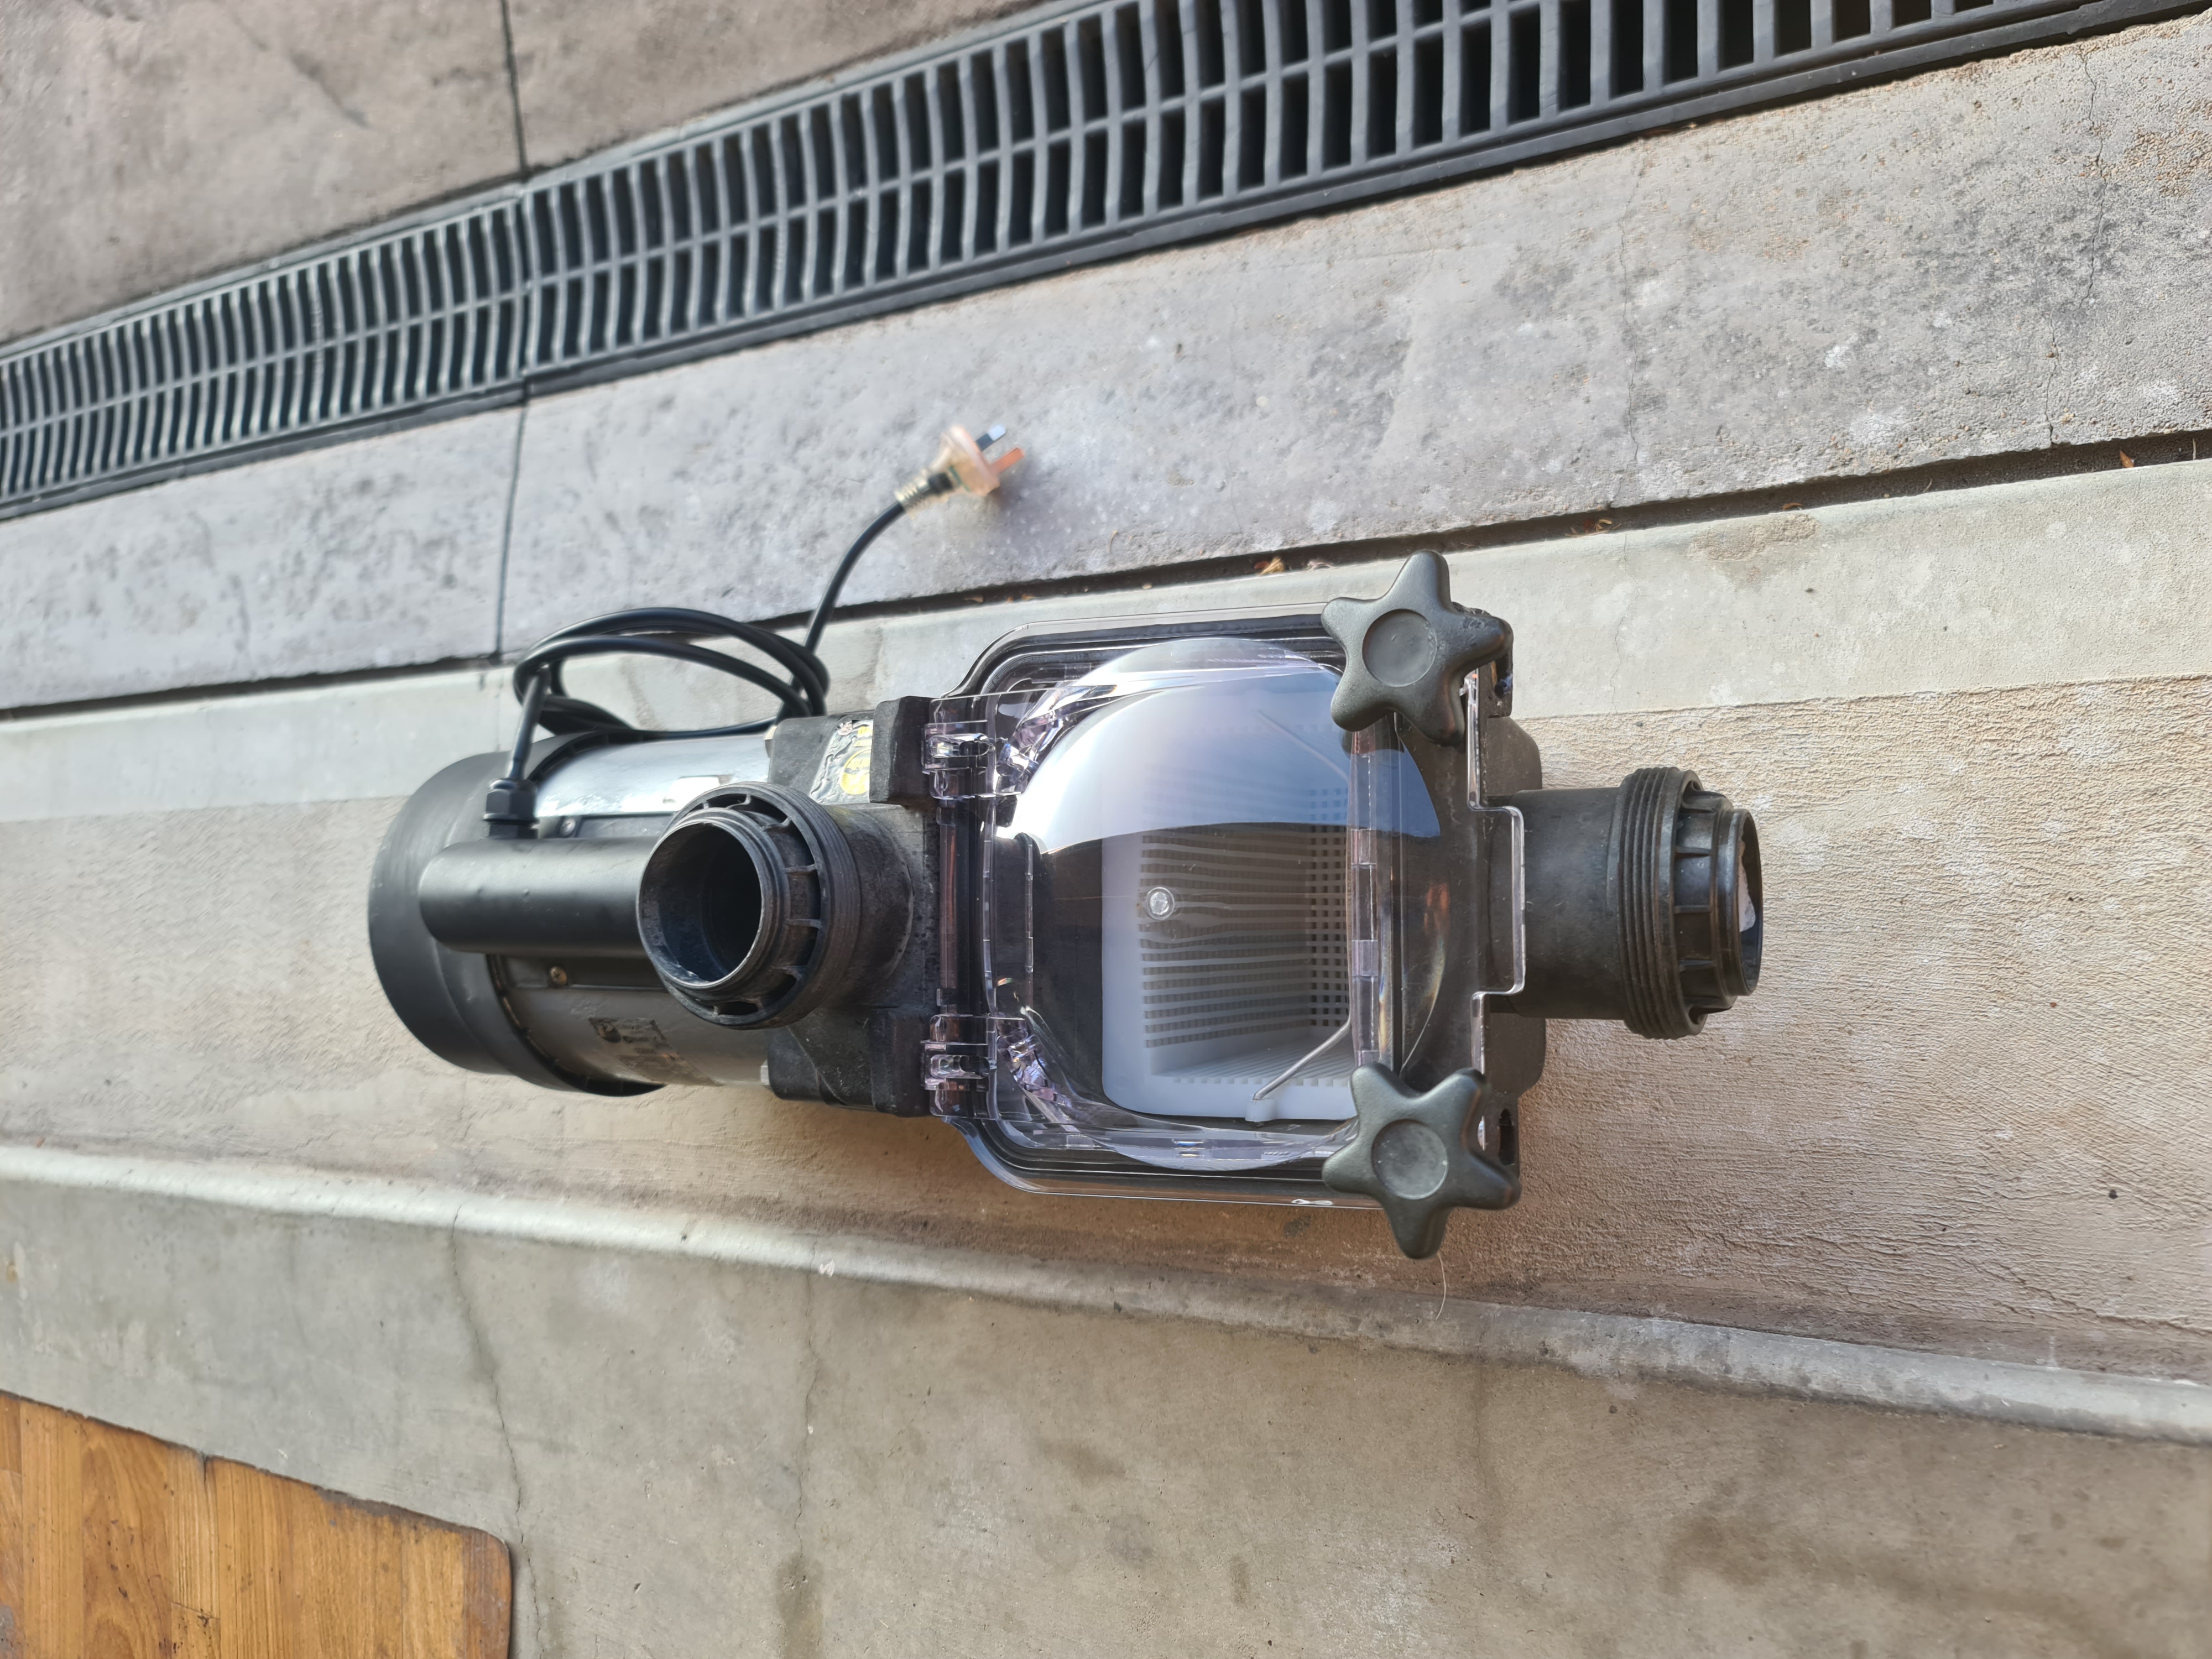
Fitted the pump assembly base mounts and took a couple of photos to admire my handy work 😊
WD-40 helped with the corroded threads, rusty motor bolts and easy assembly.
It is time to connect to the pool pump to the pool pipework, prime up the pump, test run and have a beer 🍺